Modeling & Materials Logo

Solana Vella's Weekly Design Challenge Template
Below you will find my design challenges, material workshops, and final projects.


Module 1


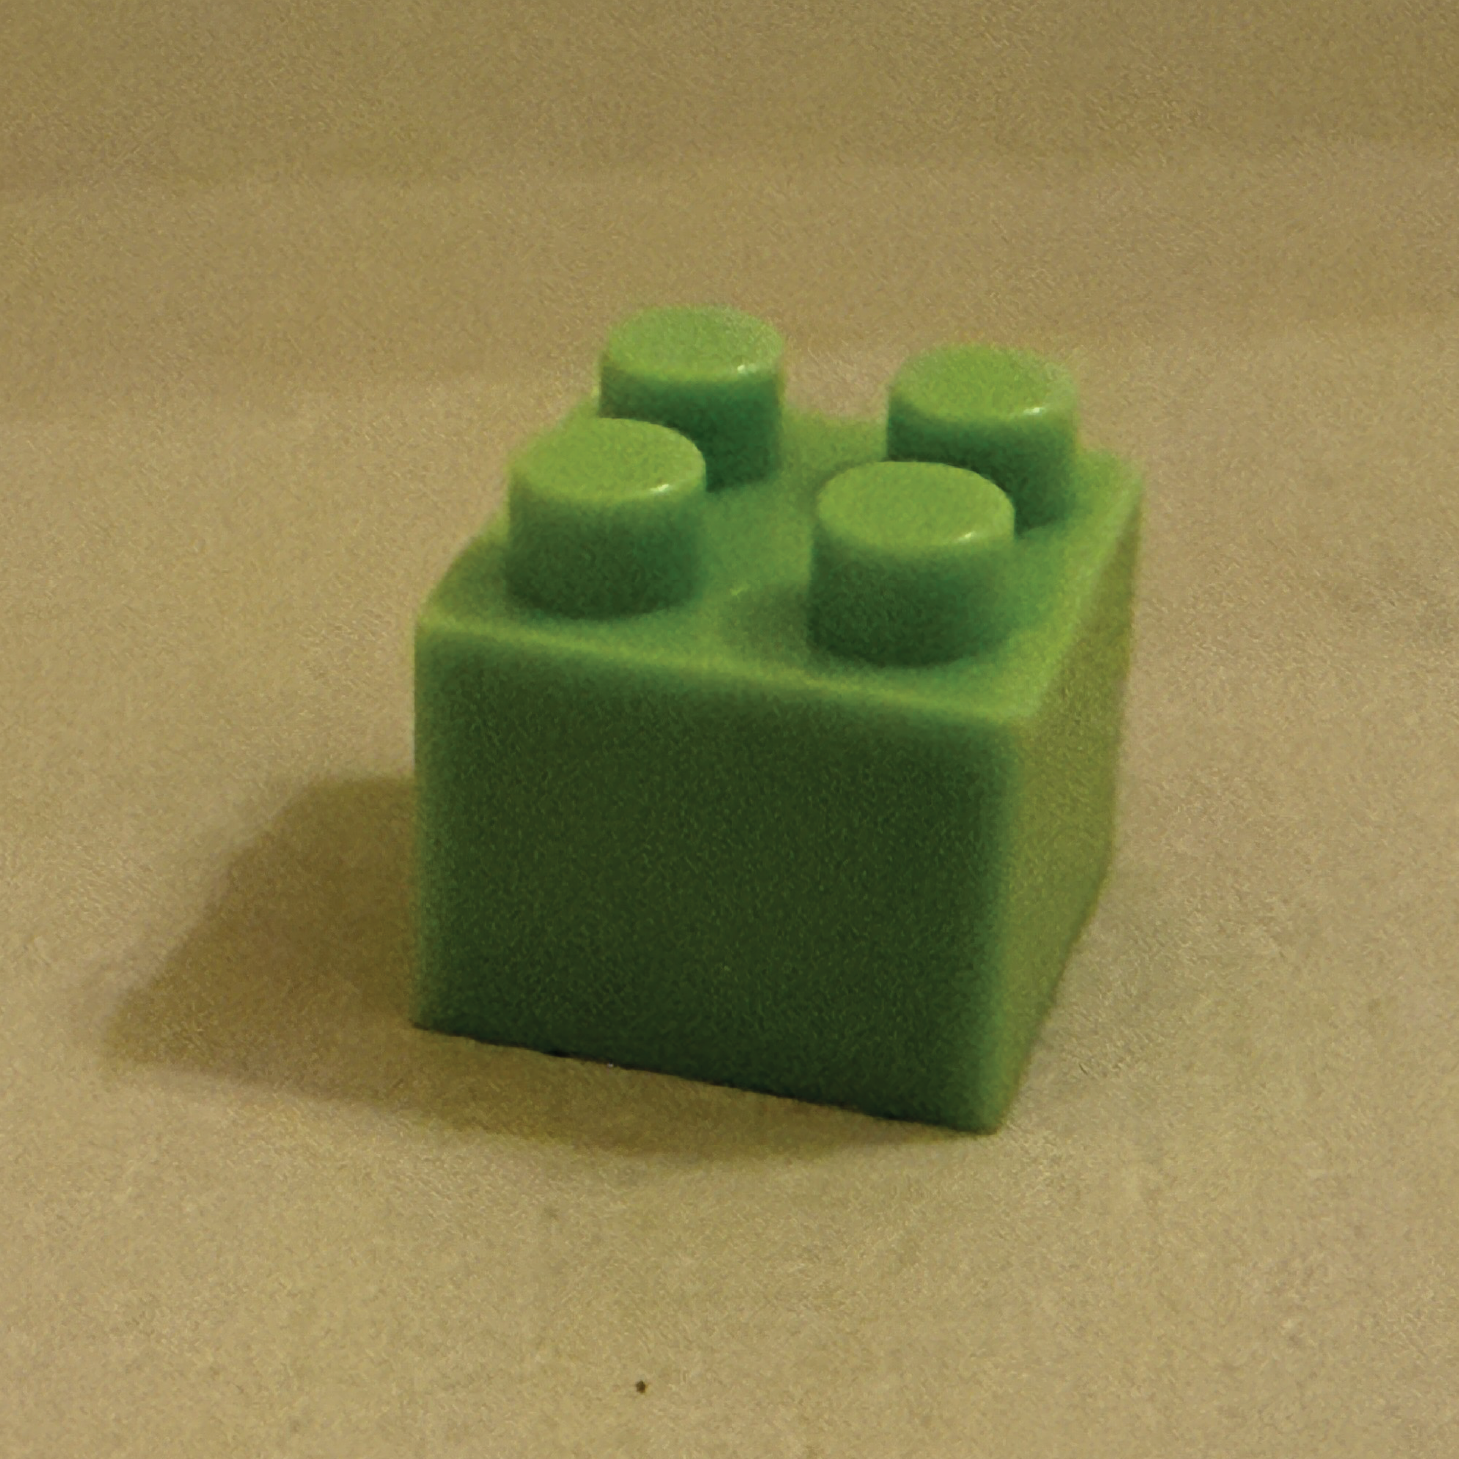
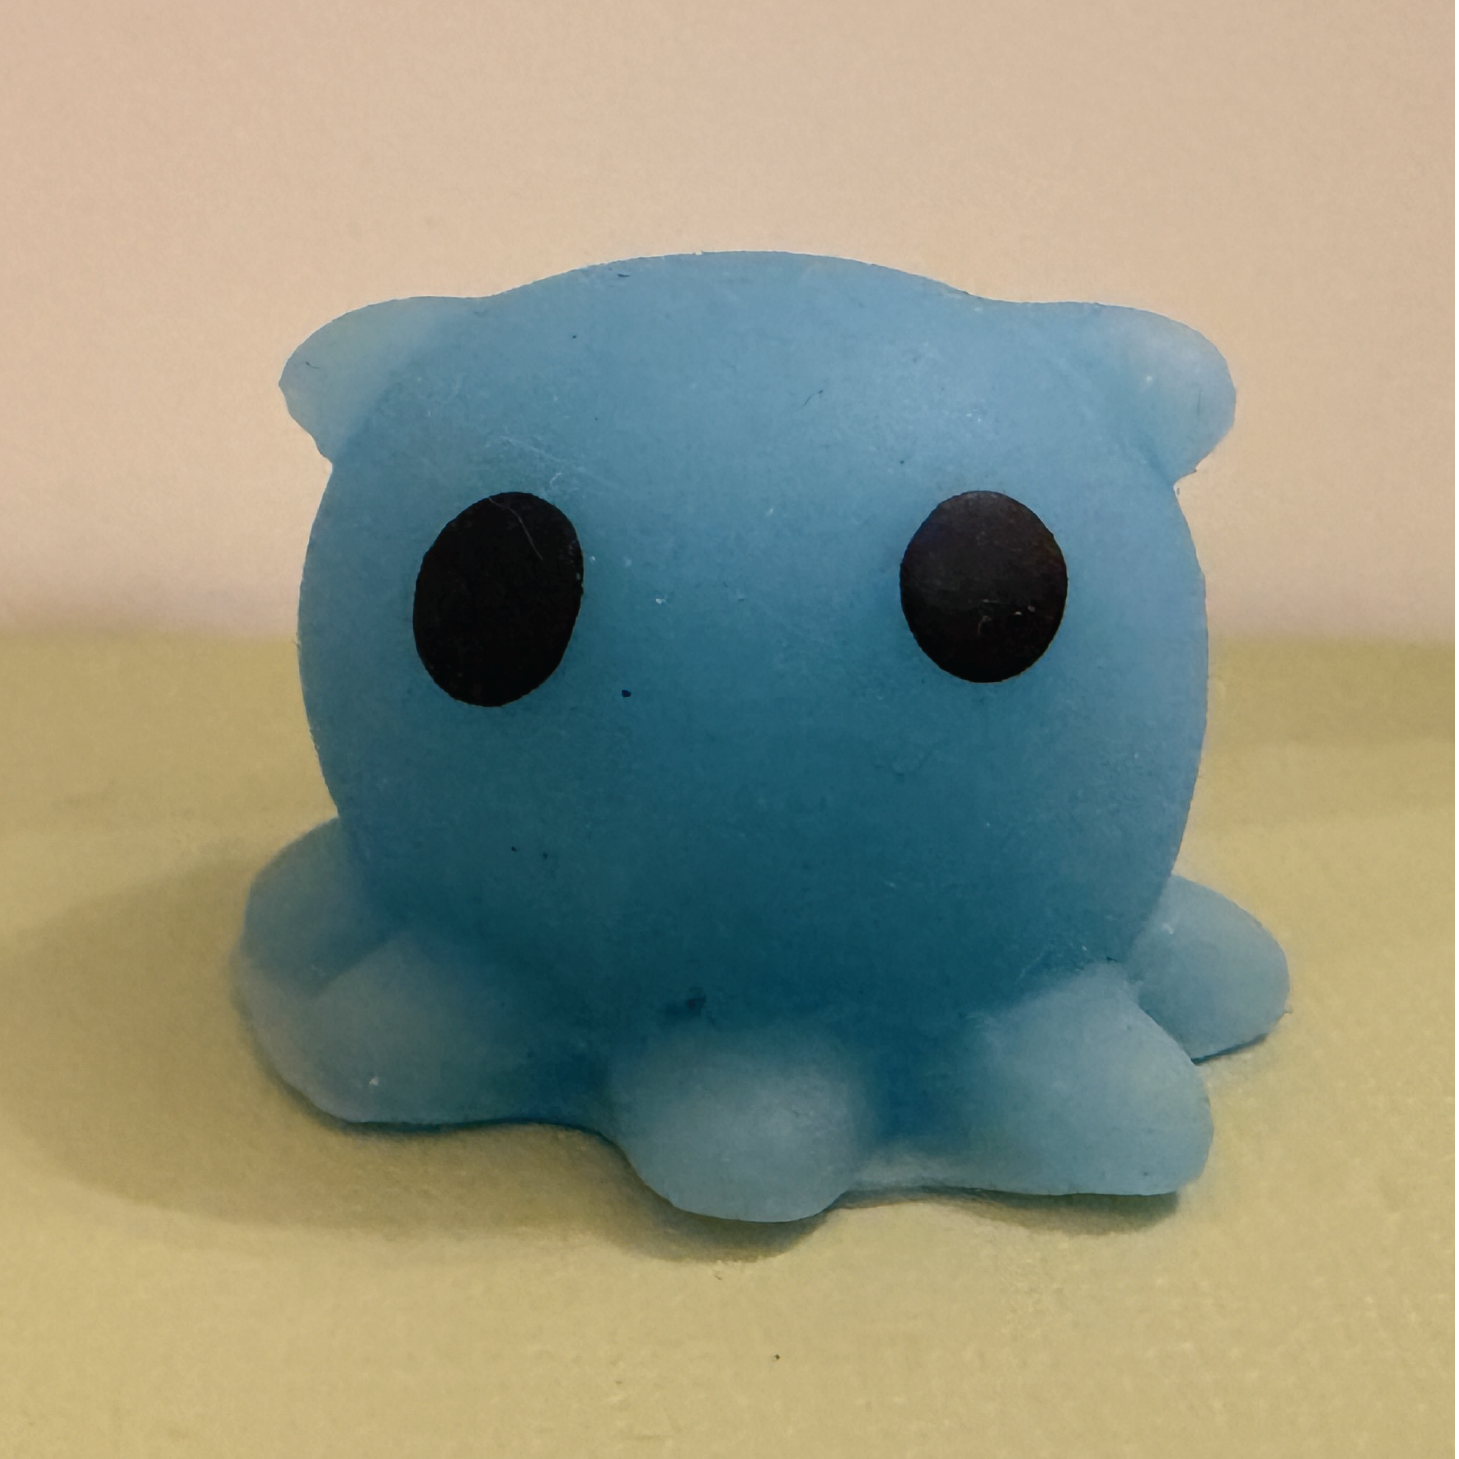
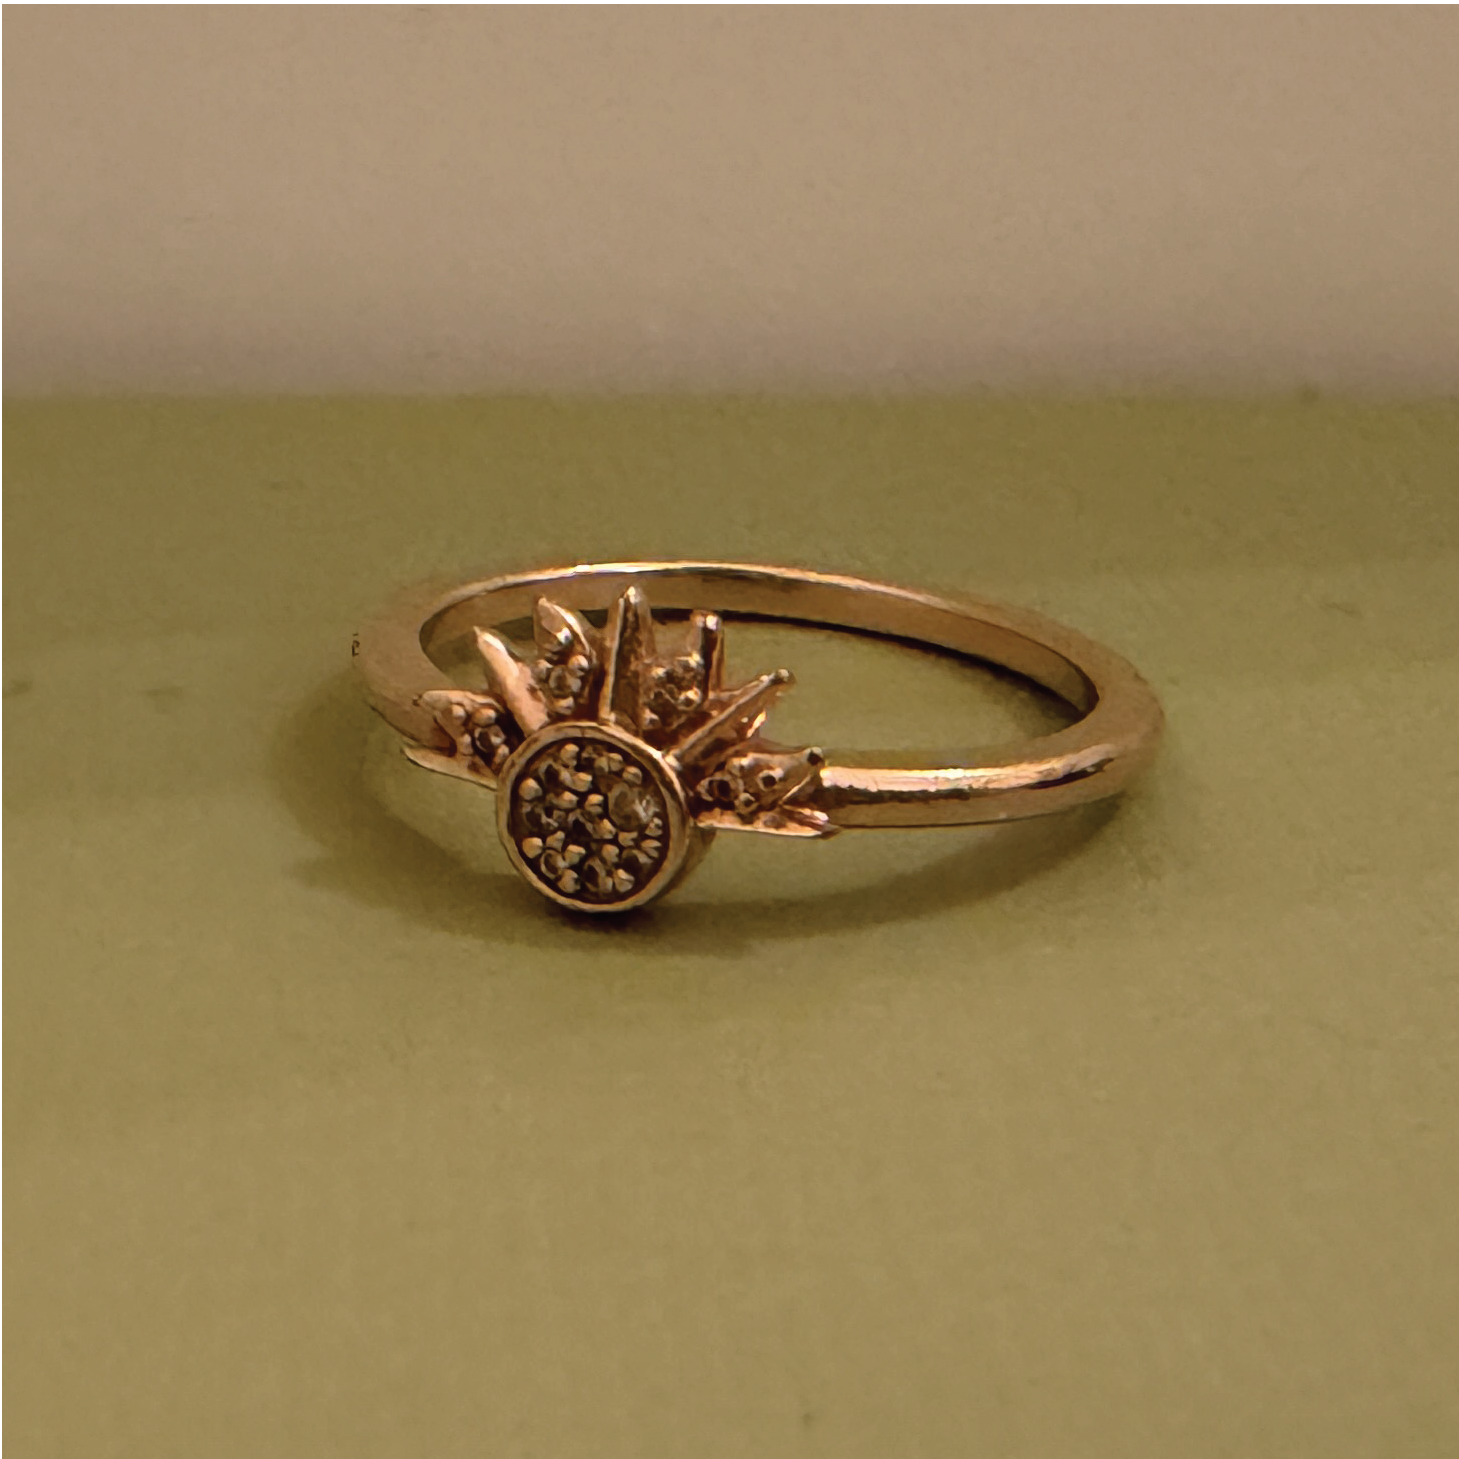
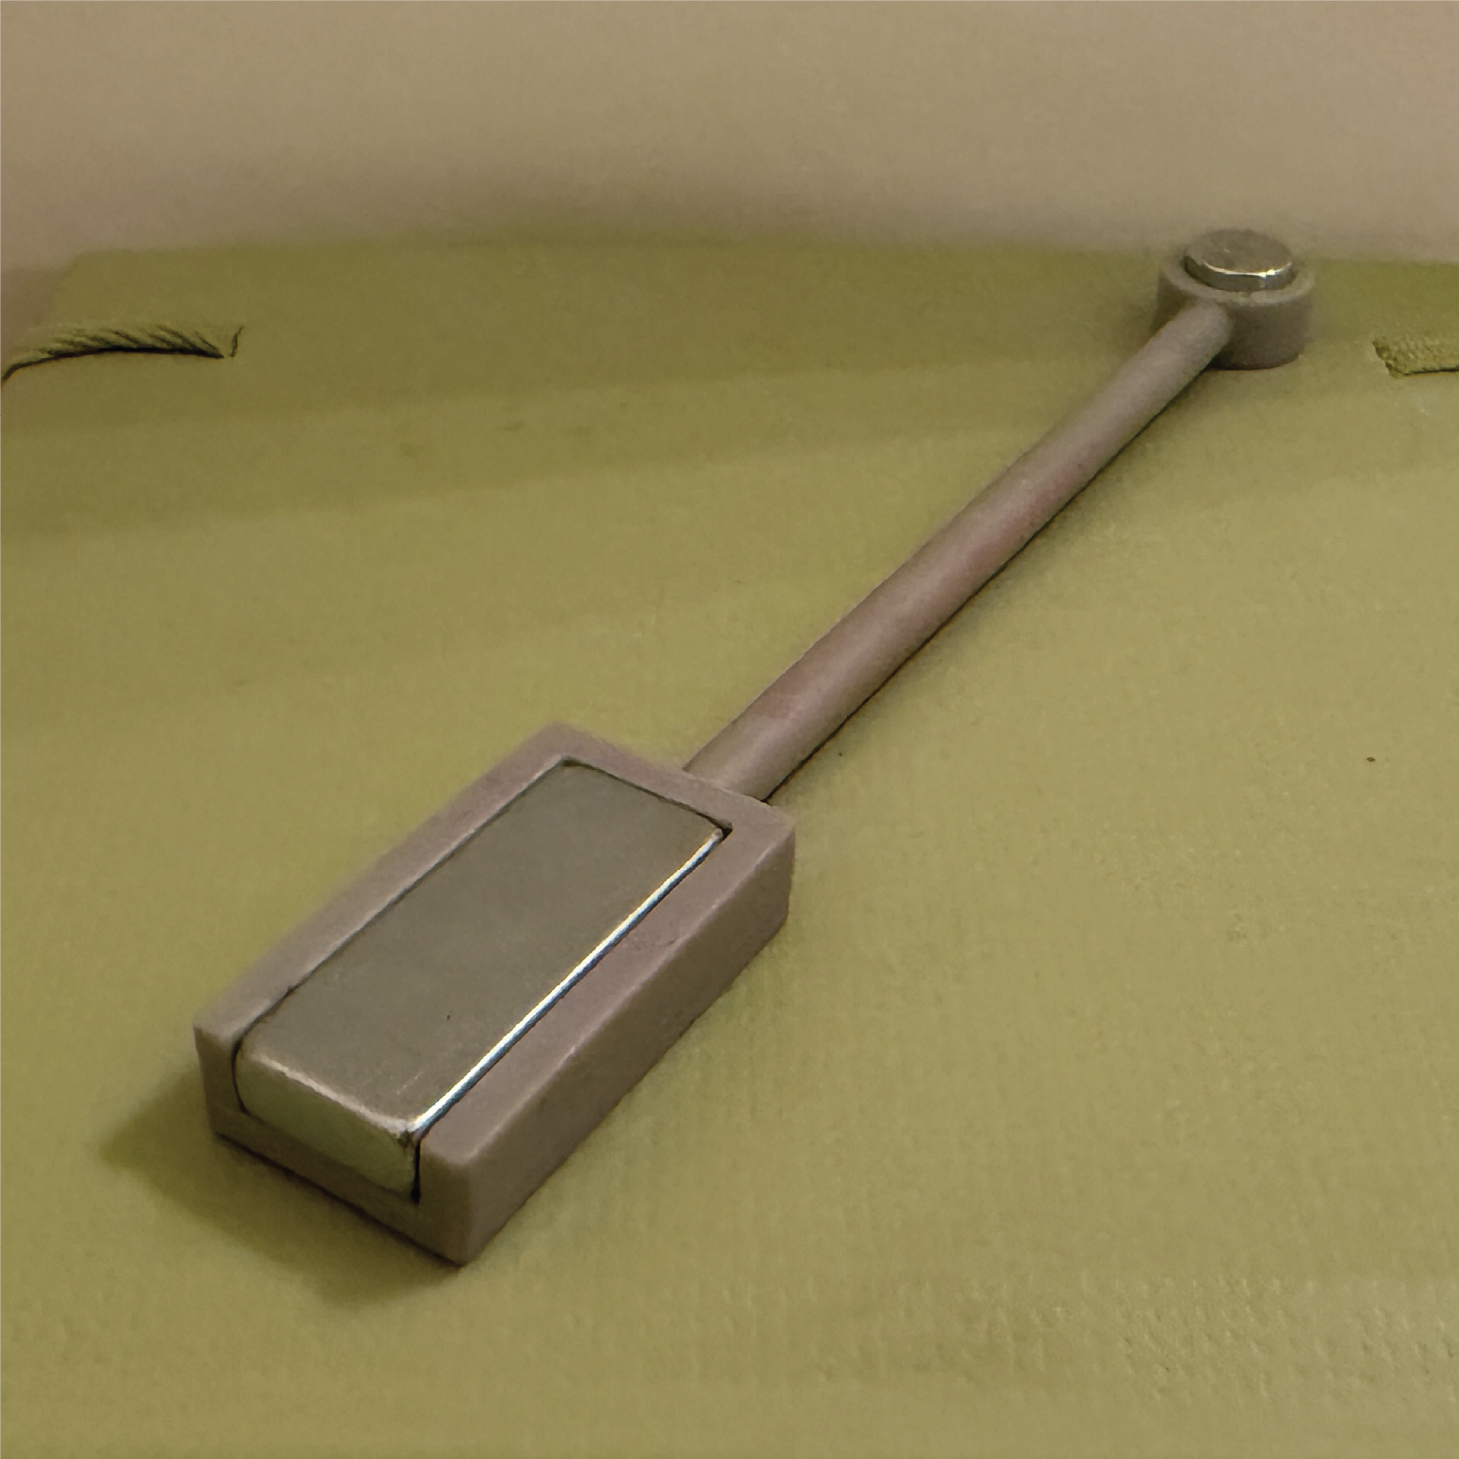
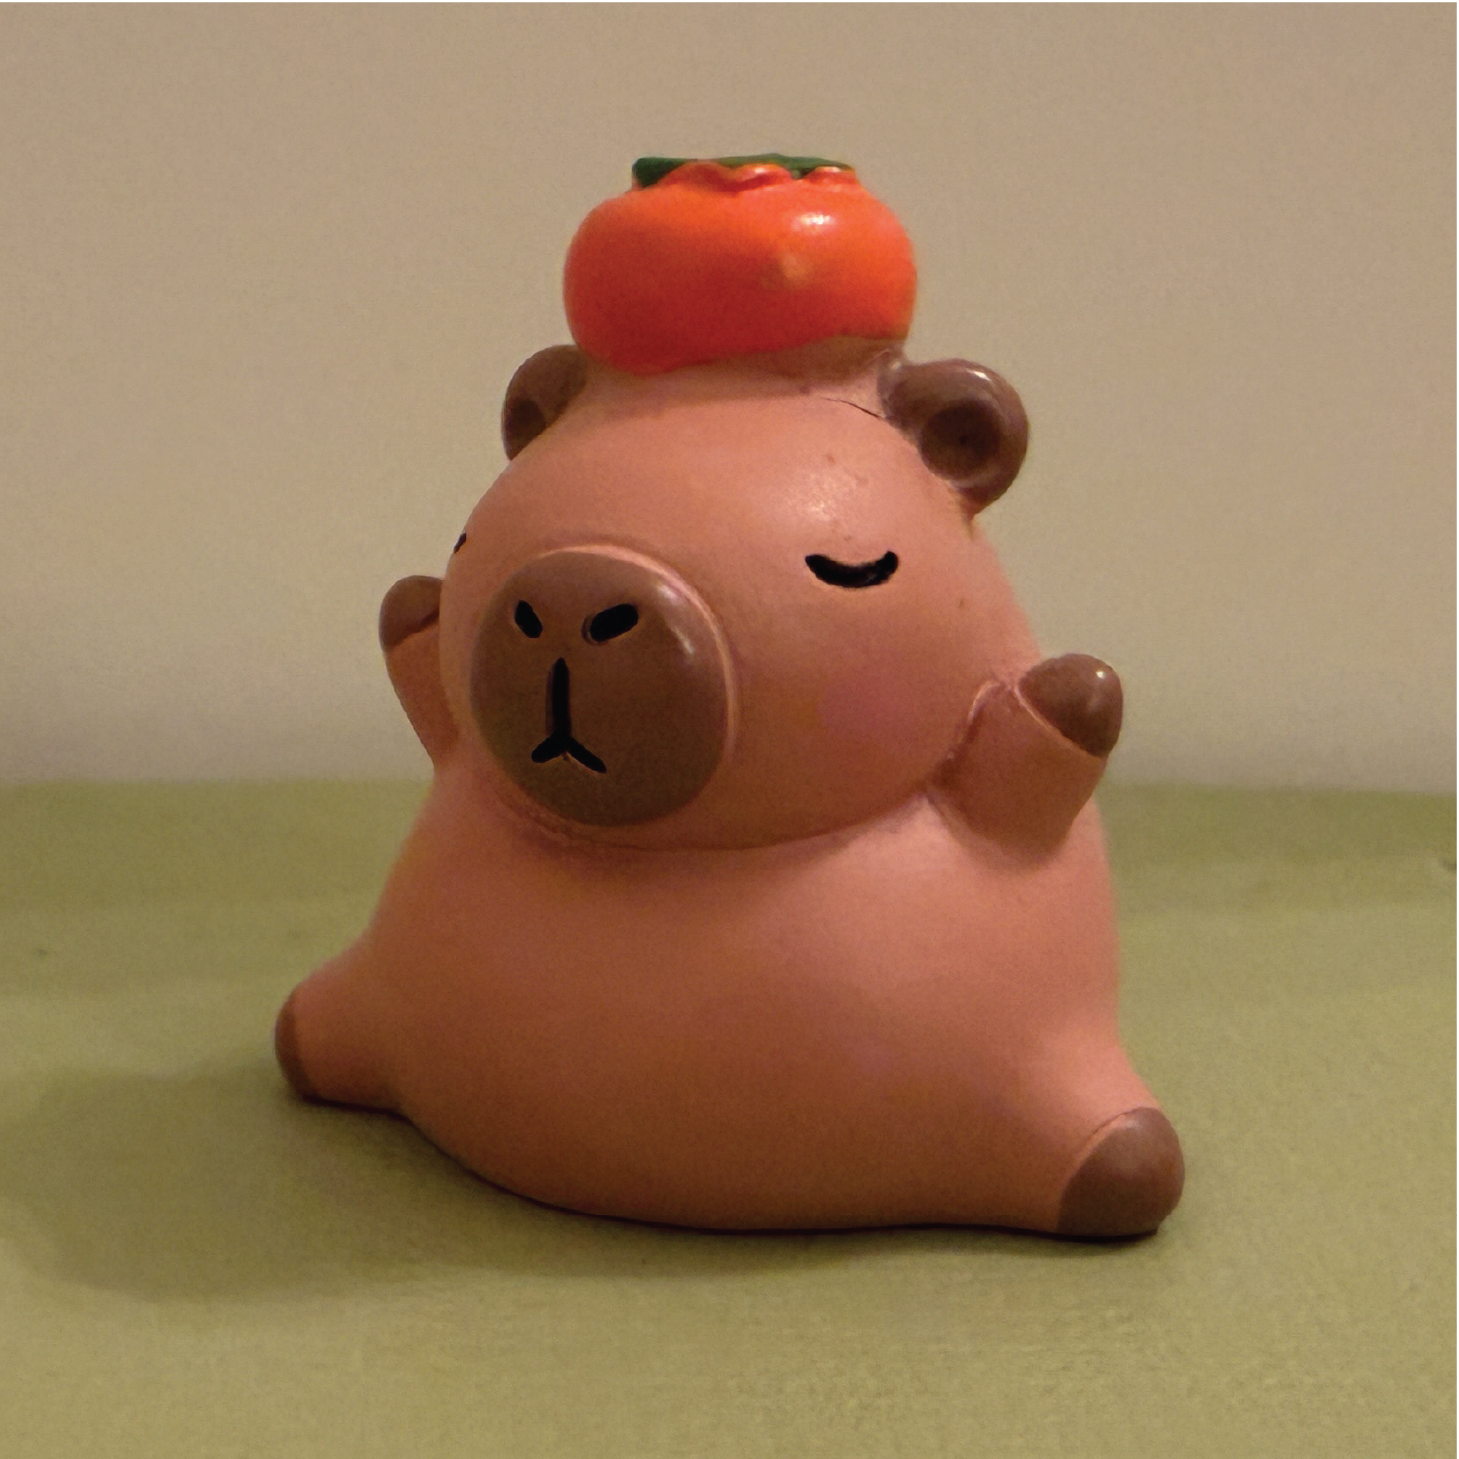
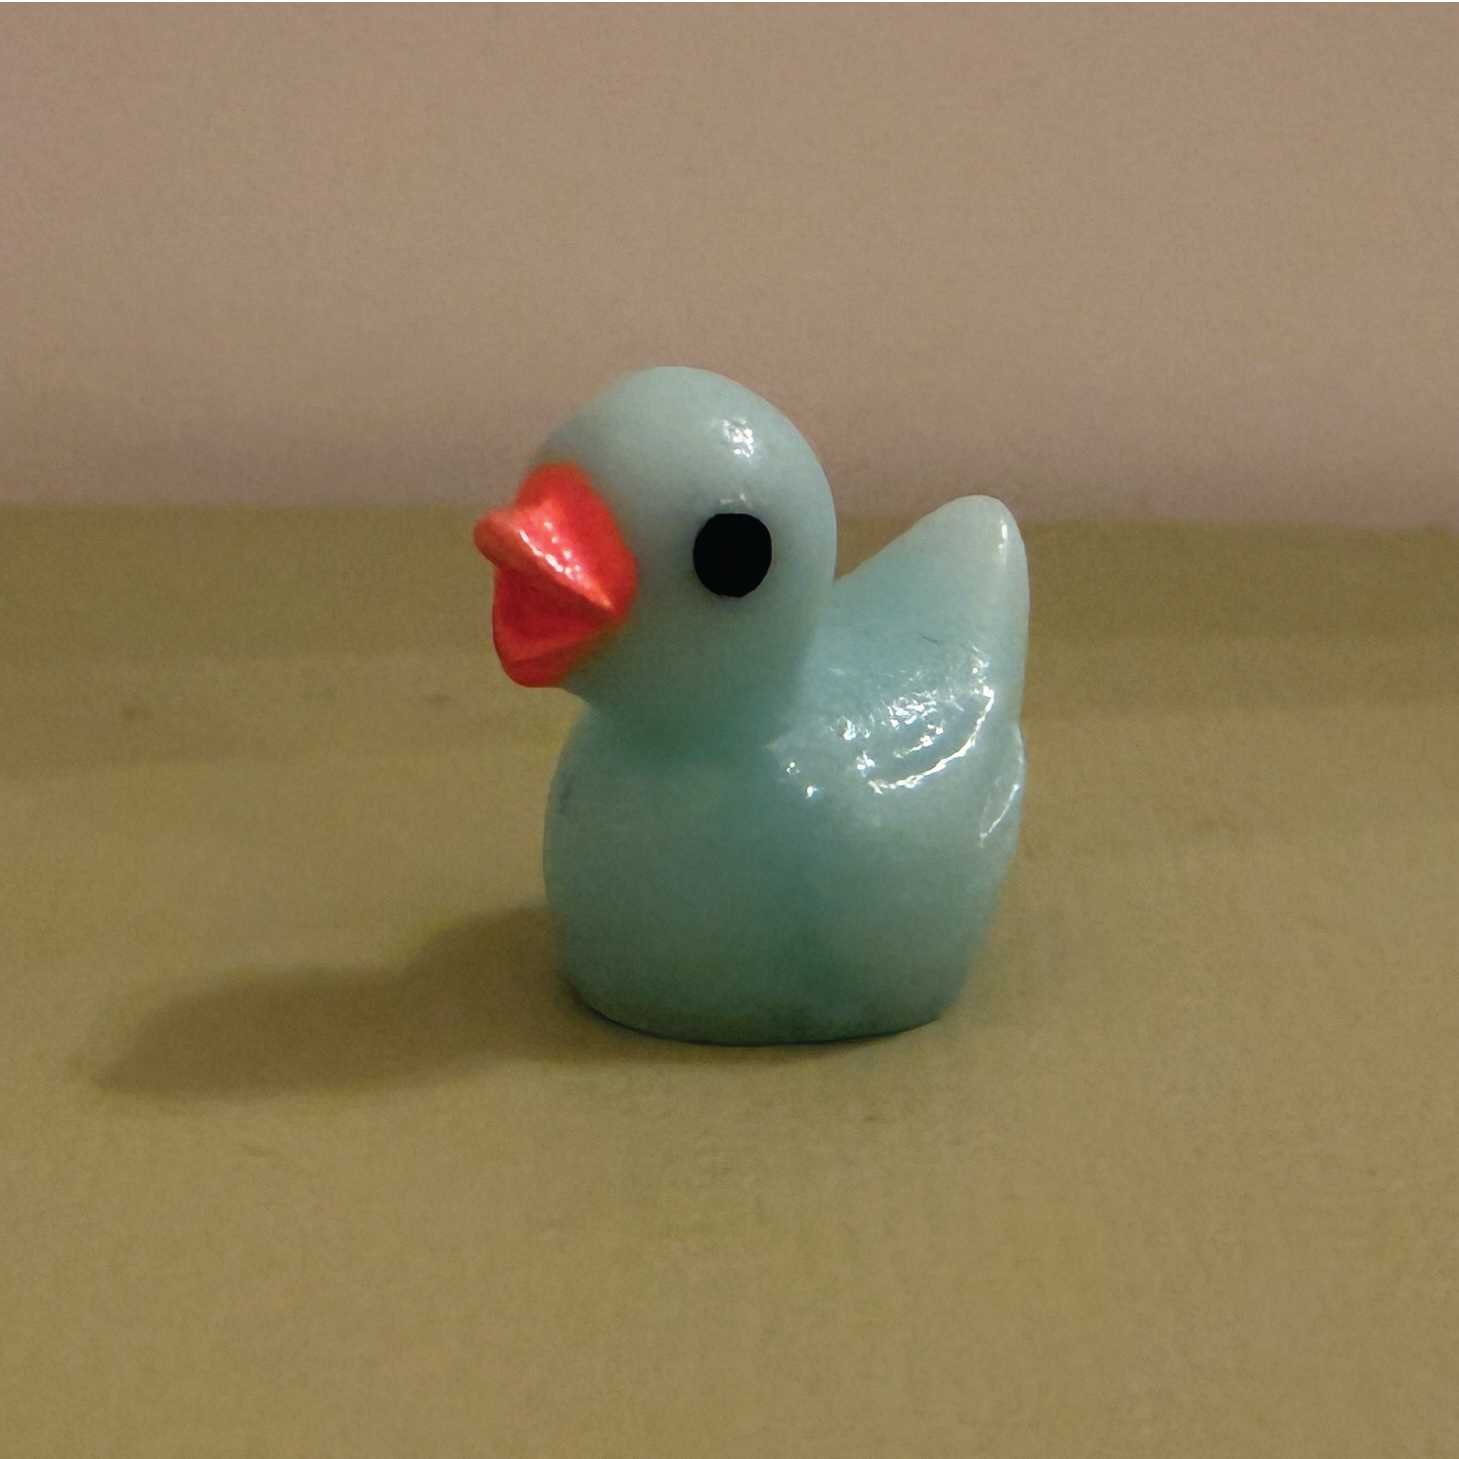
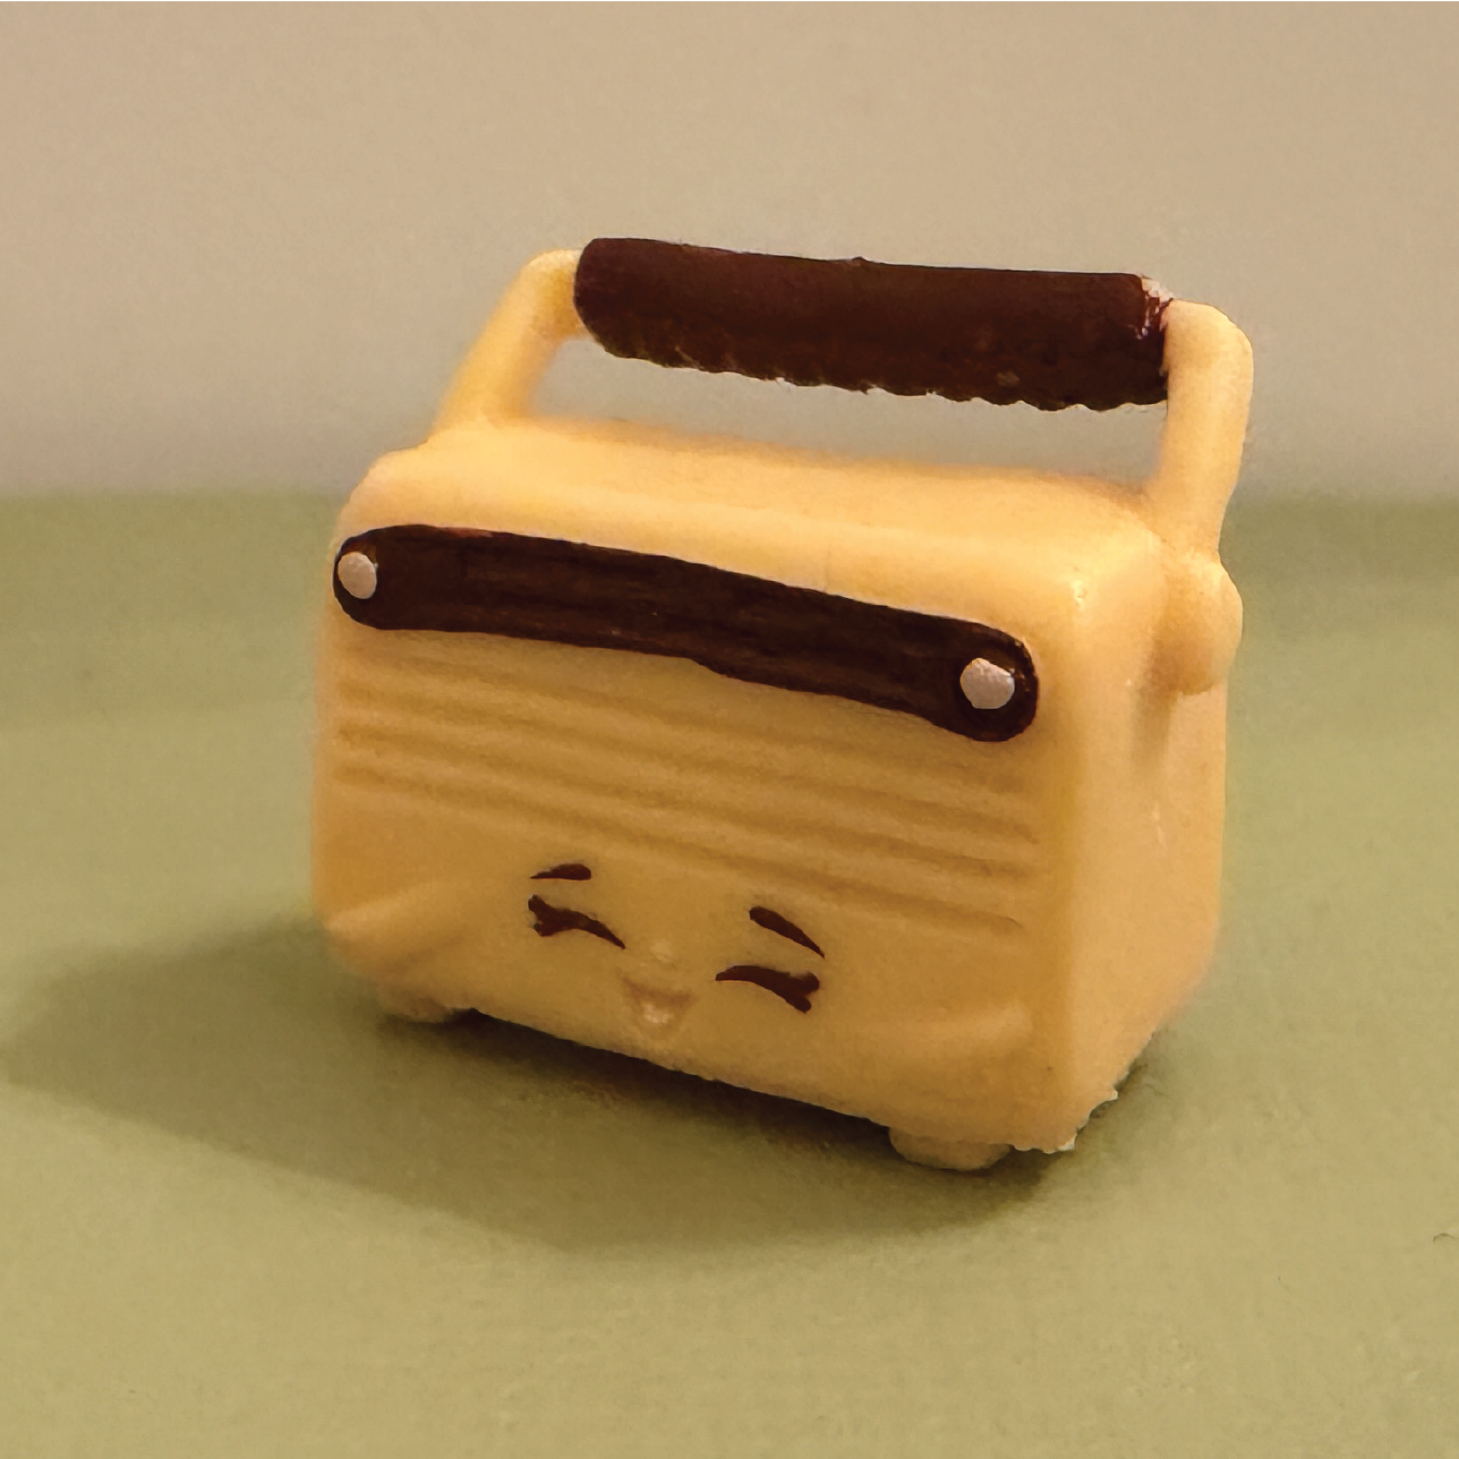
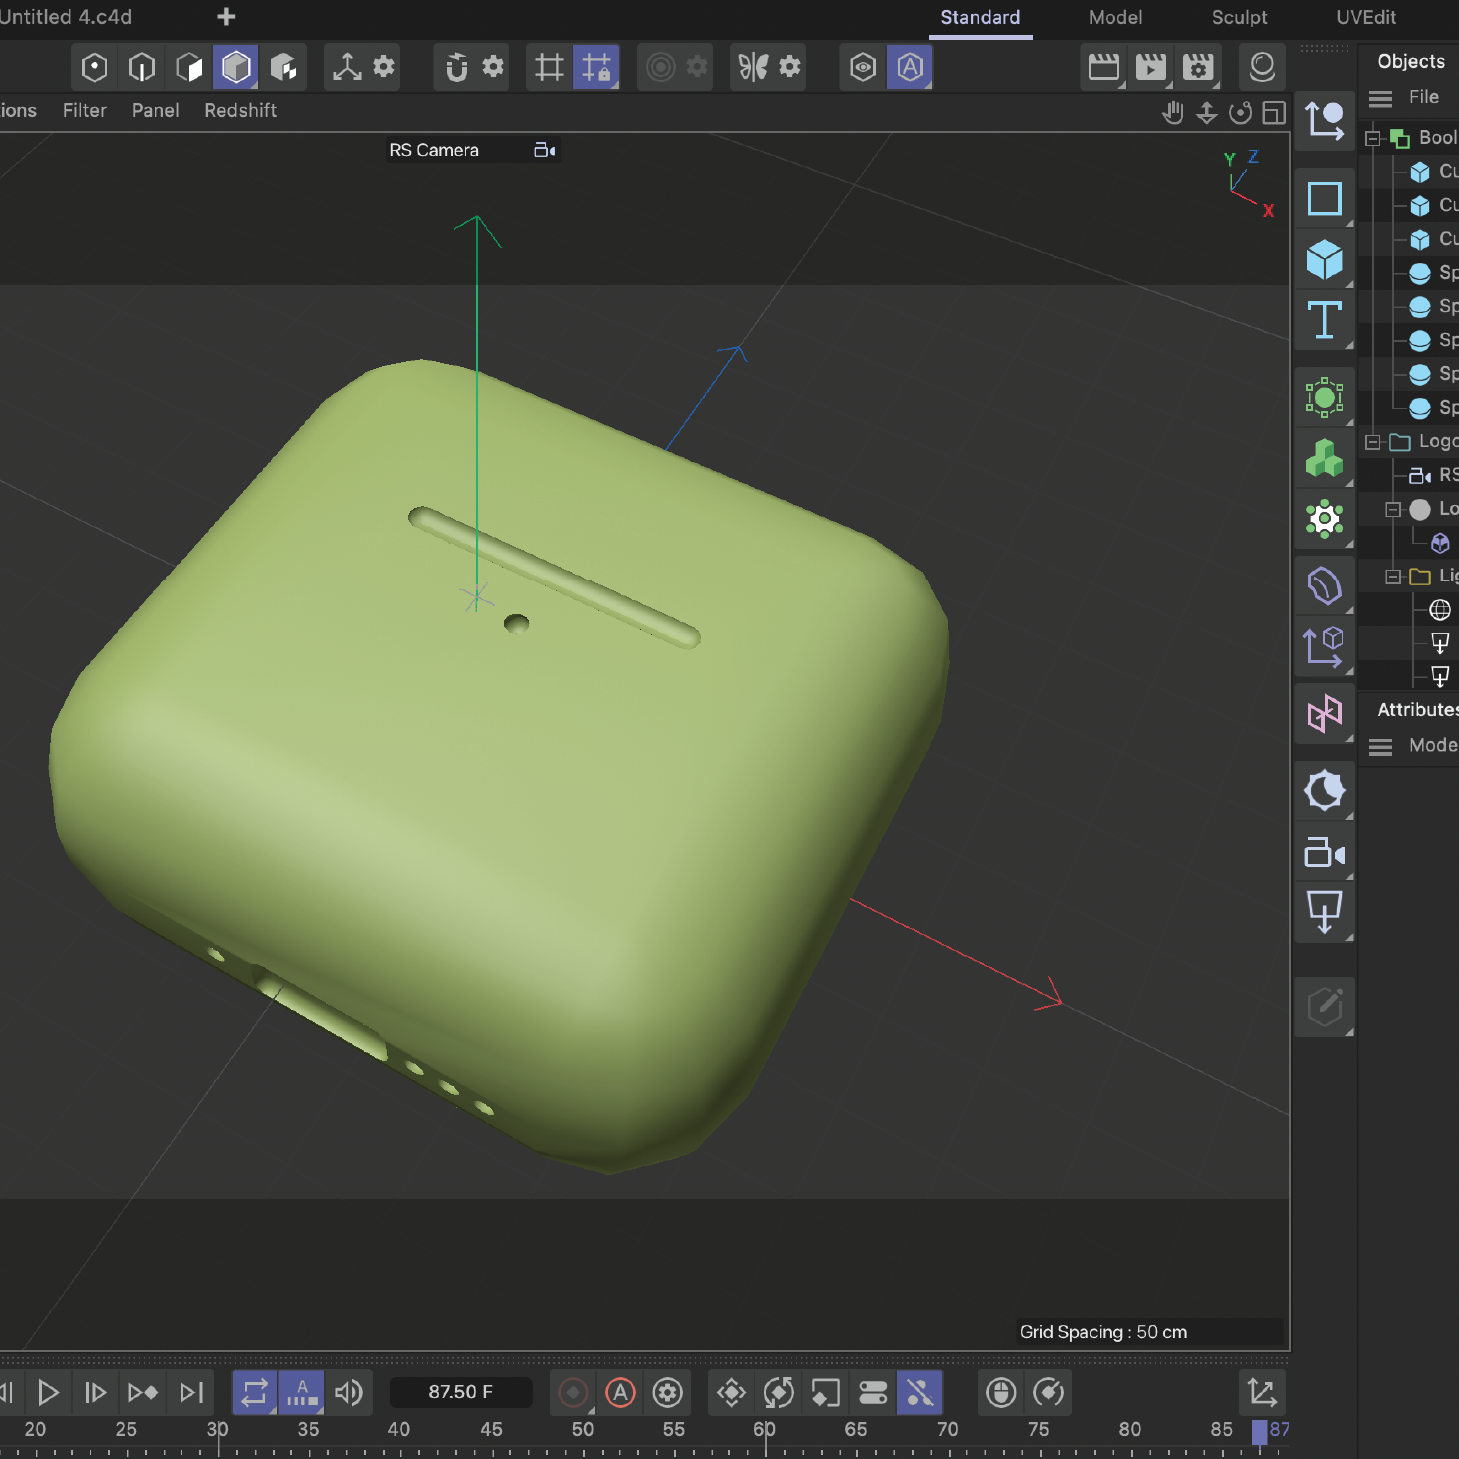
This is my process for design challenge 1. I have attached screenshots of the steps I took in Blender and Cinema 4D as well as pictures of my 8 chosen objects. When looking at all my objects together, I can see that I have selected objects that have a happy core memory for me; whether it was how I came to obtain them or something that occurred while I had them, I resonate with them positively, and I think that is why I was drawn to them right away.

Design Challenge 1
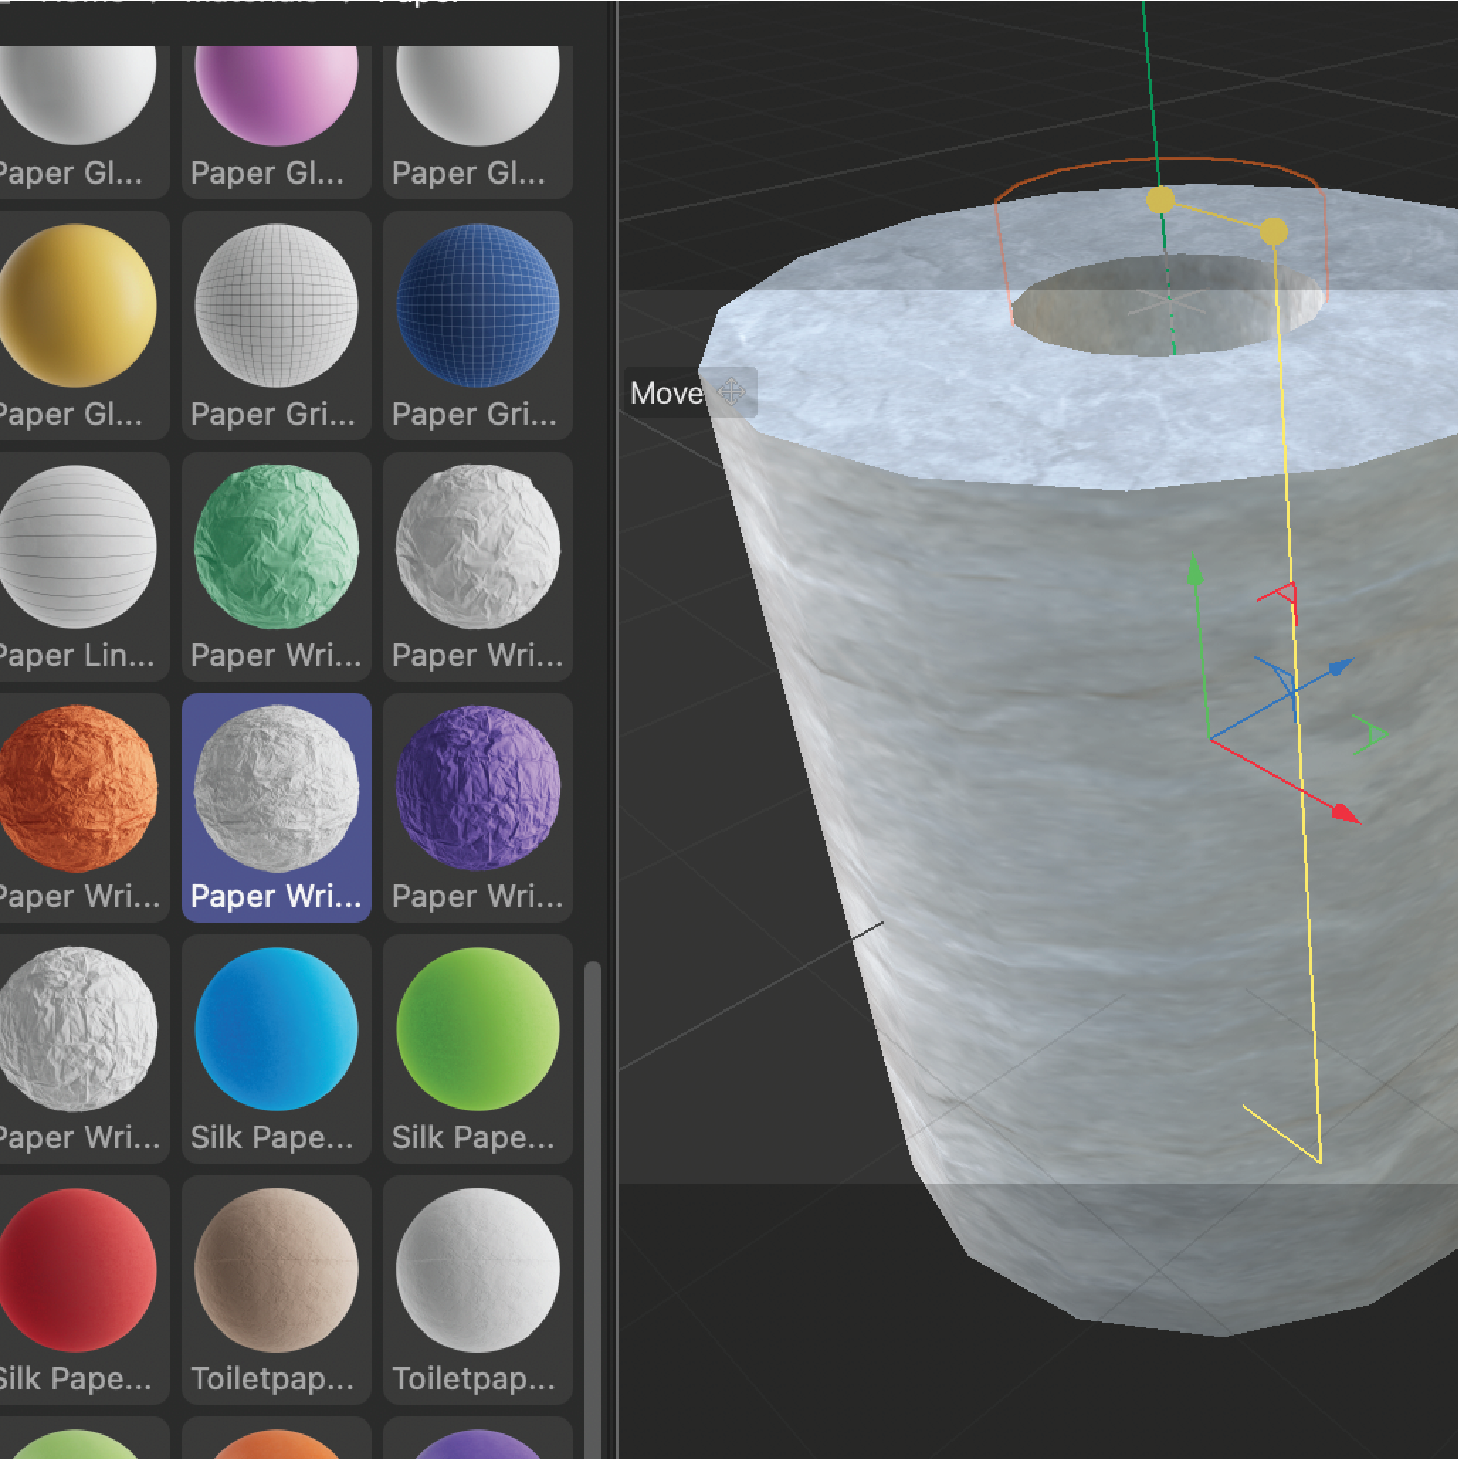
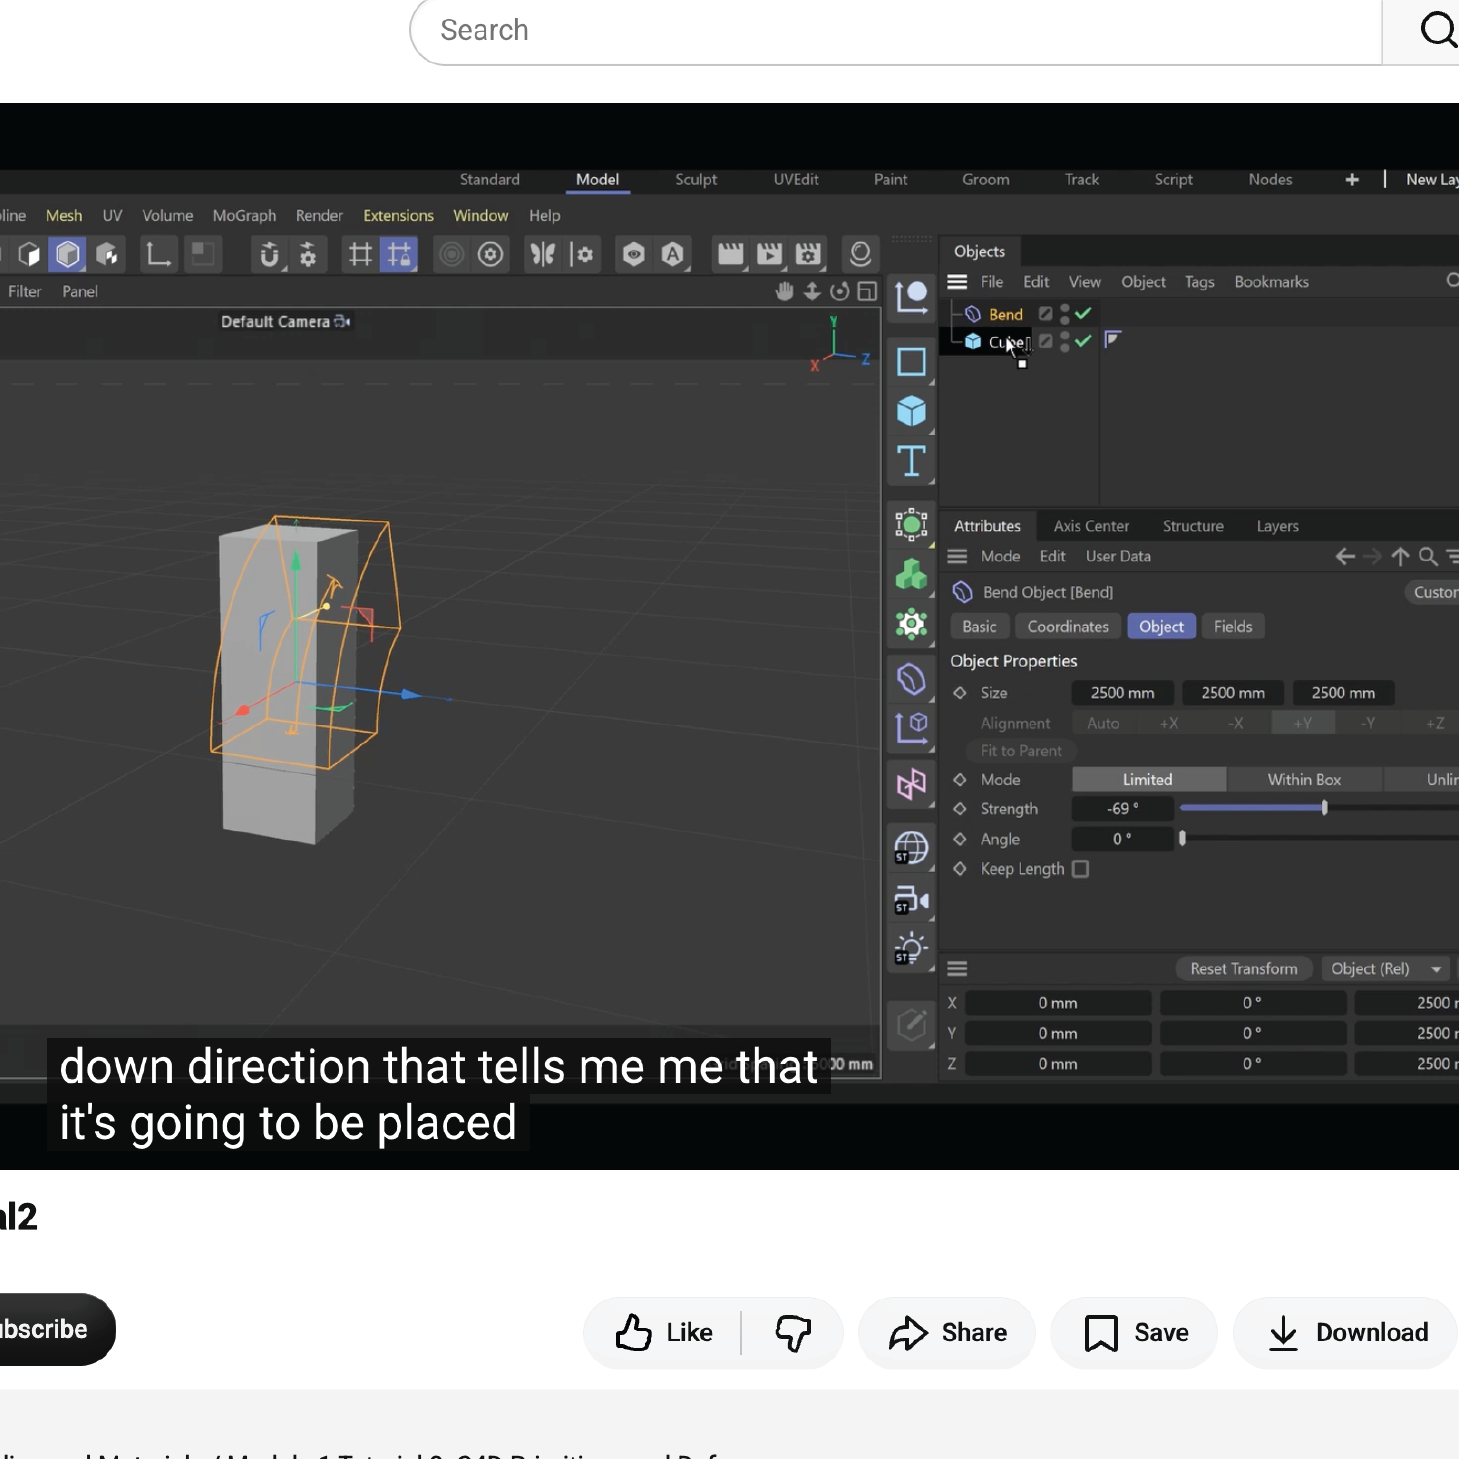
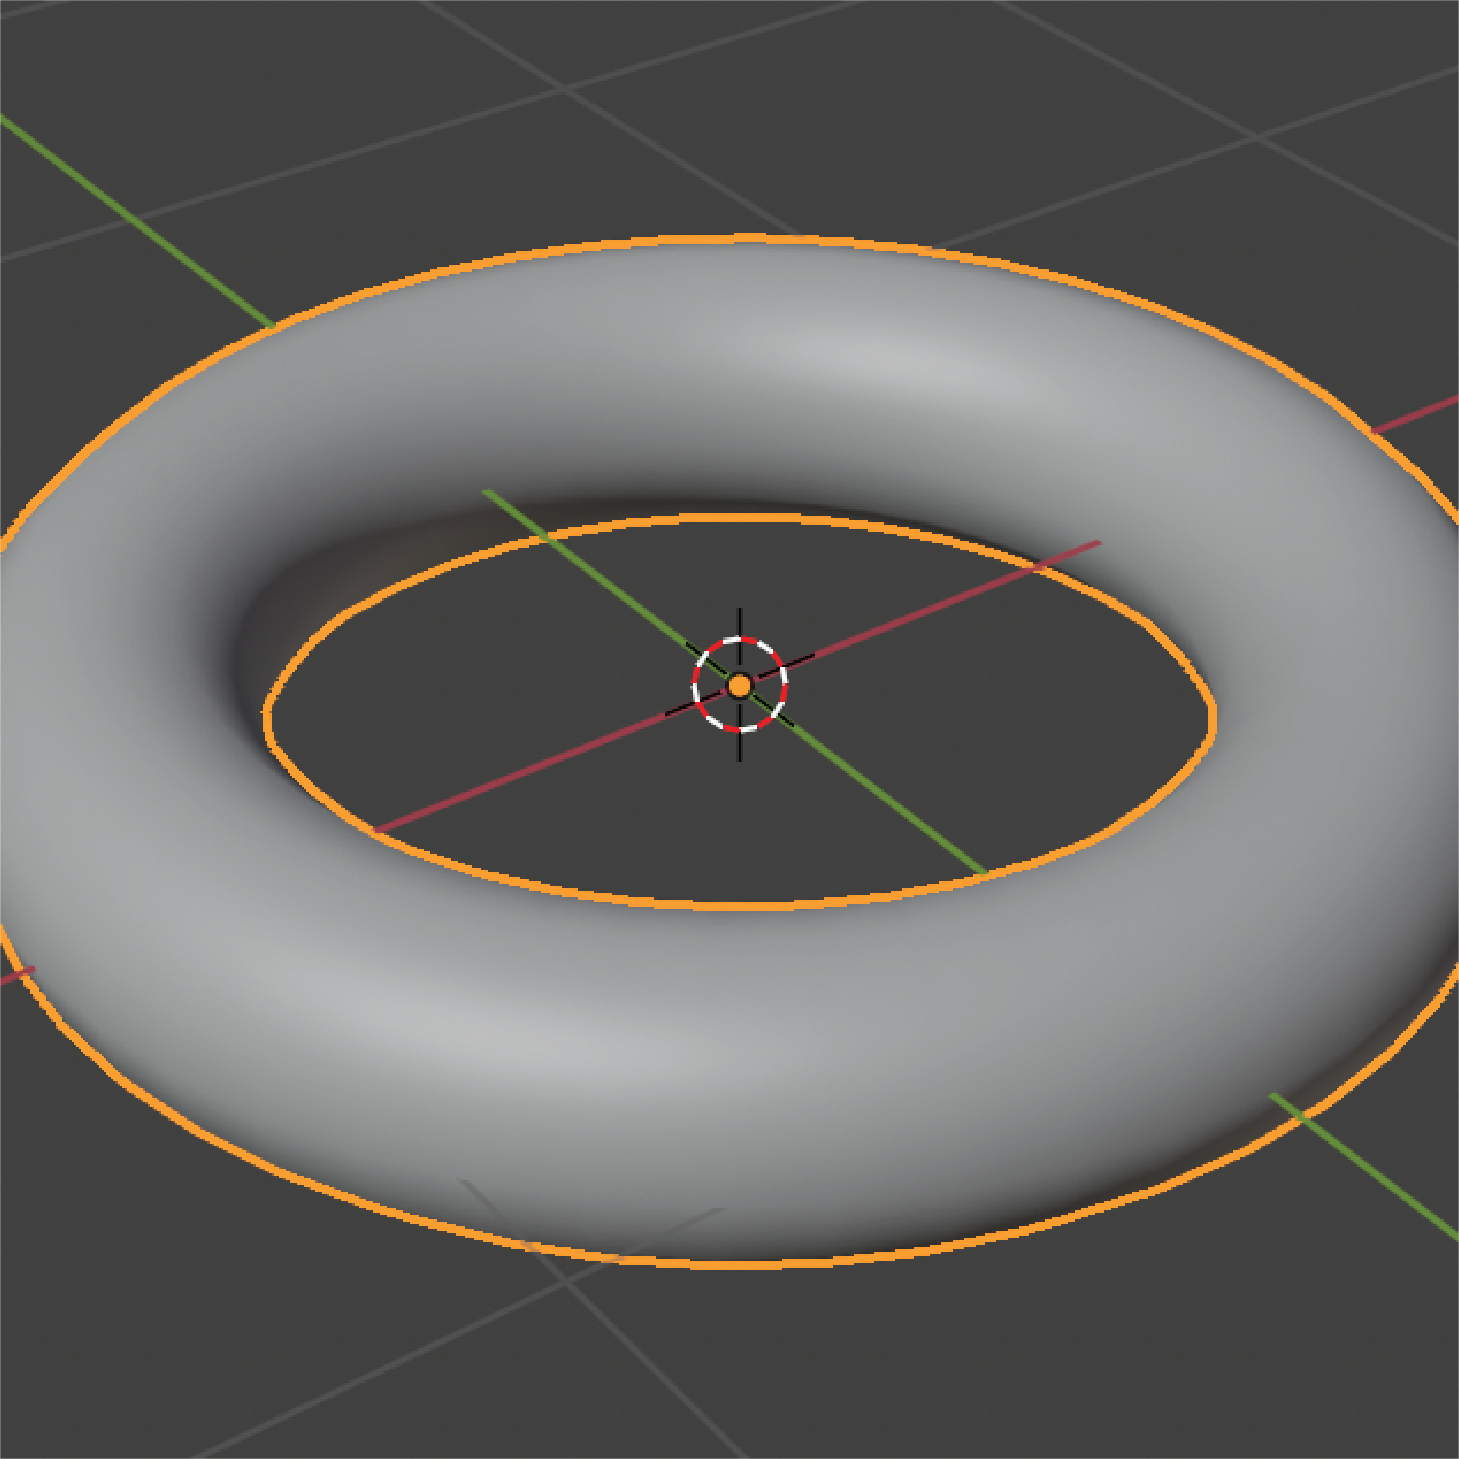
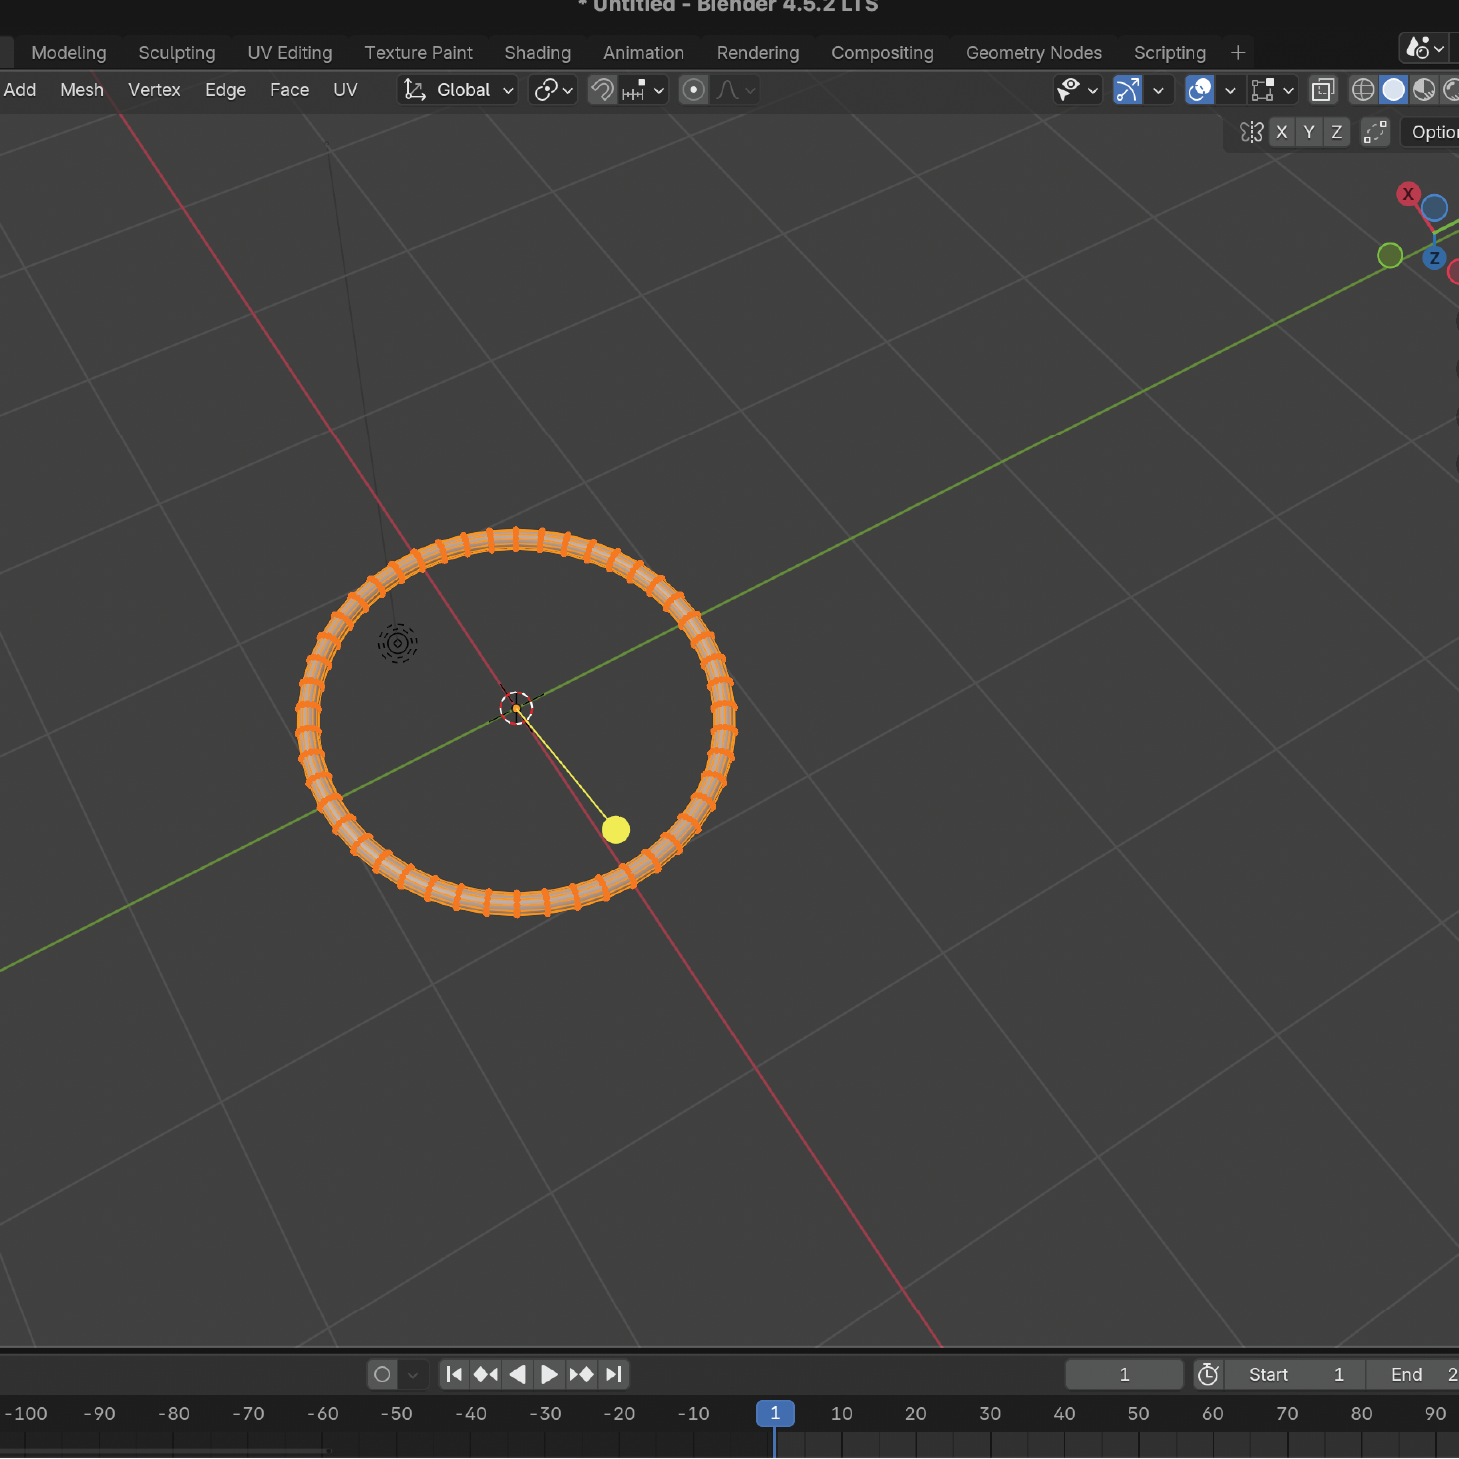
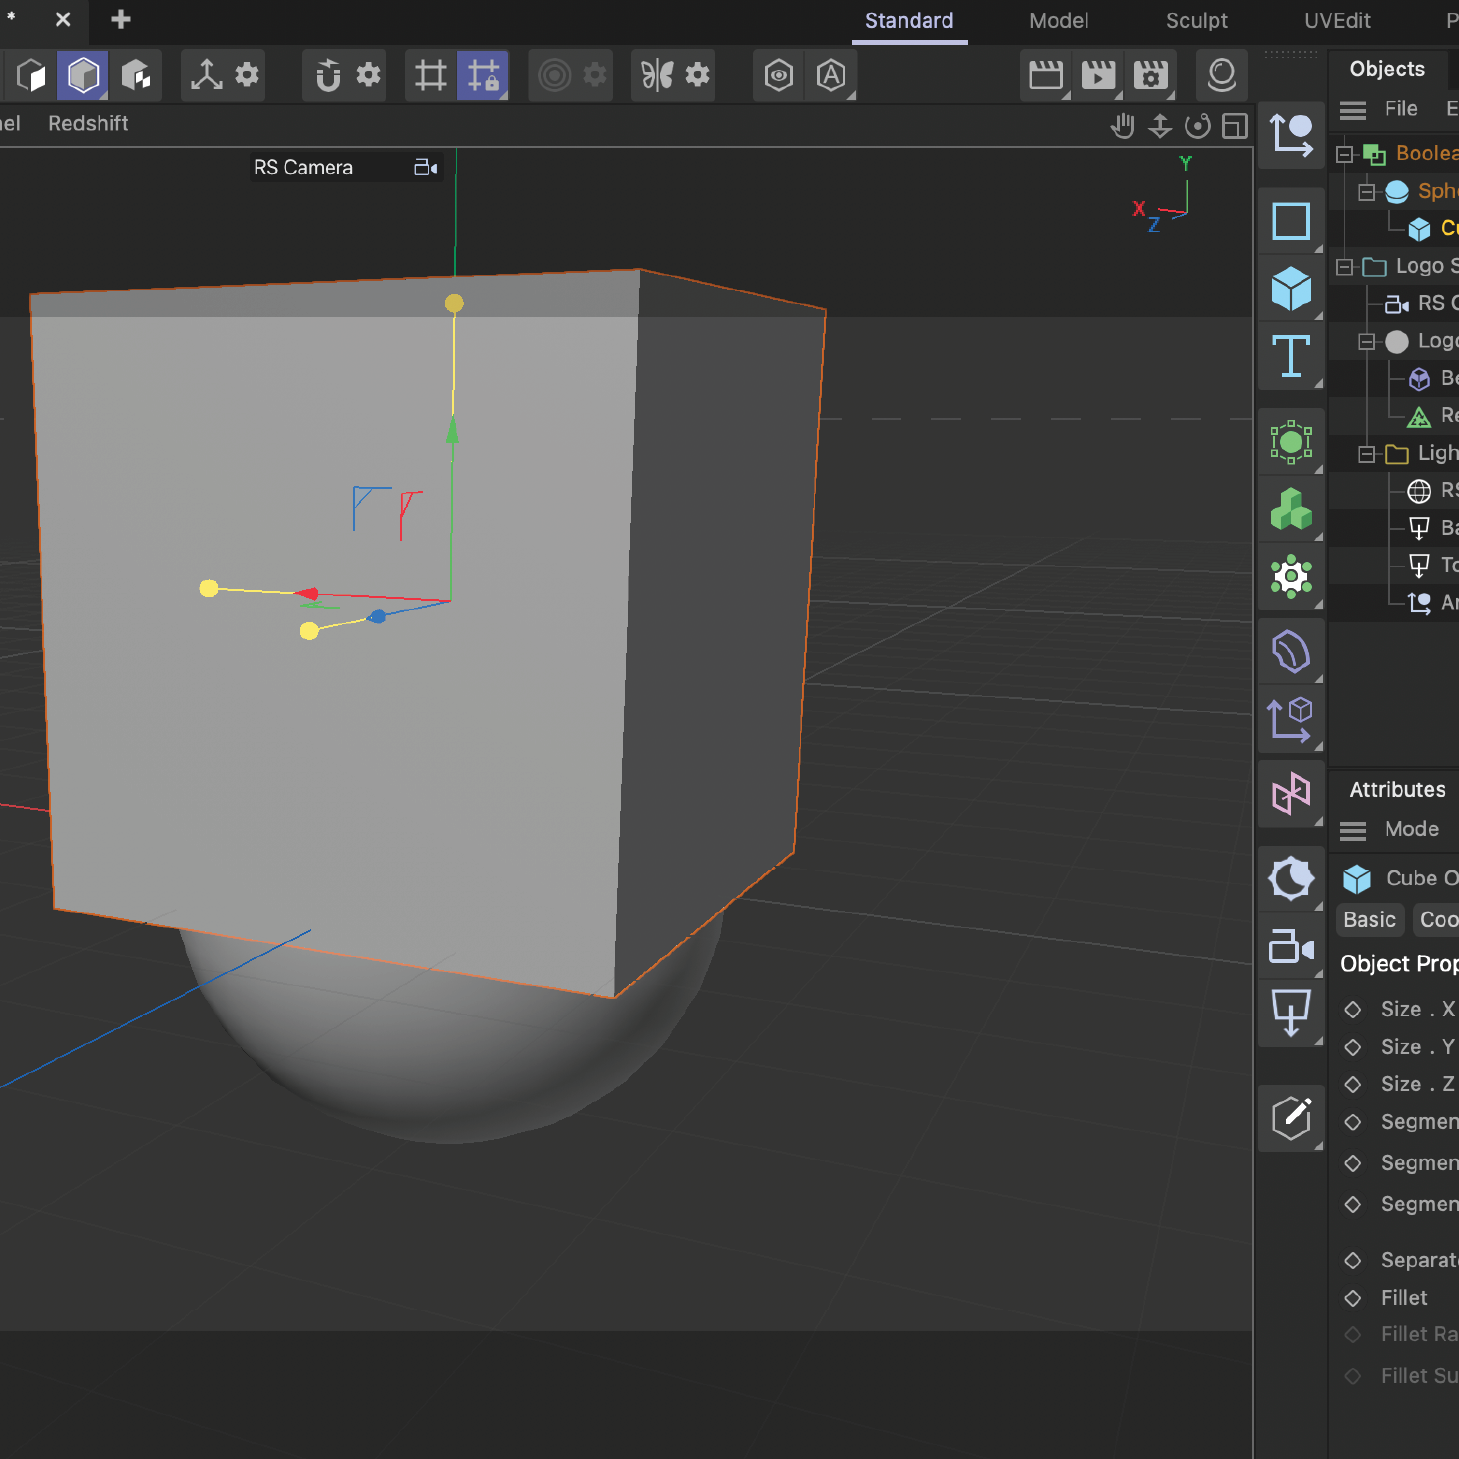
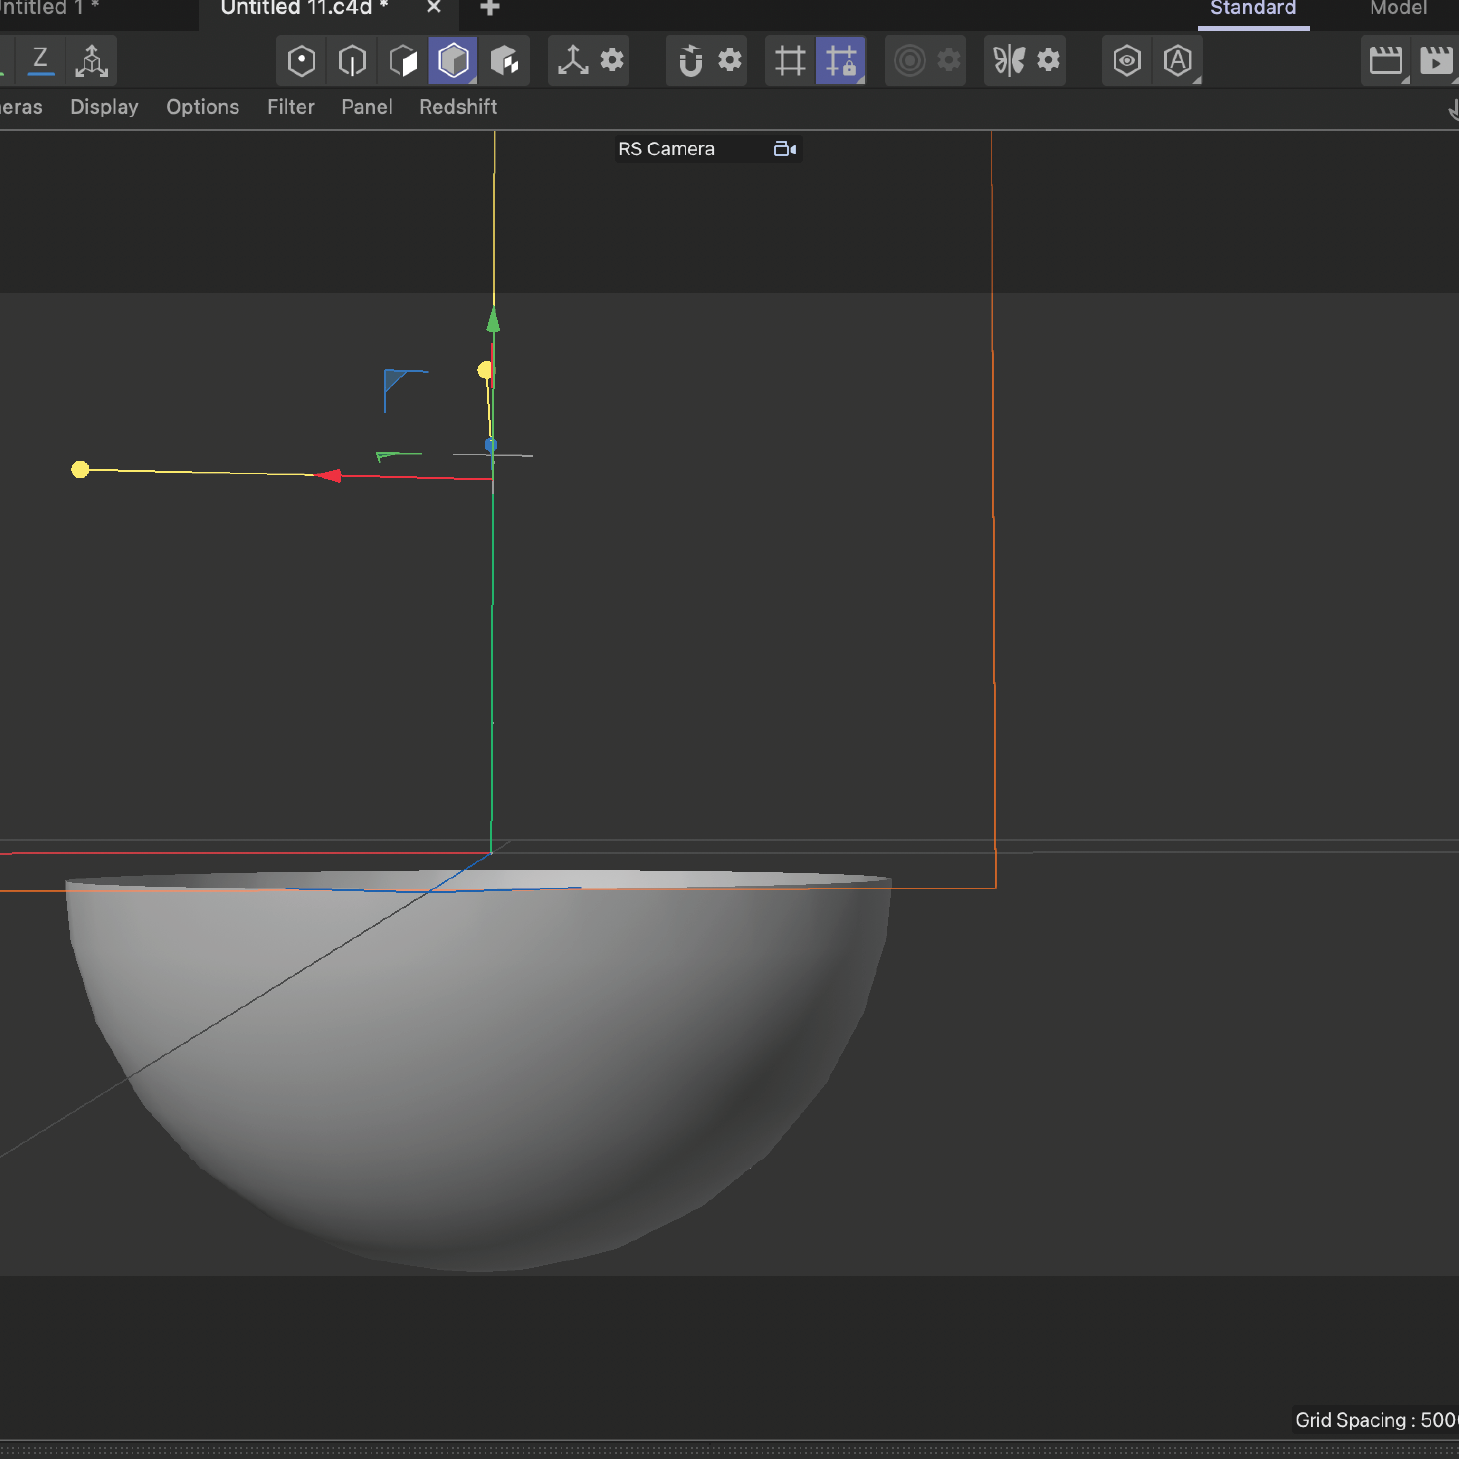
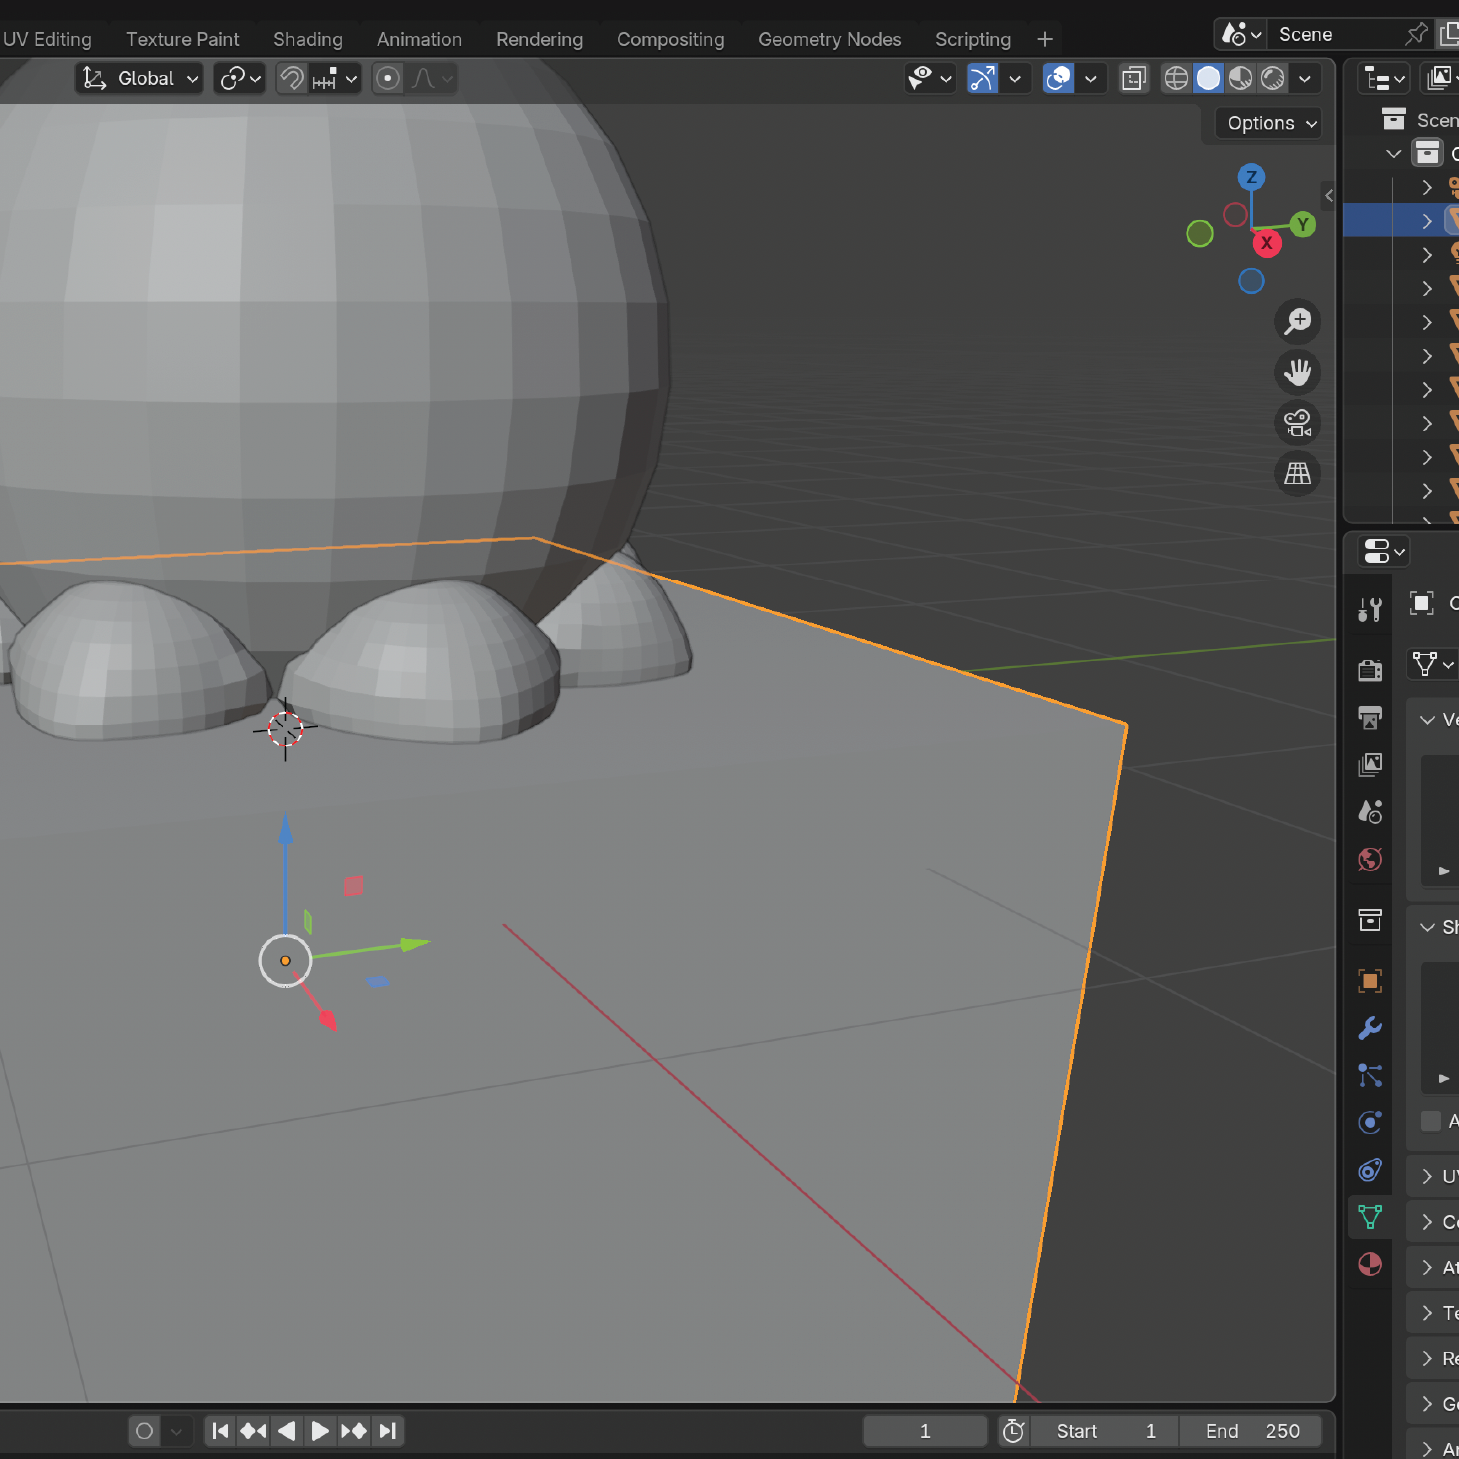
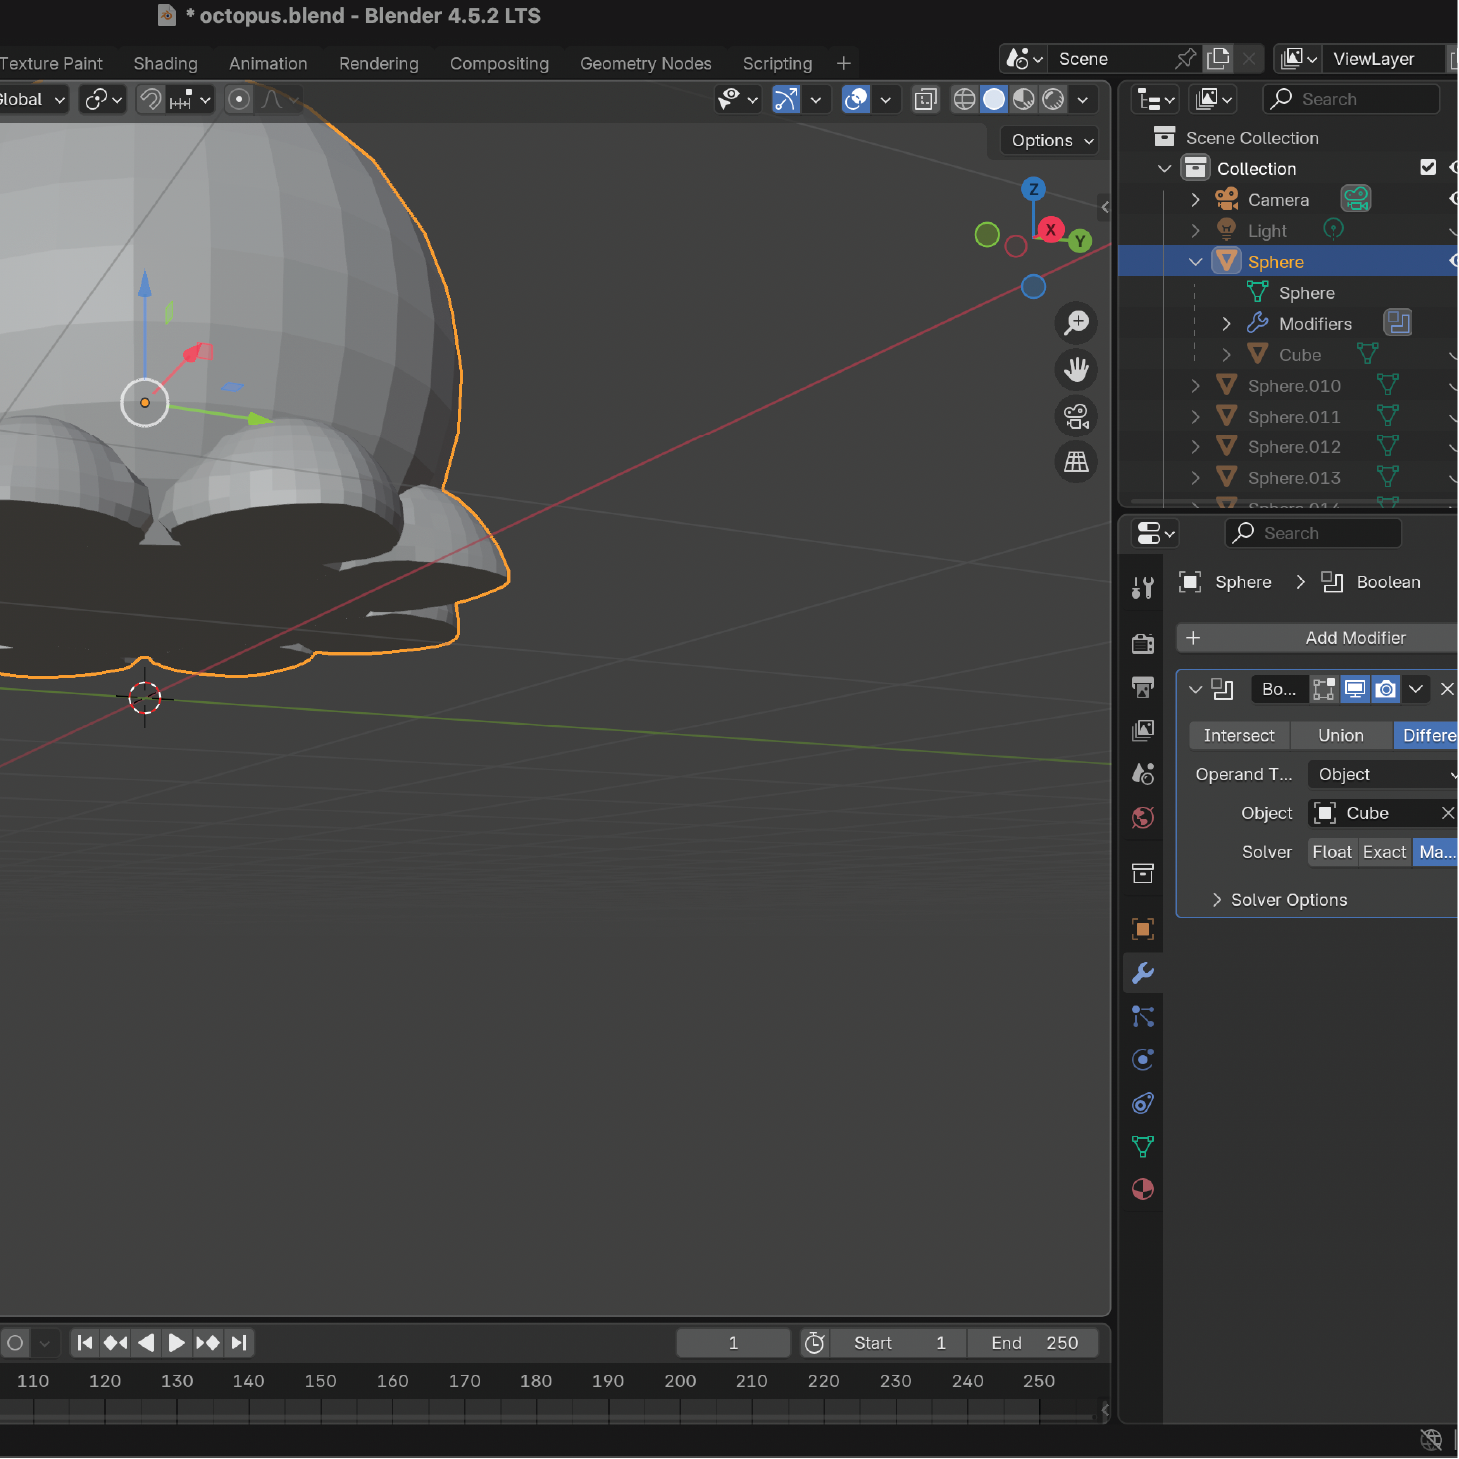
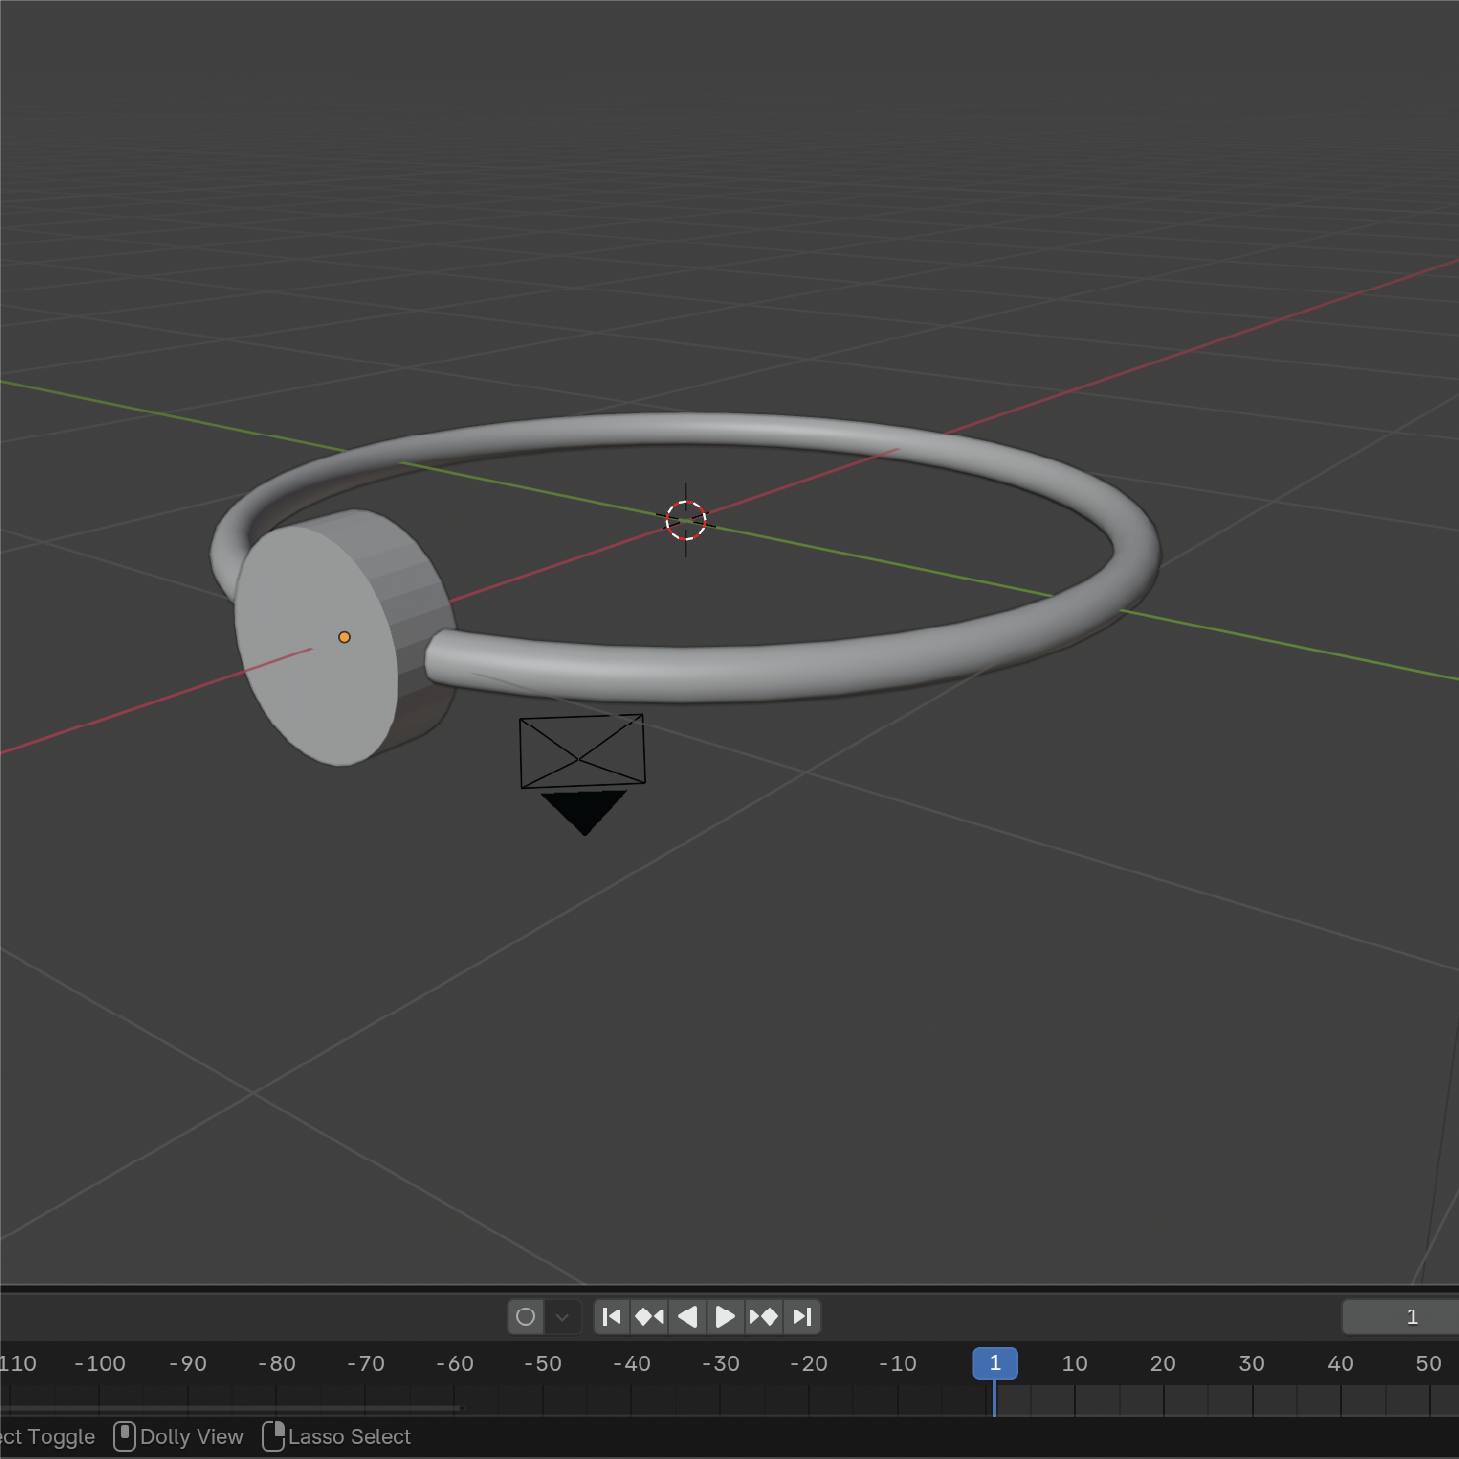
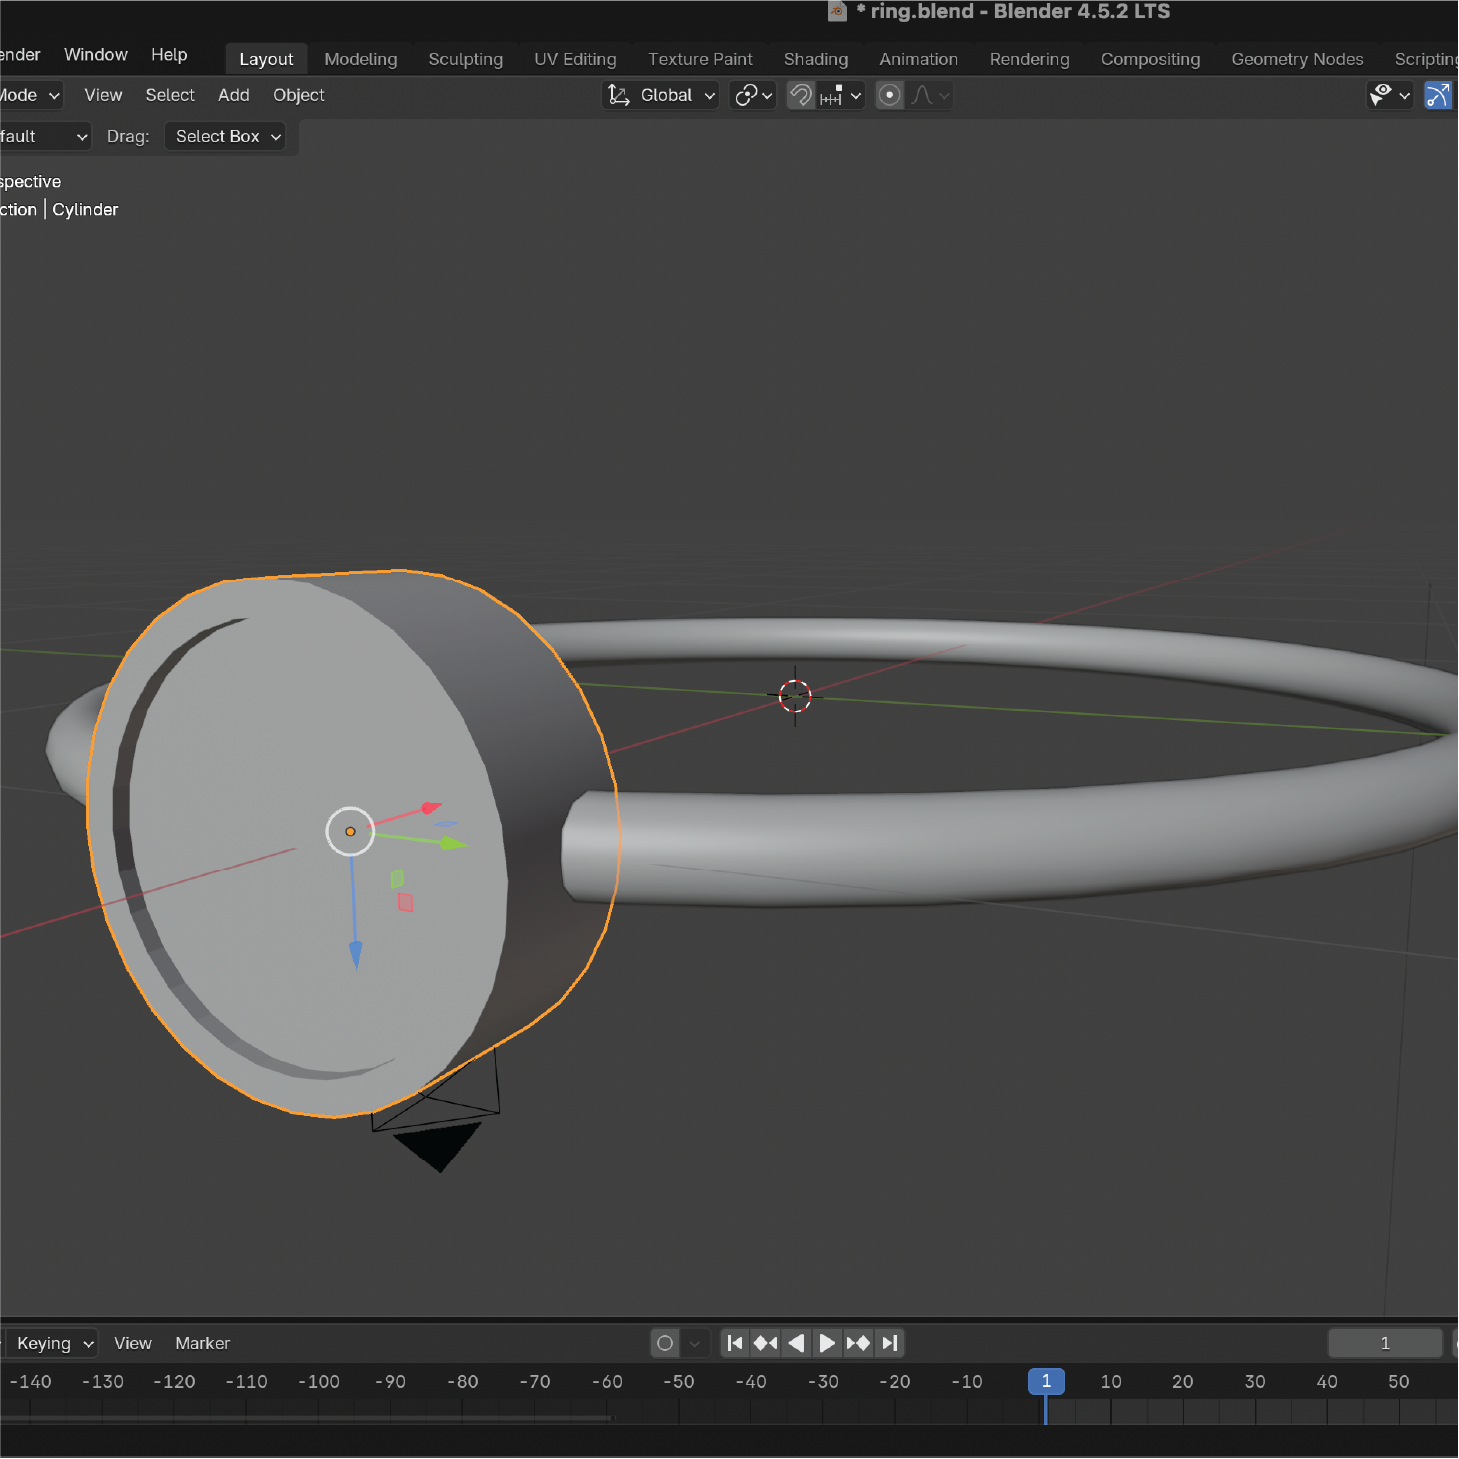
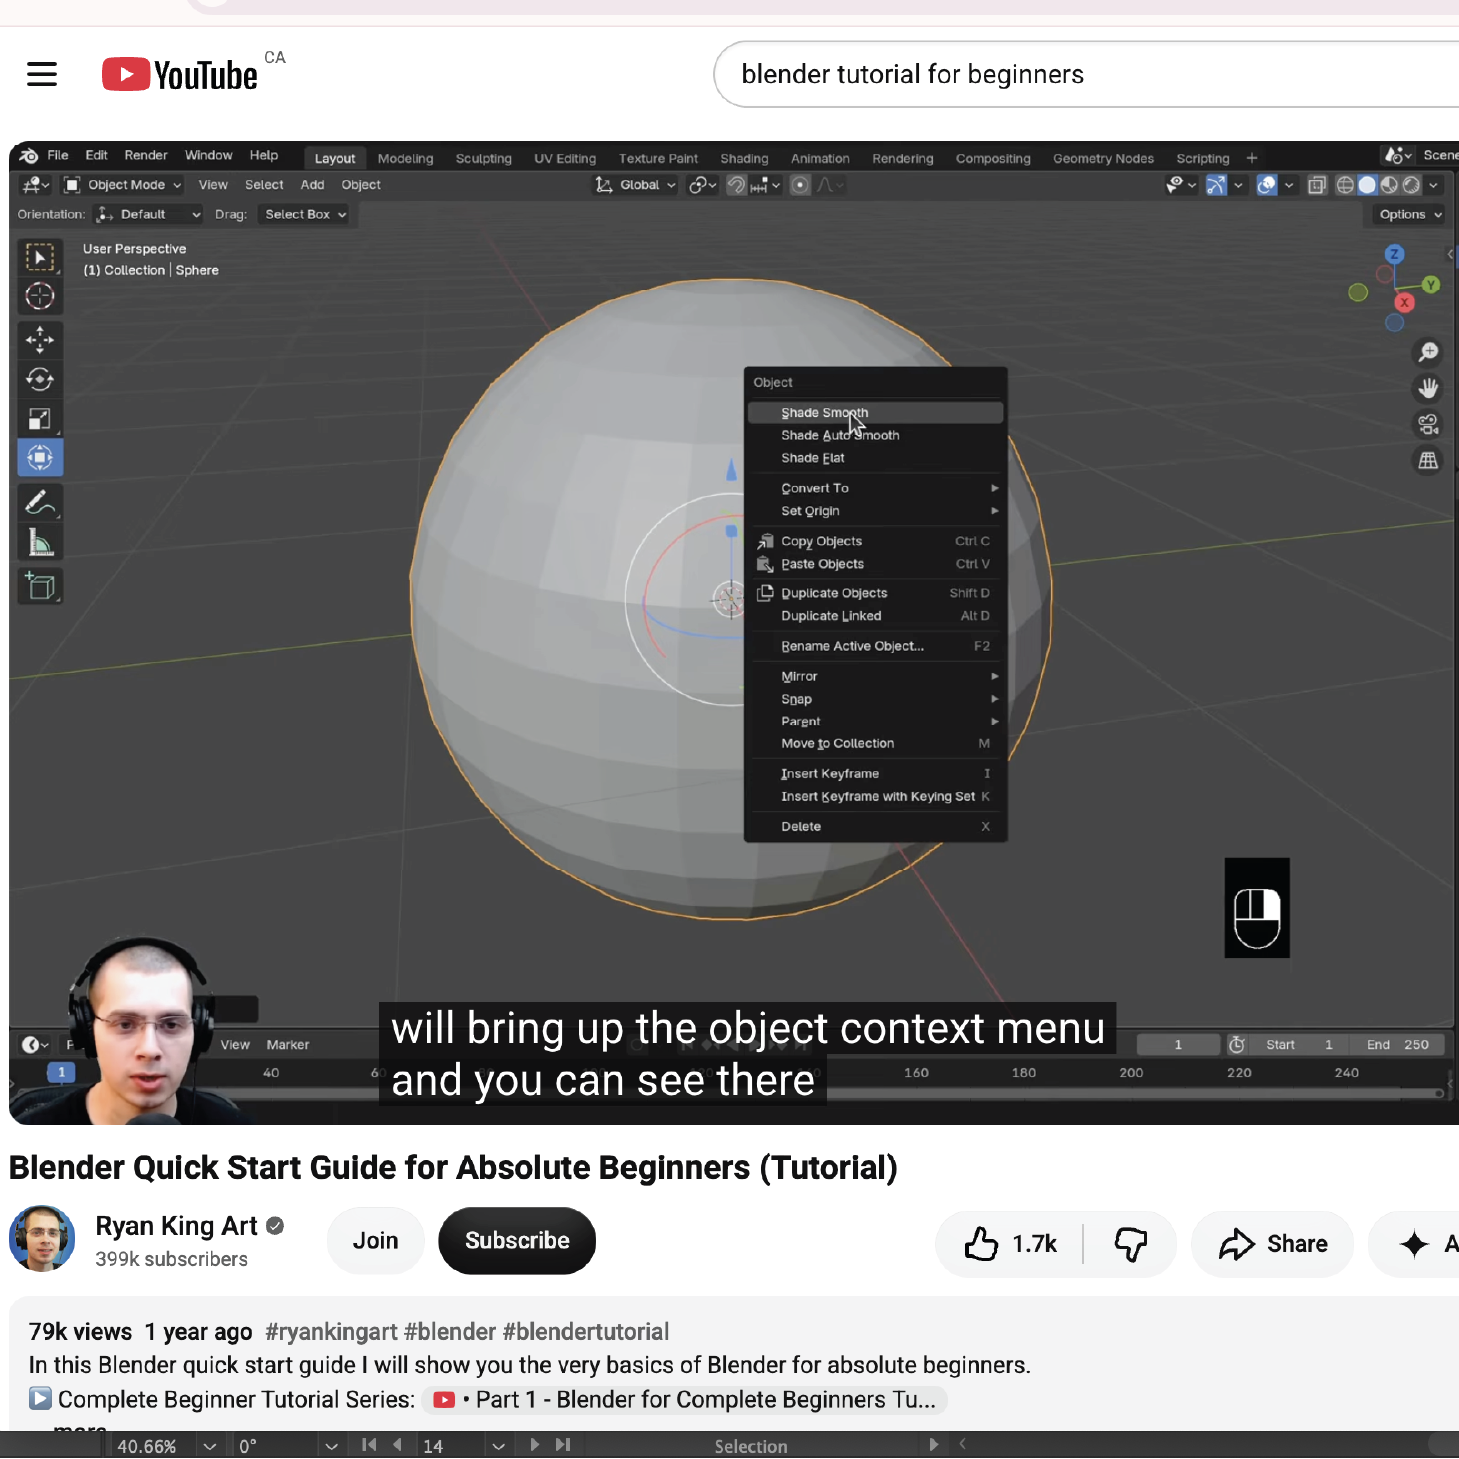
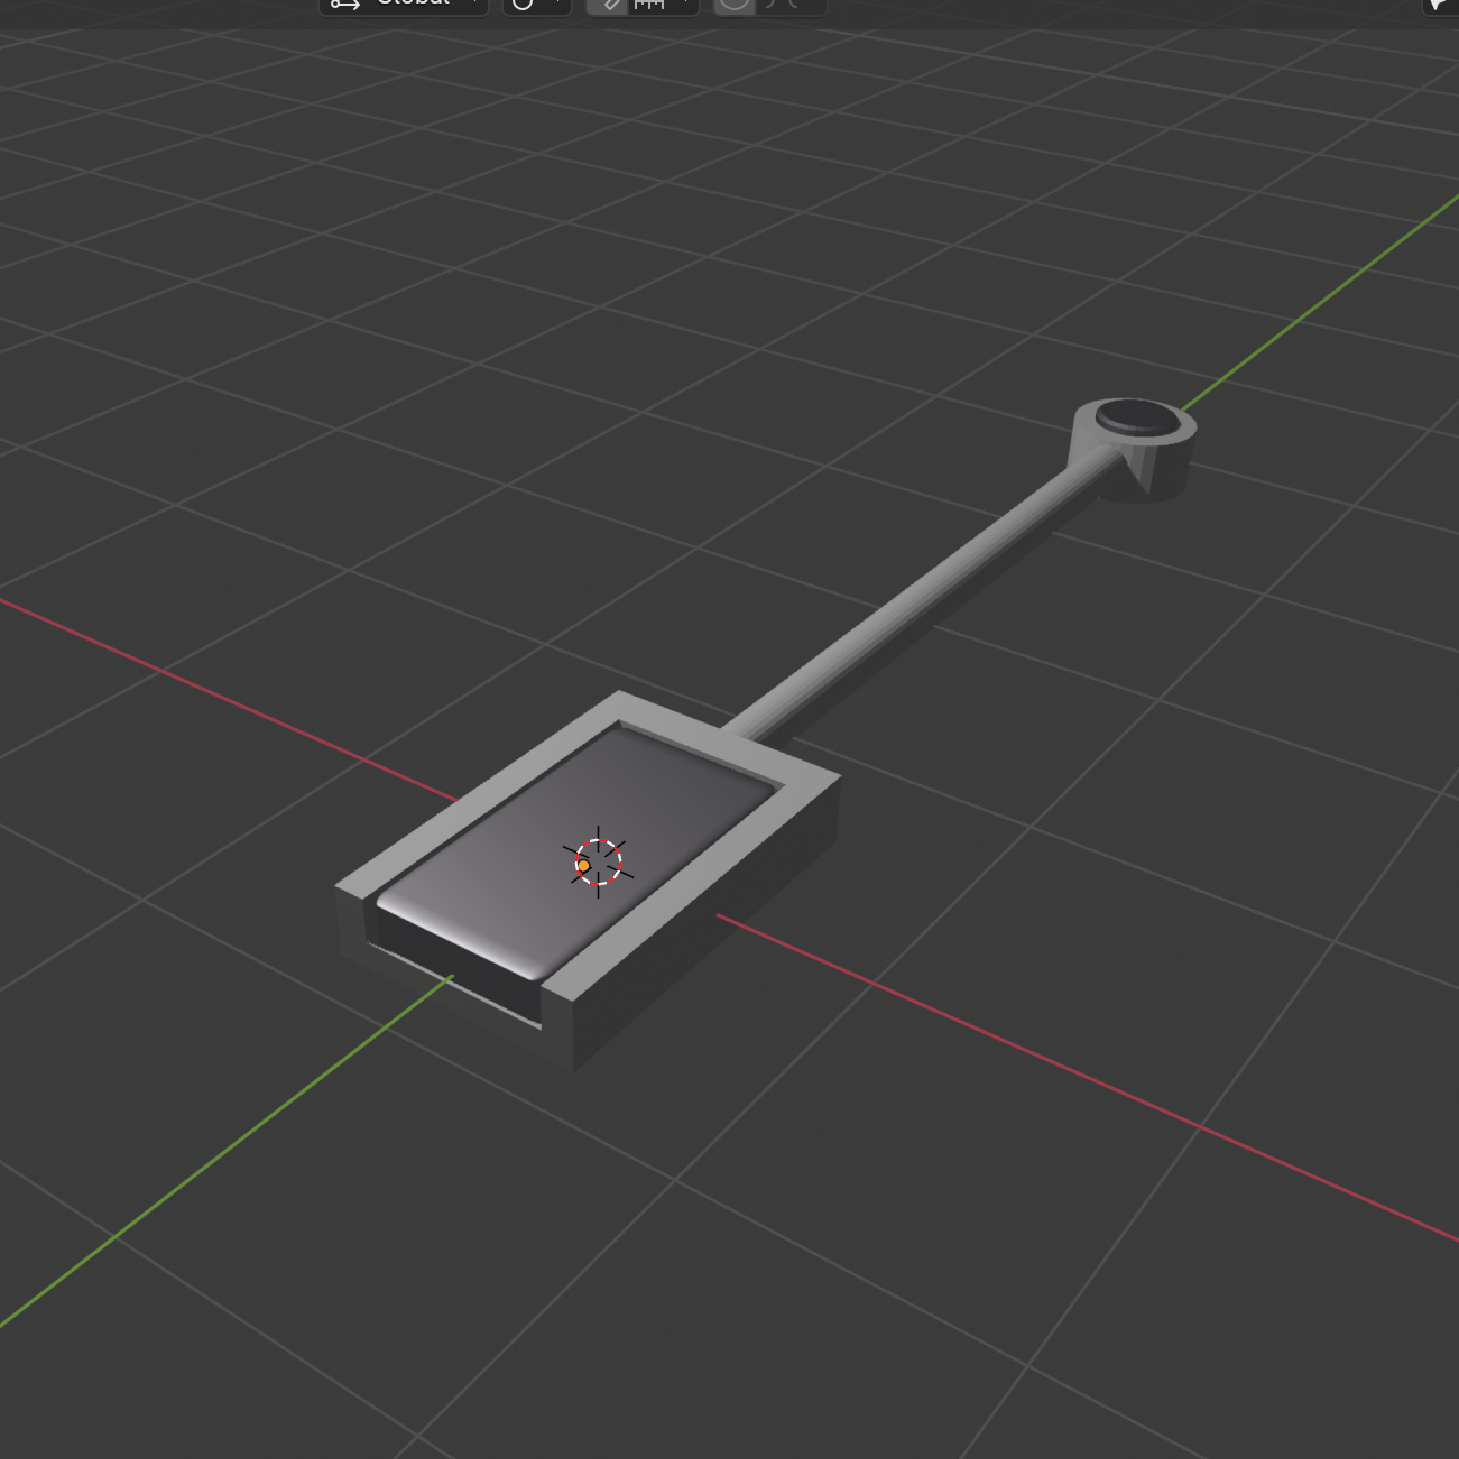
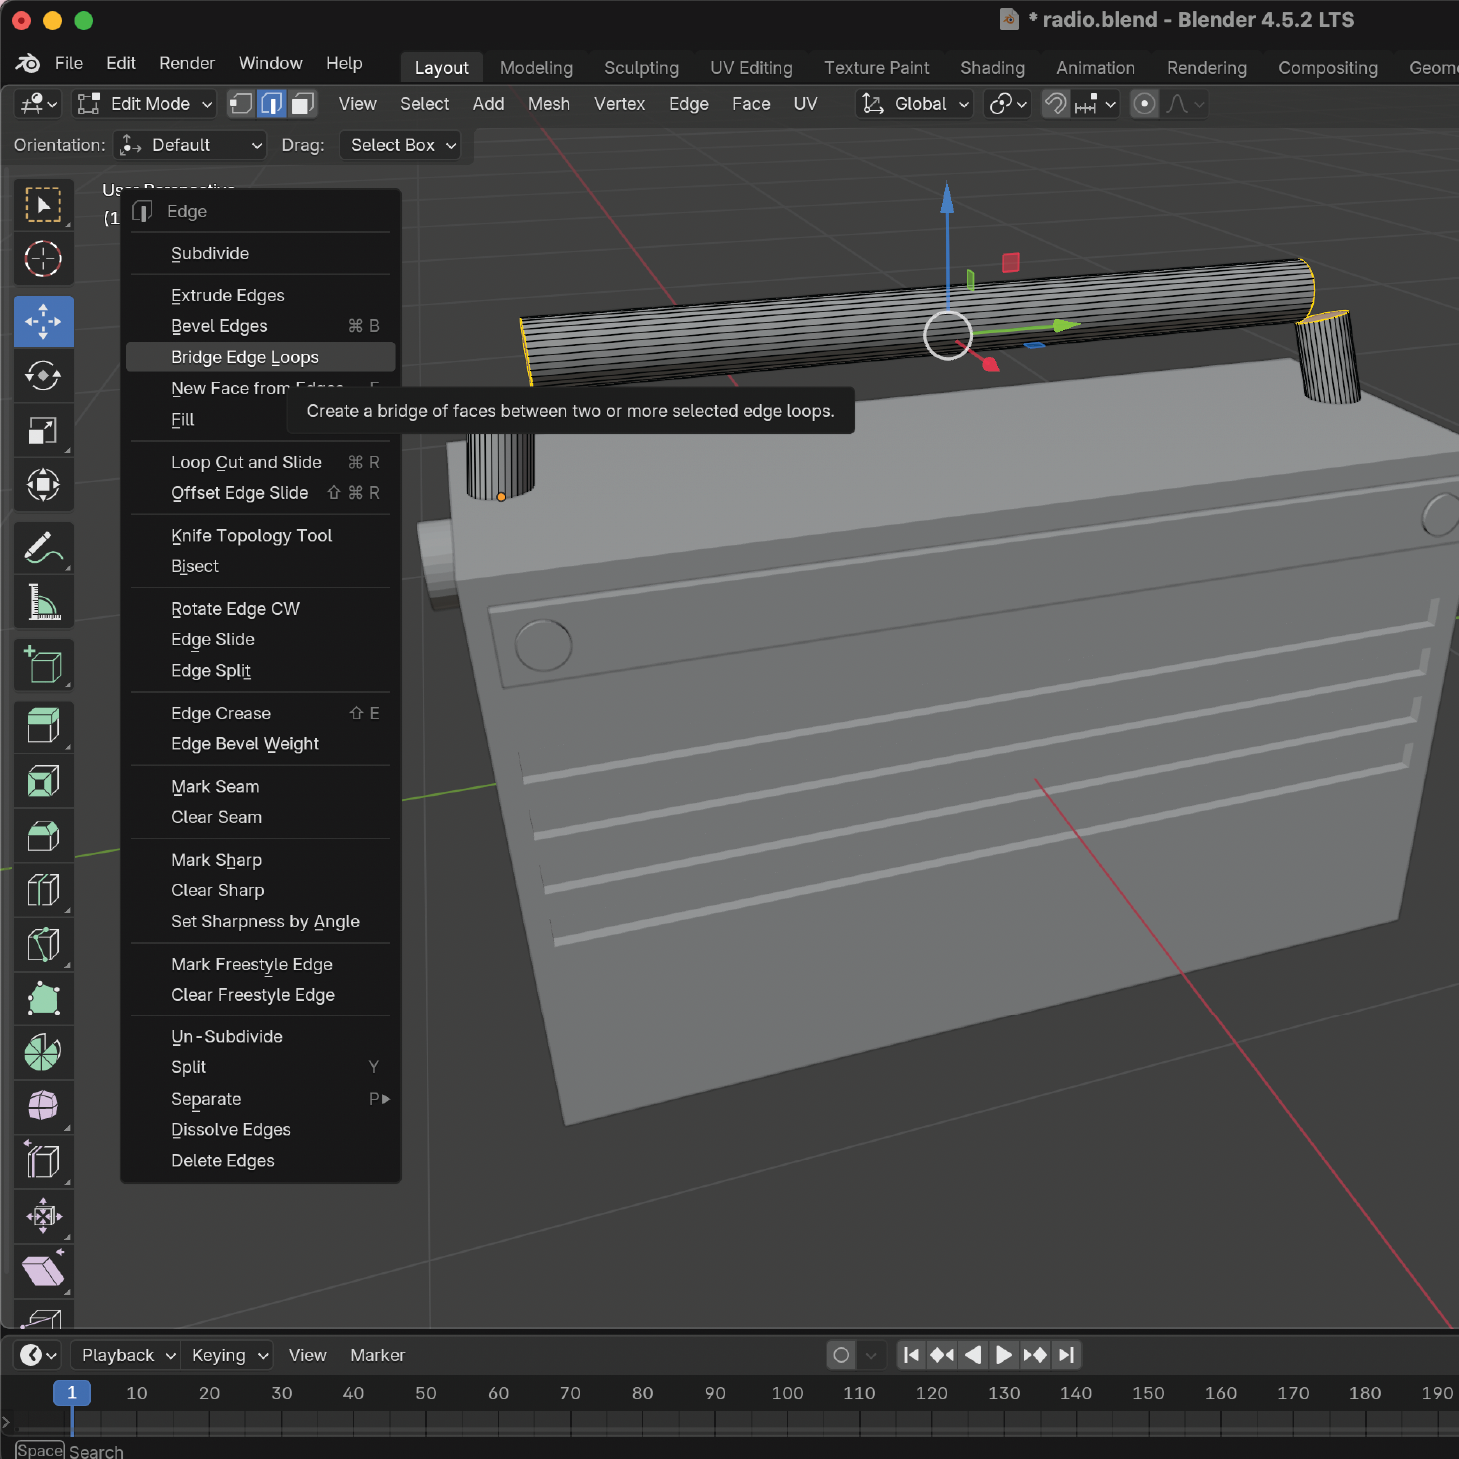
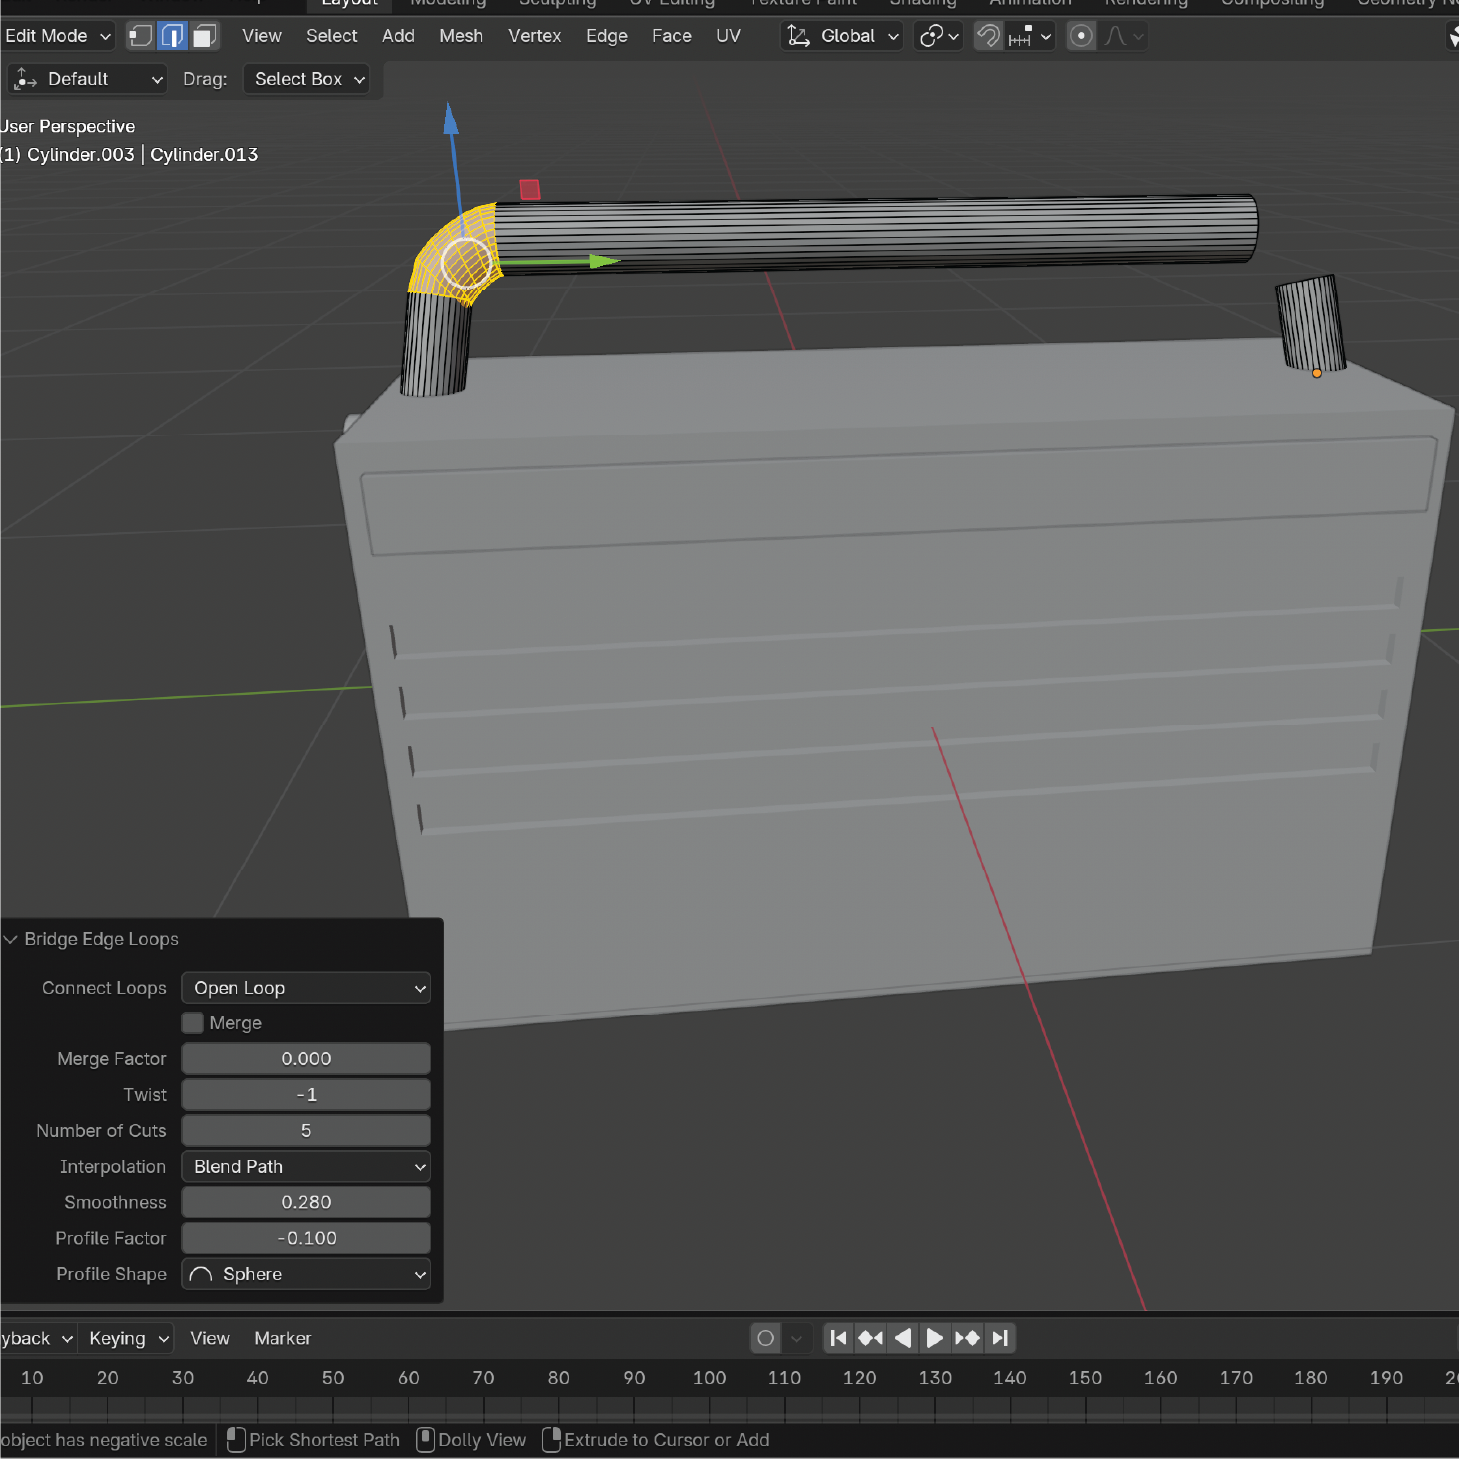
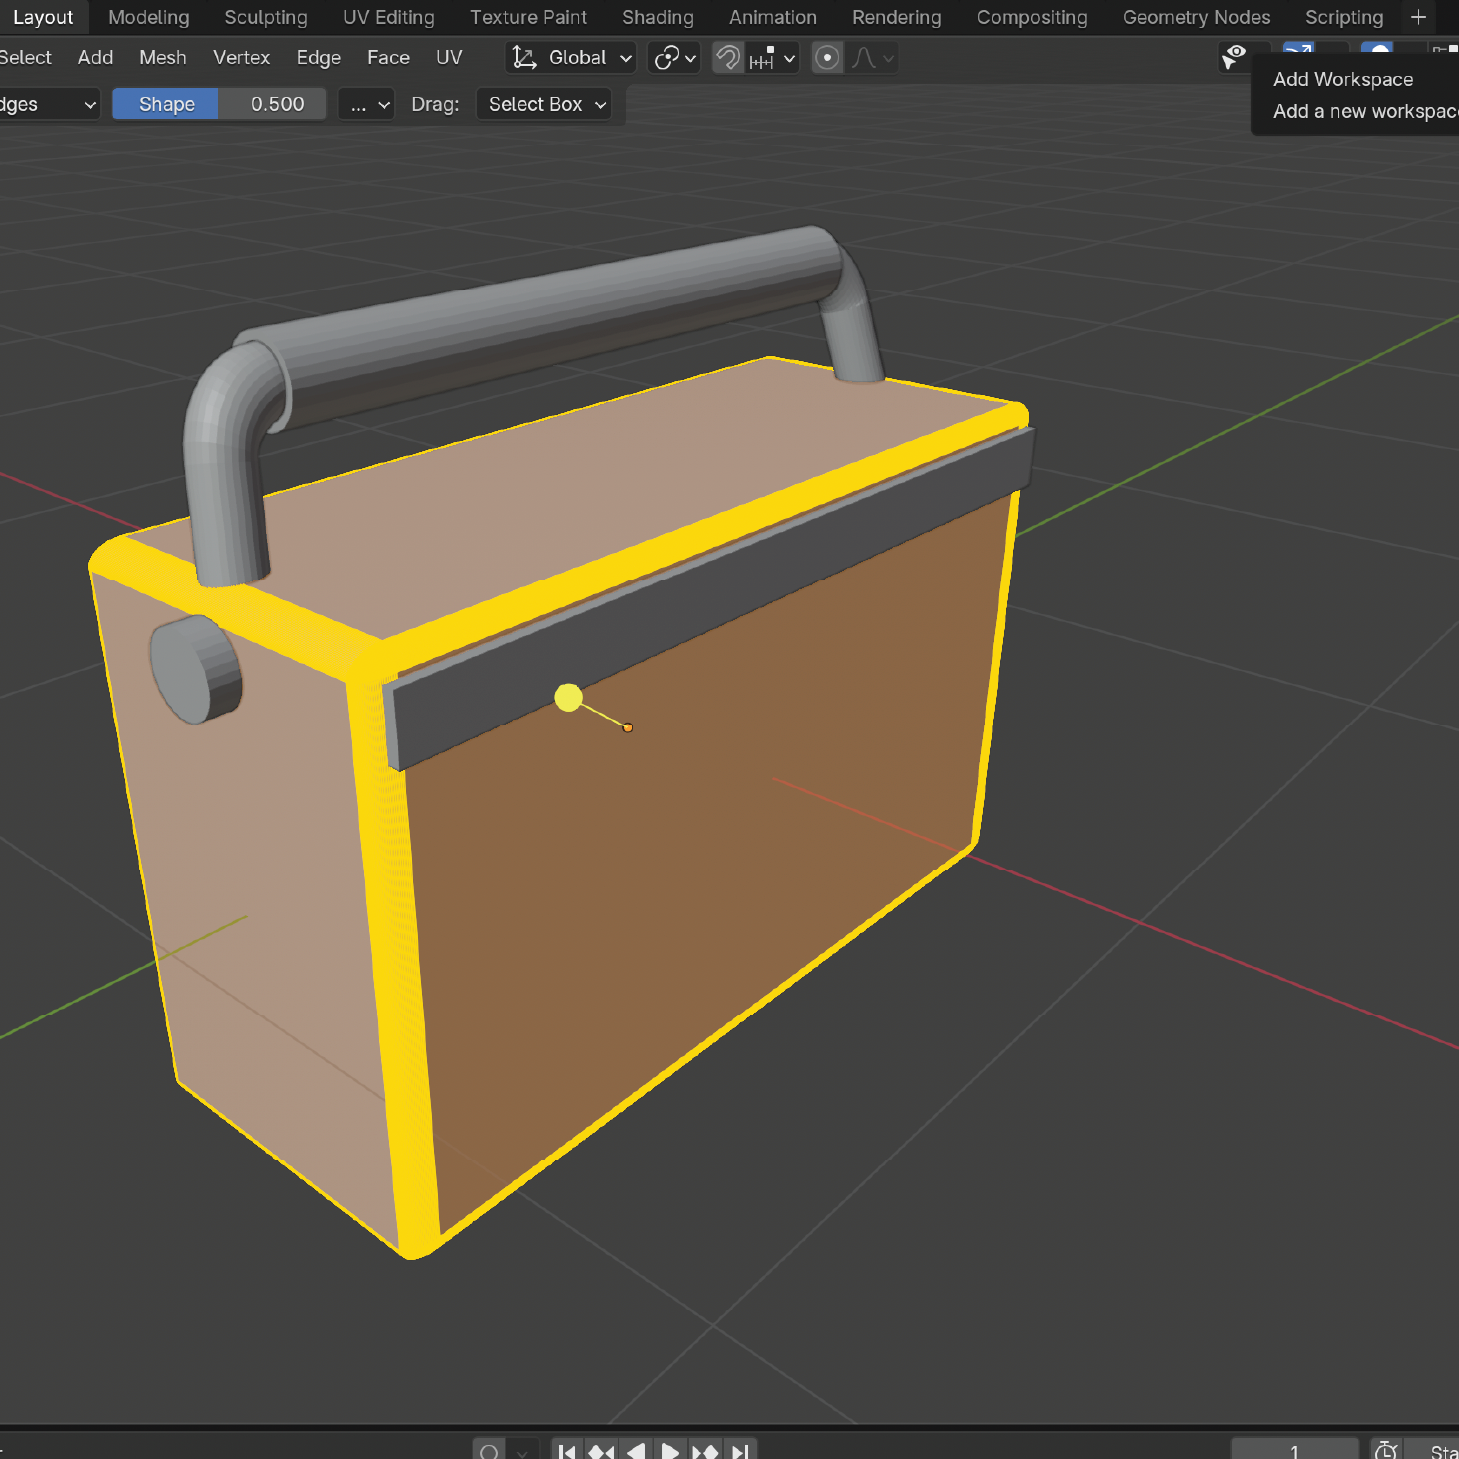
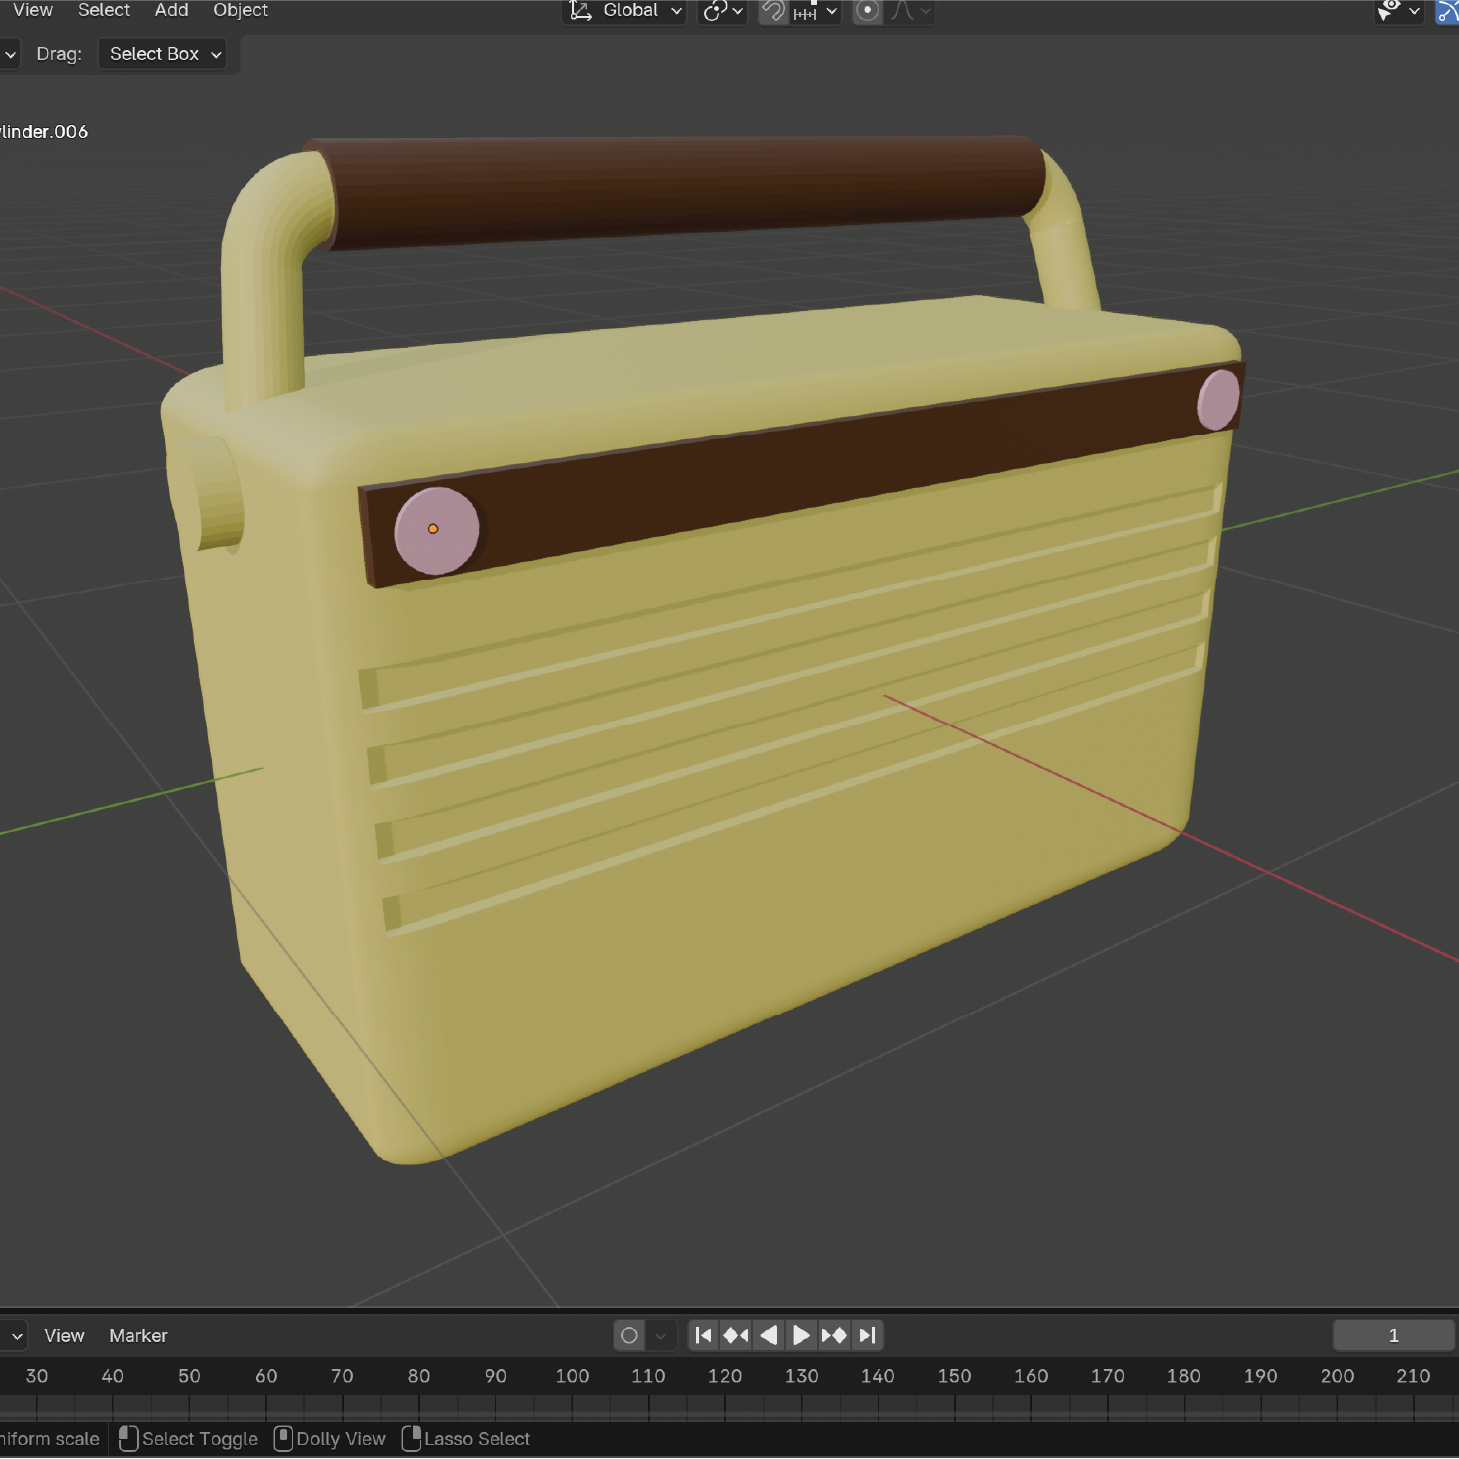
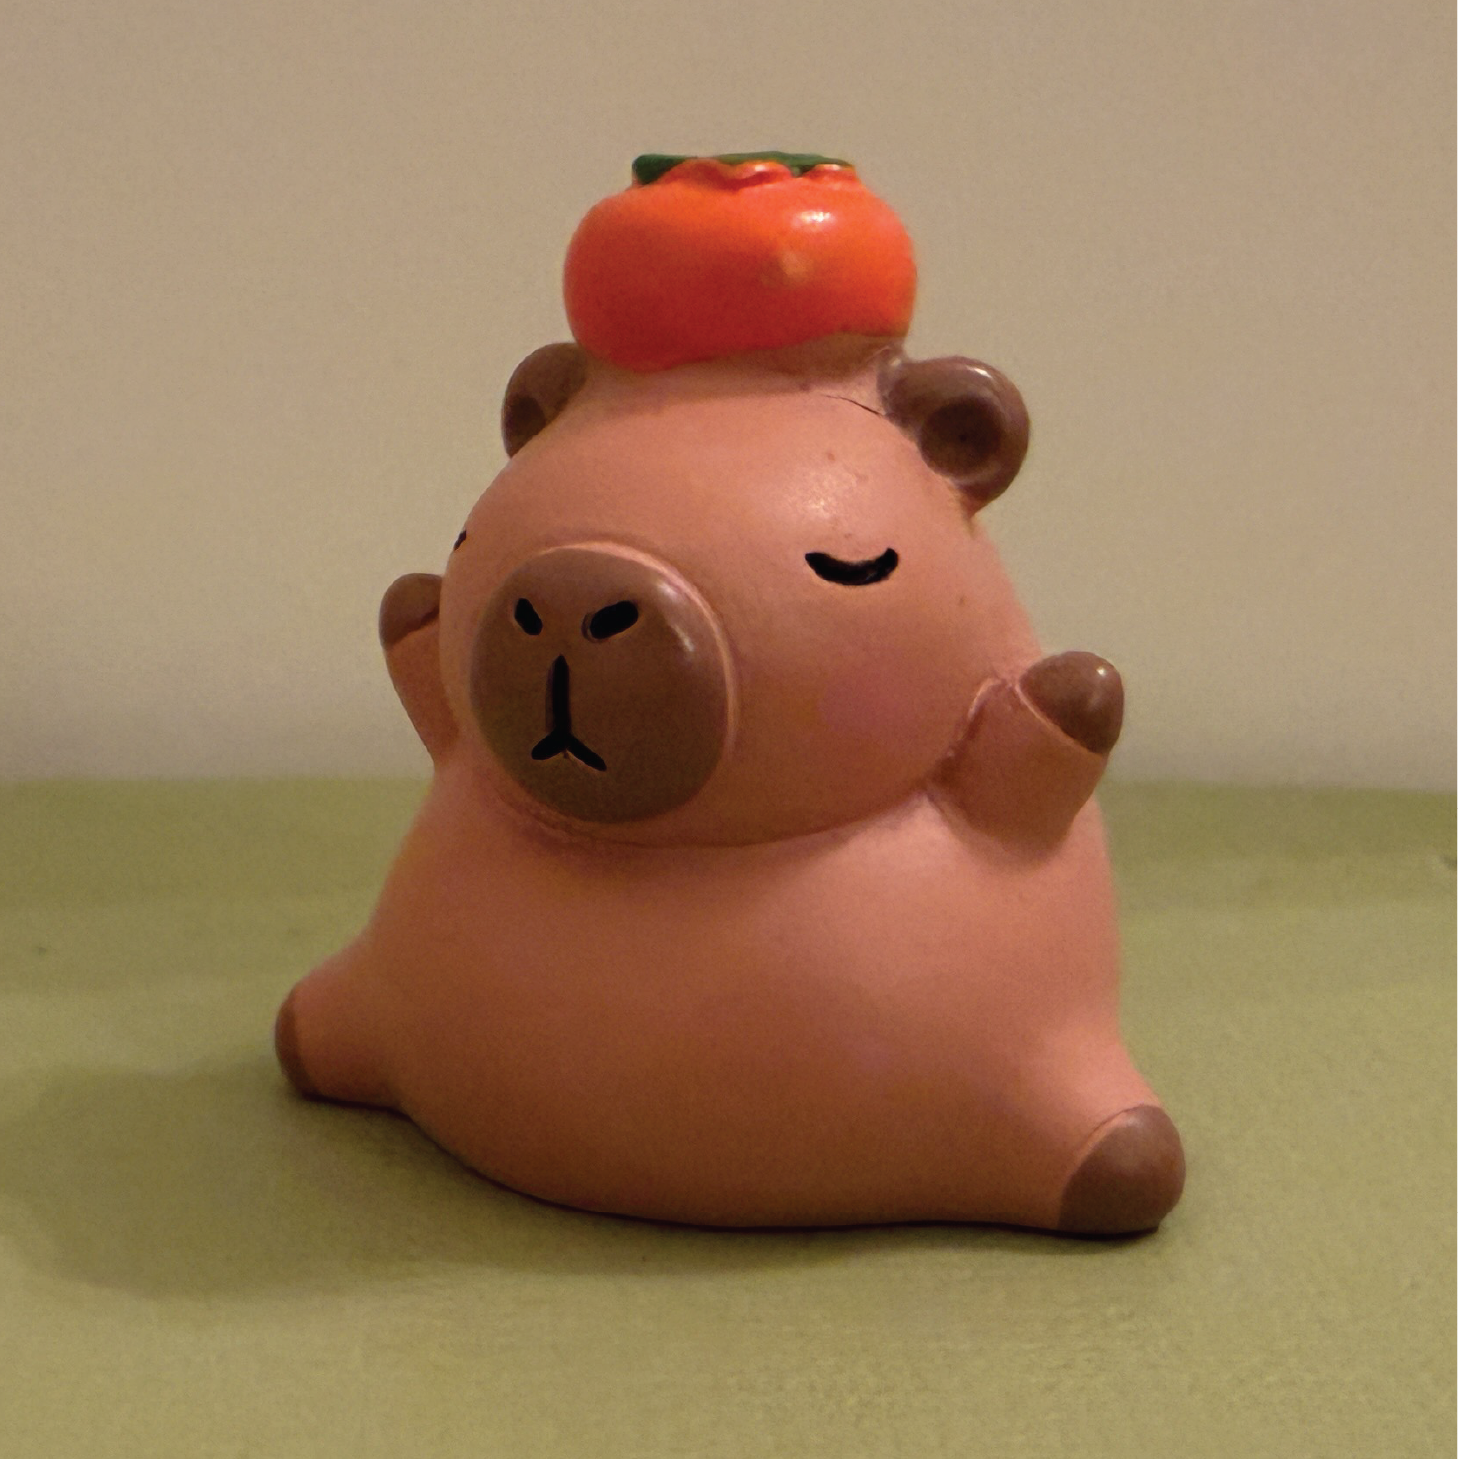
This is one of my five easier to model objects. This is one of my five easier to model objects. This is one of my five easier to model objects. This is one of my five easier to model objects. This is one of my five easier to model objects. This is one of my three harder to model objects. This is one of my three harder to model objects. This is one of my three harder to model objects. This image in my process shows the outcome after watching Steve's first tutorial, where he showed my how to change the colour of a simple cube. It was easy to apply after watching the tutorial. This image shows my experimentation with all the different materials and textures in Cinema 4D. This was more challenging then applying a simple colour because I had to apply a different setting to the object and adujst how it fit on the object. This images shows me following Steve's tutorial on using different modifiers on my object. I was having difficulty because when I applied the modifier it would not effect my shape. Steve explained, that you need to parent the modifier to the object, so that it has something to relate to before applying its effect. This image repersents a moment where I was confused in my experimentation, as after I created a simple torus shape I could not figure out how to slim the shape down in order to look like my chosen object, in the case, a ring. After some research I discovered a new area of Blender called edit mode. Explaintion continues in the next image. As mentioned in the previous image, a tutorial I found showed me that Blender had an edit mode where a whole new amount of tools become available to me when editing a shape. The specific tool I used was called shrinking and it slims the object down from the inner width and this helped me create the band of the ring that I wwas recreating. The section of my exploration was very frustrating because it took a lot of trial and error. The Boolean tool was not working the way I expected too and it took me a while to understand why. In Cinema 4D the boolean tool worked for me when I figured out how to place my layers according to hierarchy, once I figured out how to arrange my layers I started to feel more confortable. Explained further in the next image. This was the effect I was able to achieve with the Boolean tool. After some further research, I think the Slice tool could have also benefited me in this case; however, I am glad I was able to do some extra experimenting. I think moving forward the Boolean tool is something that I will use a lot when modelling basic shapes; when it comes time to model more complex shapes, I would like to explore the Slice tool as it is typically used for precise cuts. This image shows me exploring the Boolean tool again; however, in Blender instead of Cinema 4D. This was a more difficult learning curve because I had to add two different modifiers in order for the effect to work. I had to add a Boolean modifier to the object I wanted to cut and a subdivision modifier to the objects I was cutting with. Without watching a tutorial, I would not have figured this out. This image shows what the two modifiers together resulted in. This exploration taught me that even if you want to achieve the same outcome, the software you use plays a big role in the process it takes to get there. In my opinion, out of the two software programs, I think Blender was my favourite for this step. Once I got the hang of the different modifiers, I felt so much more comfortable/confident in the software. This image shows my further exploration with tools in Blender. This object is one of my rings and upon observation I noticed an indent in the circle gem. However, wheneever I would the Boolean tool it would cut right through the image and I could not figure out how to only cut part of an object. Explained further in the next image. This image shows the result I was able to achieve through trial and error. I tried to watch tutorials to help me with this step, however, since blender is always updating it was hard to find something to solve my problem. After I messed around with the software I was able to figure out that I needed to apply the eyedropper tool to select part of the object and hide the image after placing it halfway through the object I am cutting into. This image shows myself watching tutorials to become more familiar with Blender. I wanted to learn how to make my object appear smooth and to get rid of the extra lines that come with each shape. This tutorial for begginers helped me so much, it was a quick an easy fix; and you can see it being applied in the previous images of my ring object. I decided to include this image because it shows how far I have come with my progress and understanding of 3D modeling. I put the object together so quickly, I excaly what to do and how to appy the metalic texture you see applied to the magnetic part of the magnet. If I were to look at this object a week ago I would have so many questions on what to do, however, with the amount of exploration I have done I feel so much more confident in my abilites. This image shows my final object and the application of a tutorial I watched to figure out how connect to edges of my cylinders together with a rounded edge. This part was difficult because I had to move in and out of object and edit mode to select the correct edges of my object. This image shows the futher steps taken to create the rounded edges on my objects handle. When I first applied the effect the connection between the shapes looked forced and unreal, however, once I continued to watch the tutorial I was able to open the advance settings to pull up an area where I can pick specific areas to smooth and create a seamless connection in the handle. This image shows my exploration with Blenders Bevel tool. I wanted to edges of my object to be rounded, however there was not a specific tool for rounded edges like in Cinema 4D. I had to look up what the equivalent tool was in Blender but once I figured it out I was able to get the hang of the tool quicky and I applied it to the edges of my object. It was just the way I pictured it! This image shows my final object with colour. It shows how much progress I have made in 3D modeling in just one week and I am so proud of the result. This object is very special to me and I am so happy I got to recreate it. There were many challenges along the way but each time I was stuck on something I was able to find a solution and improve my abilites in the software.

Design Challenge 2
These images show my process from watching tutorial guides and the exploration I did during this design challenge.
It also discribes and the struggles and lessons I encountered during the process and how I managed to deal with them
leading up to the final result.
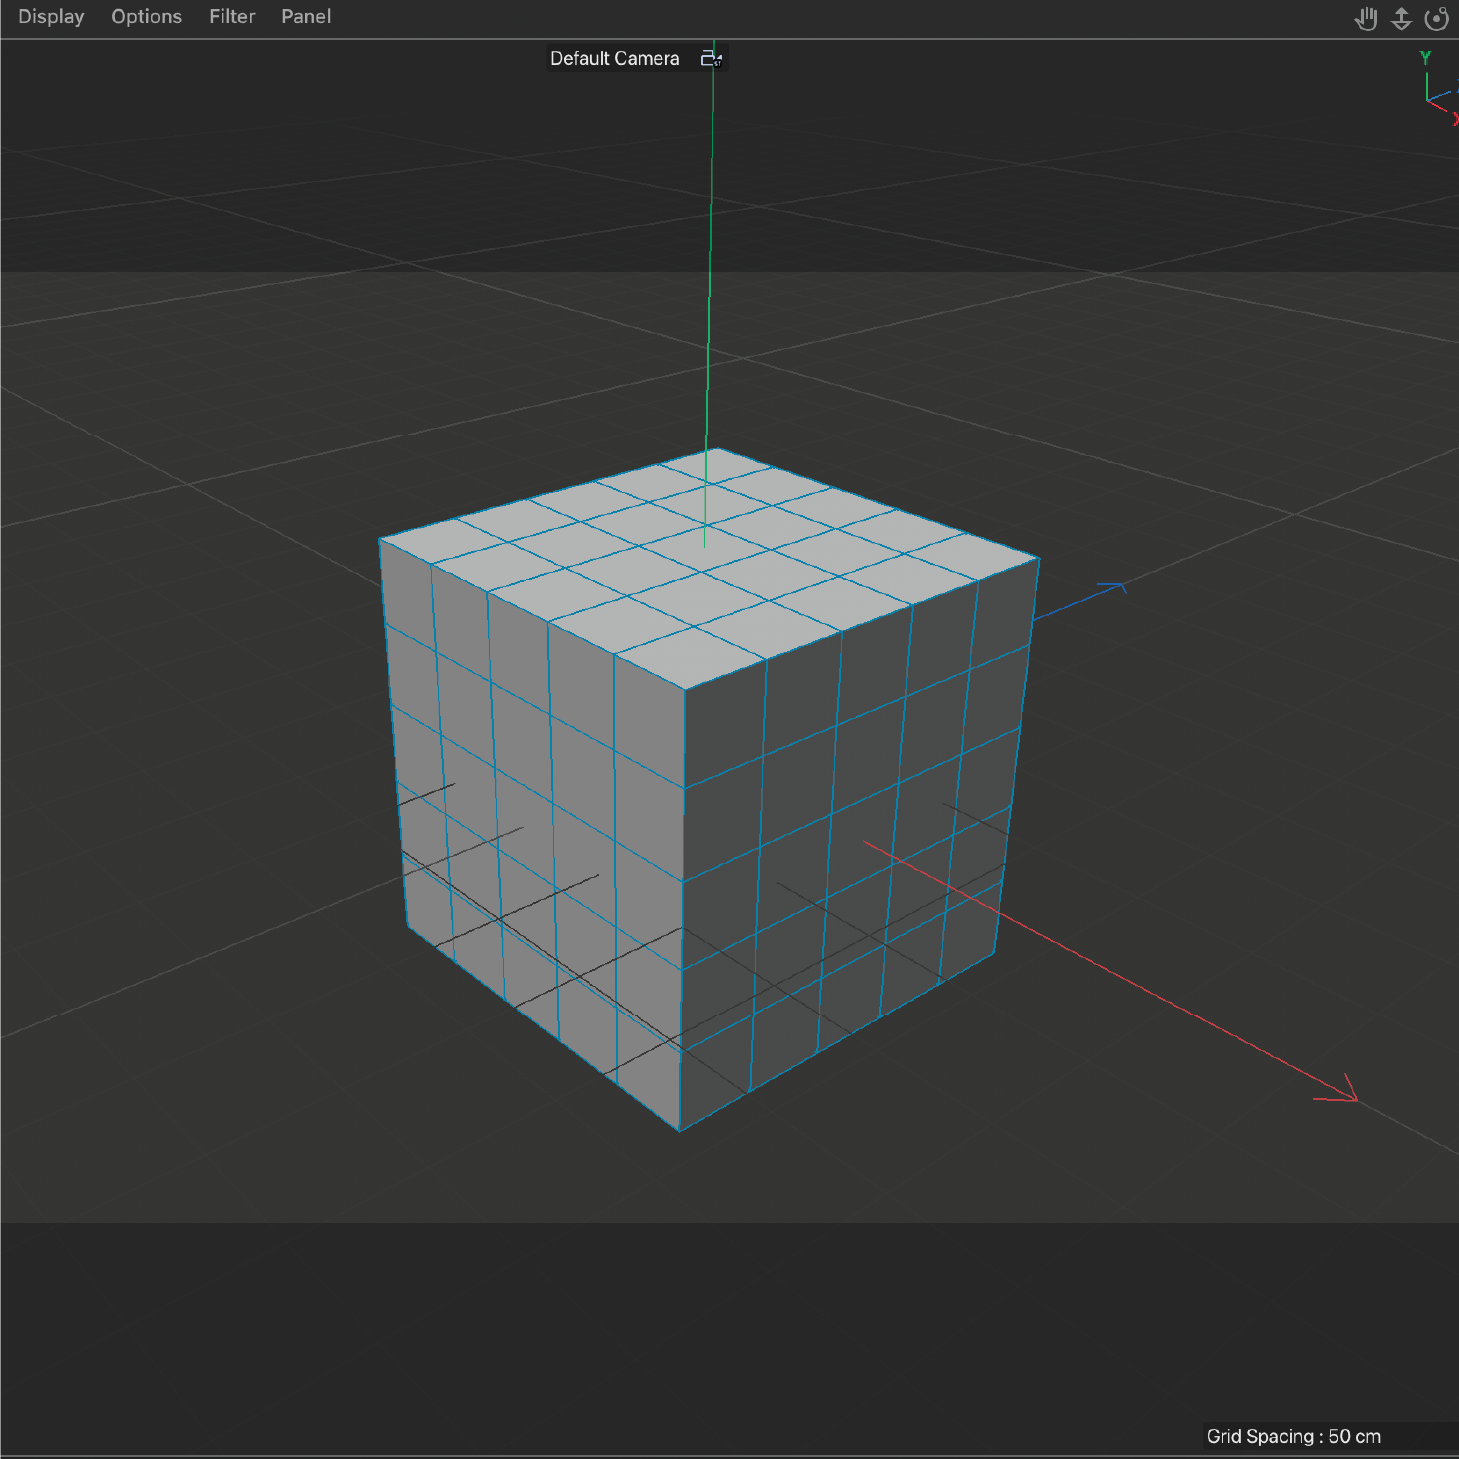
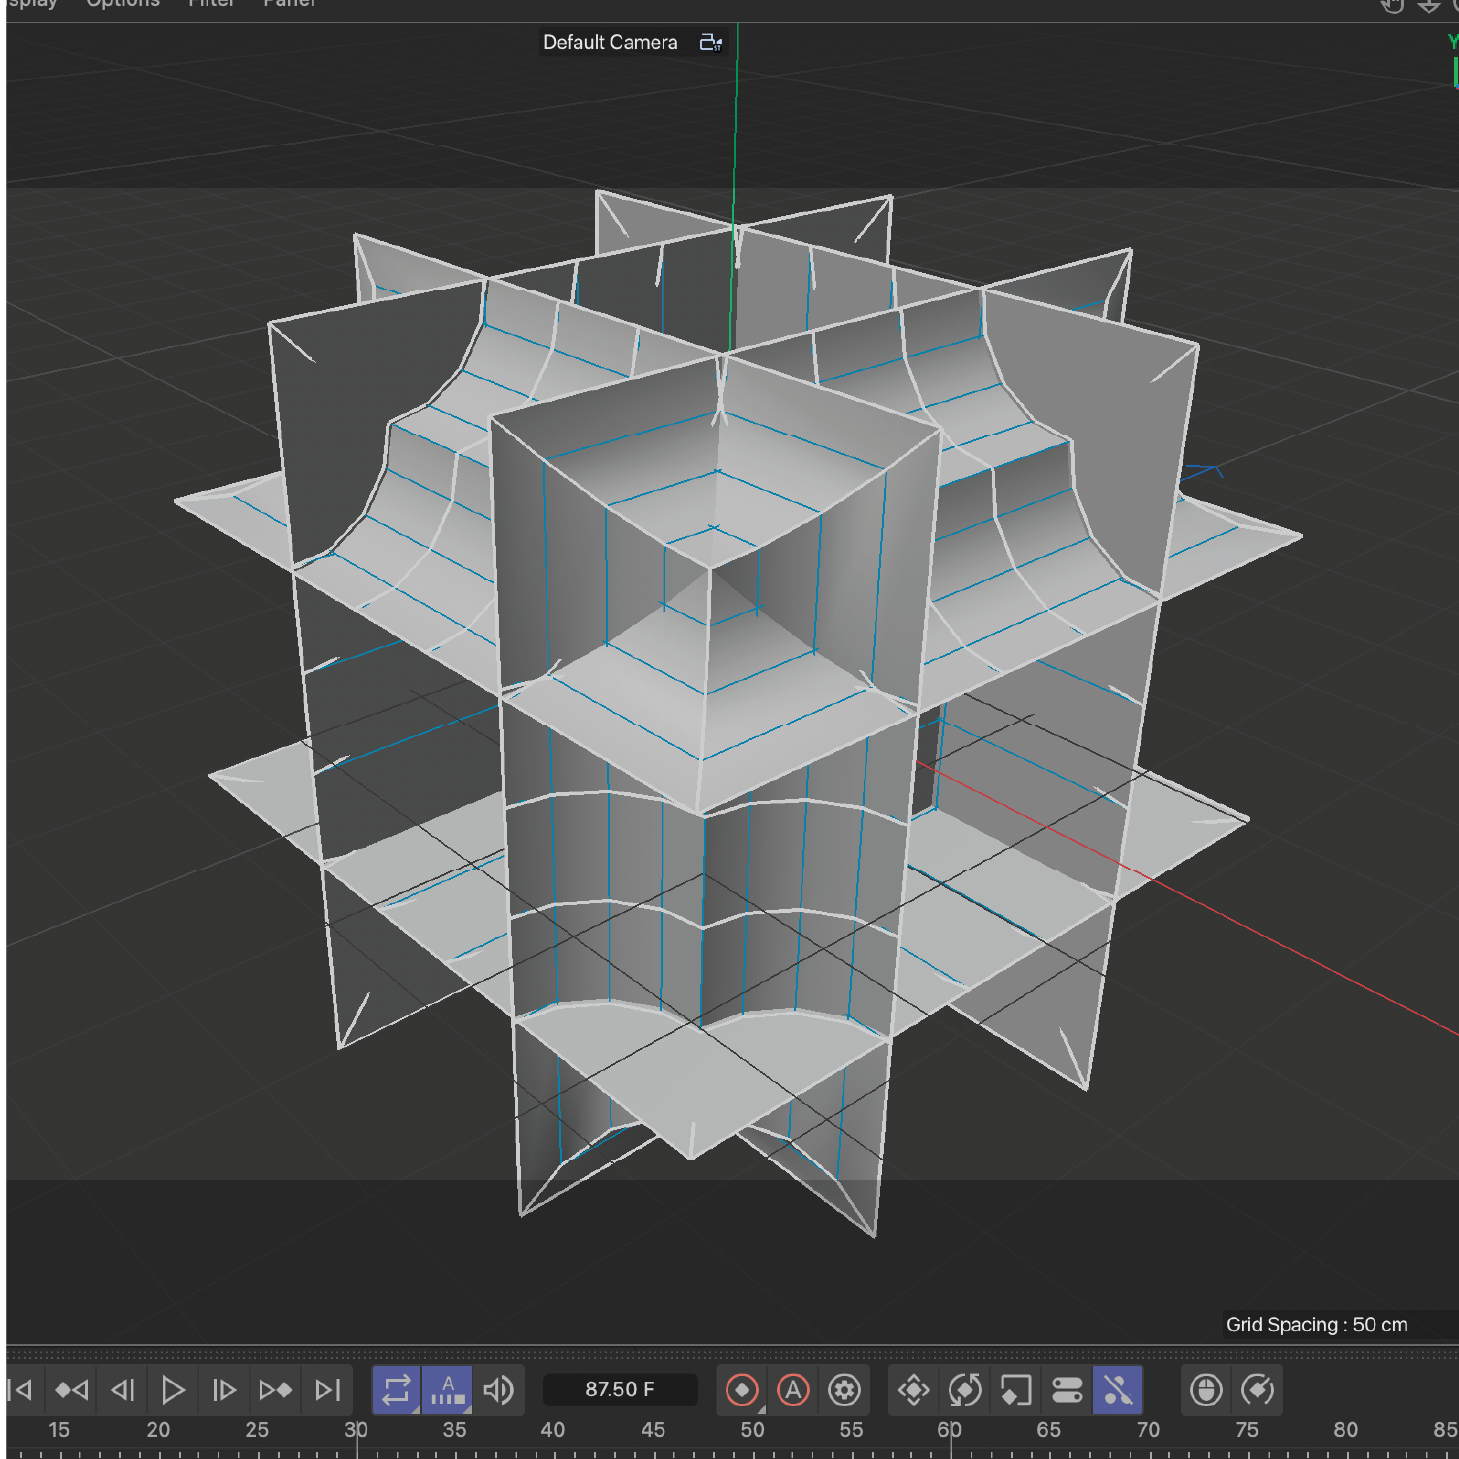
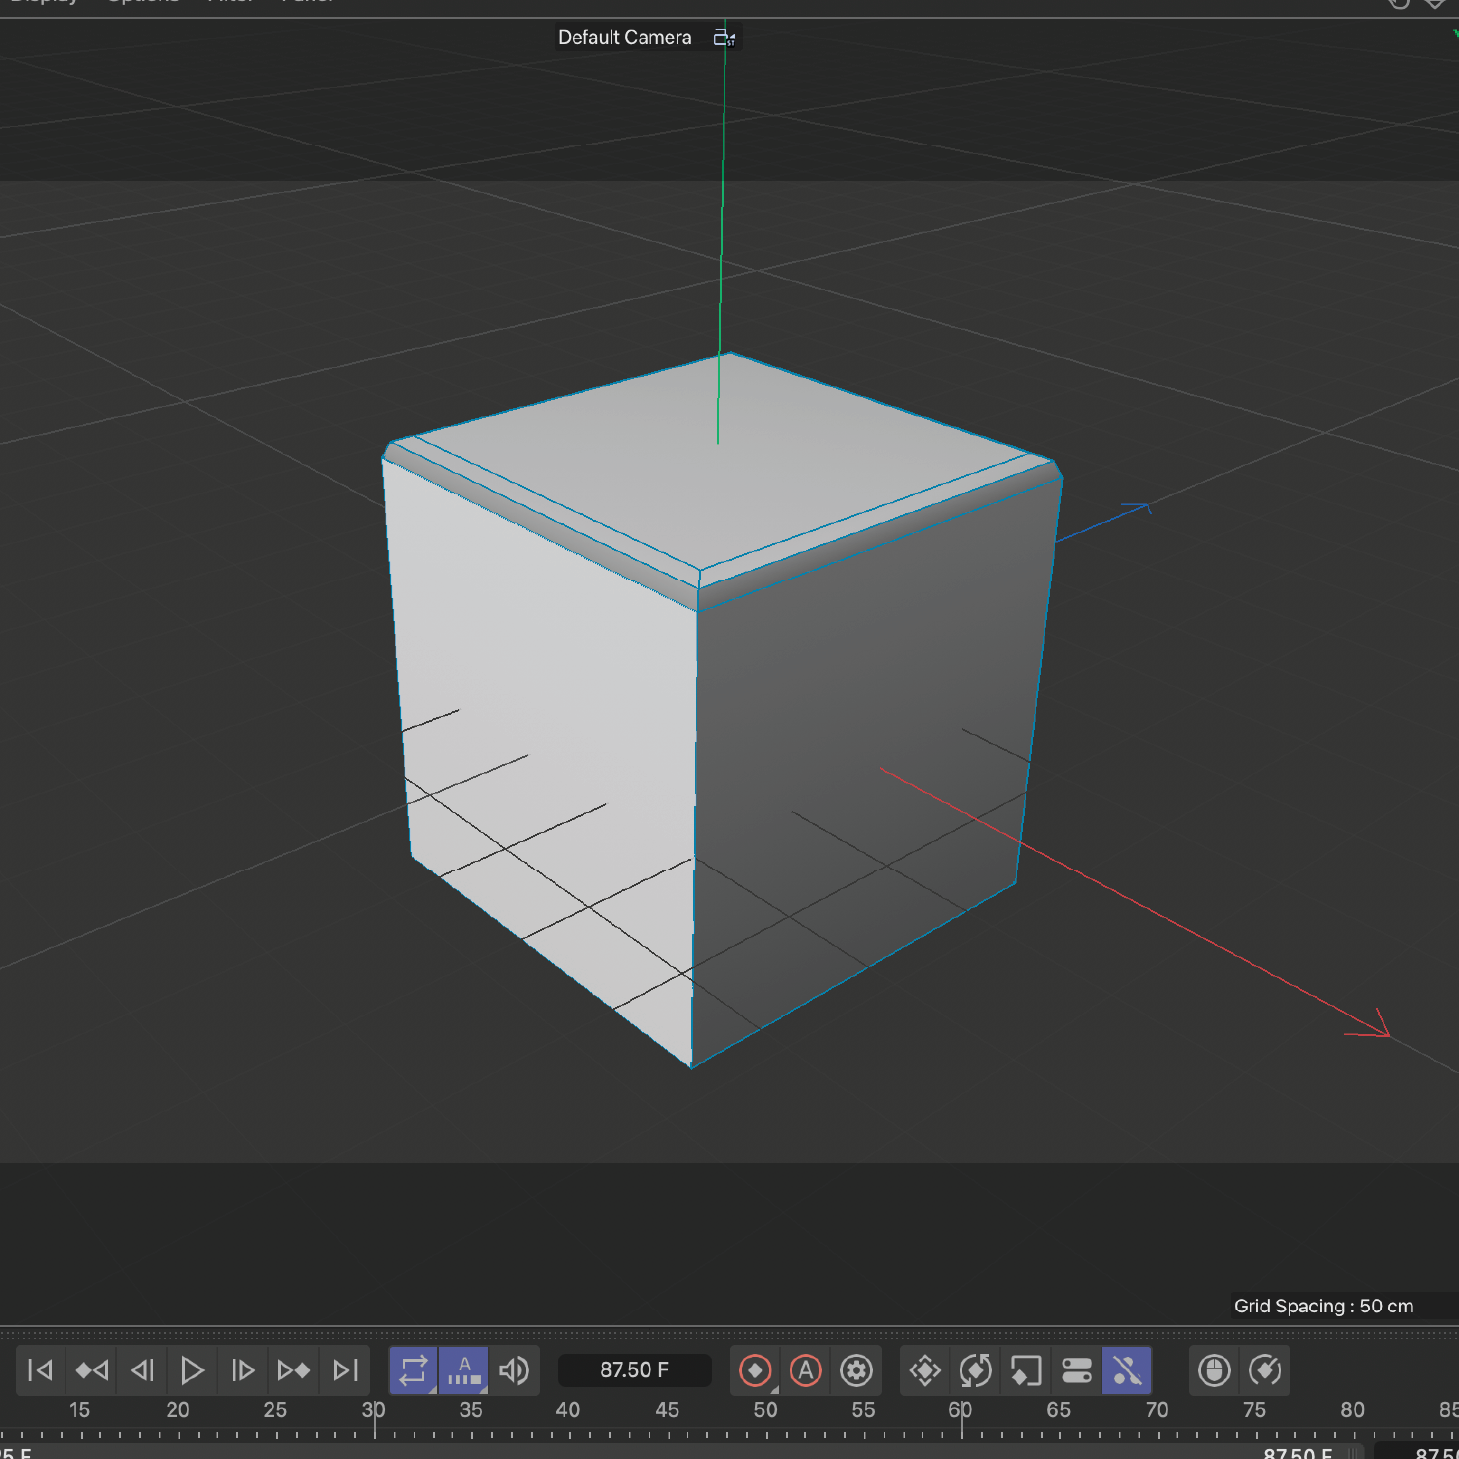
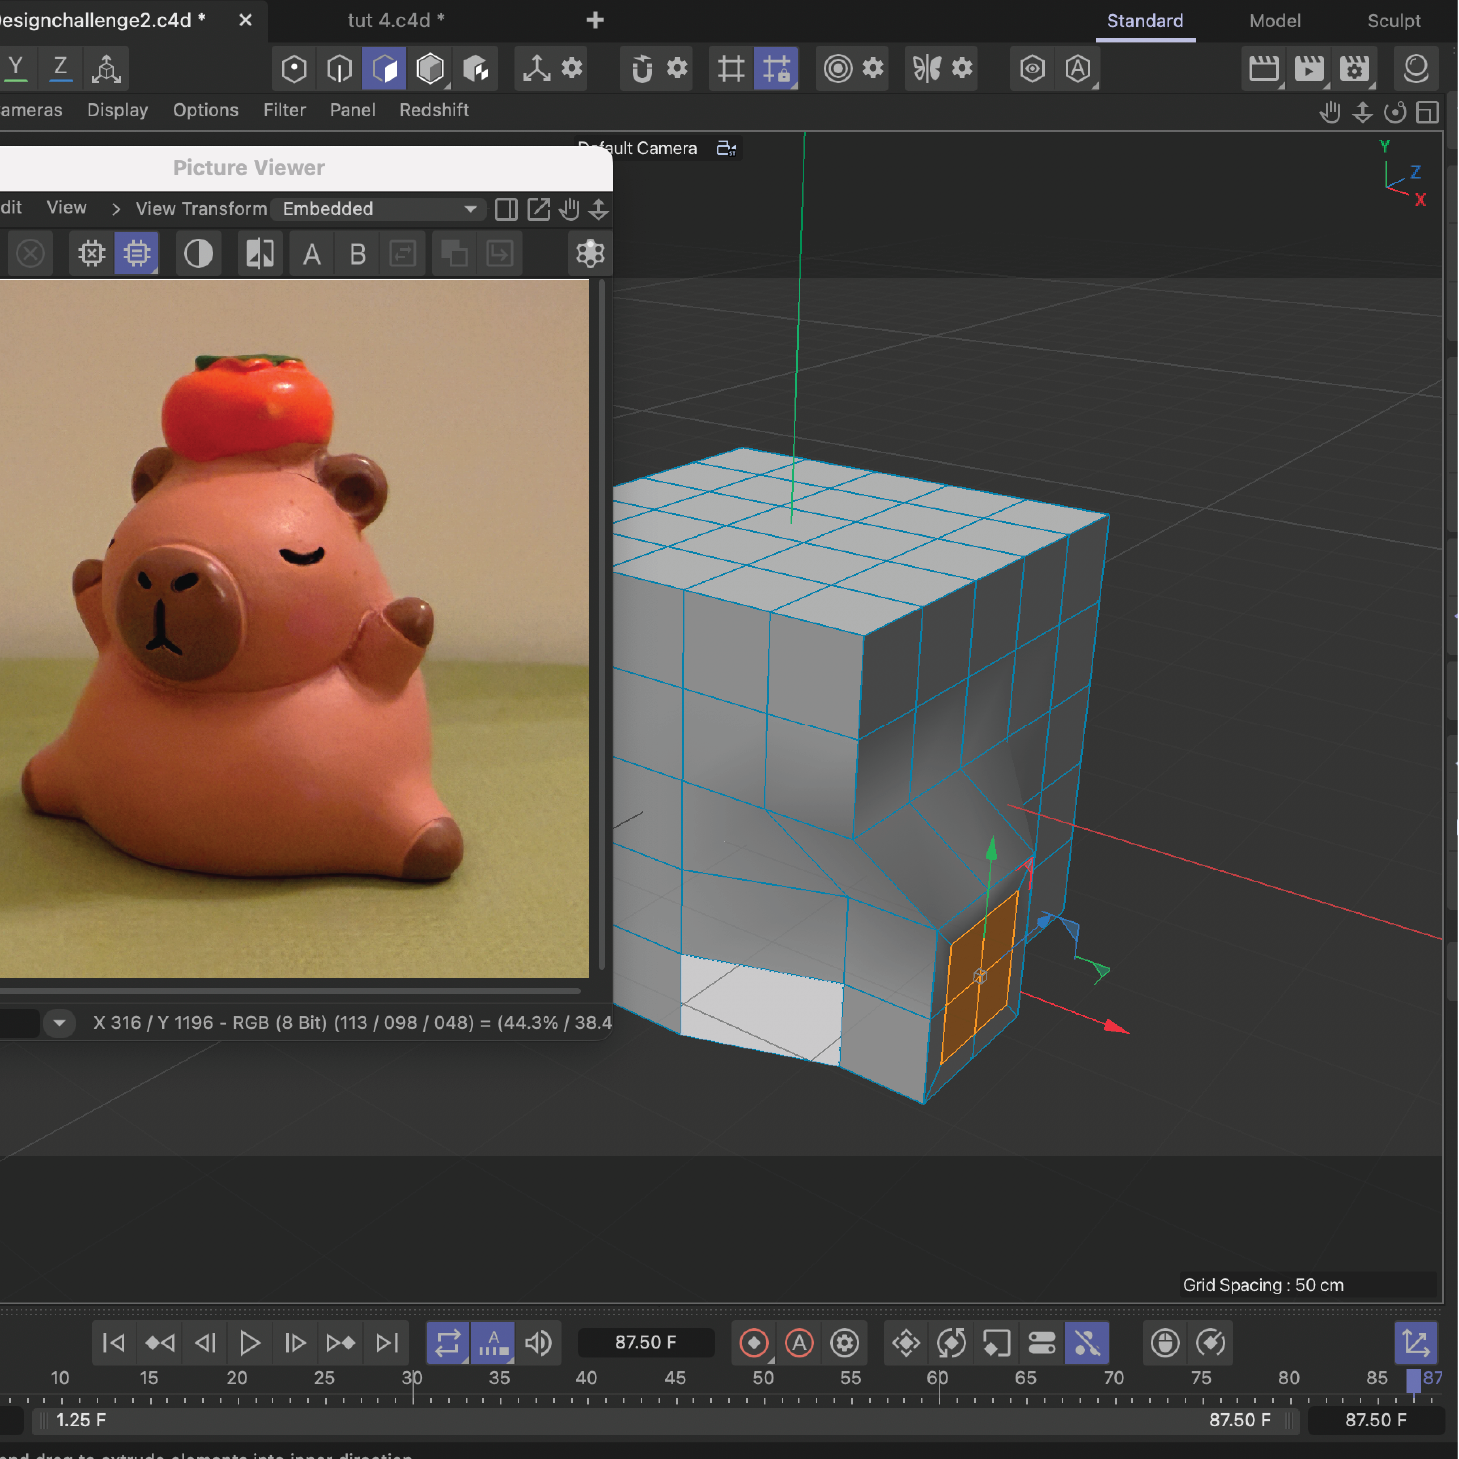
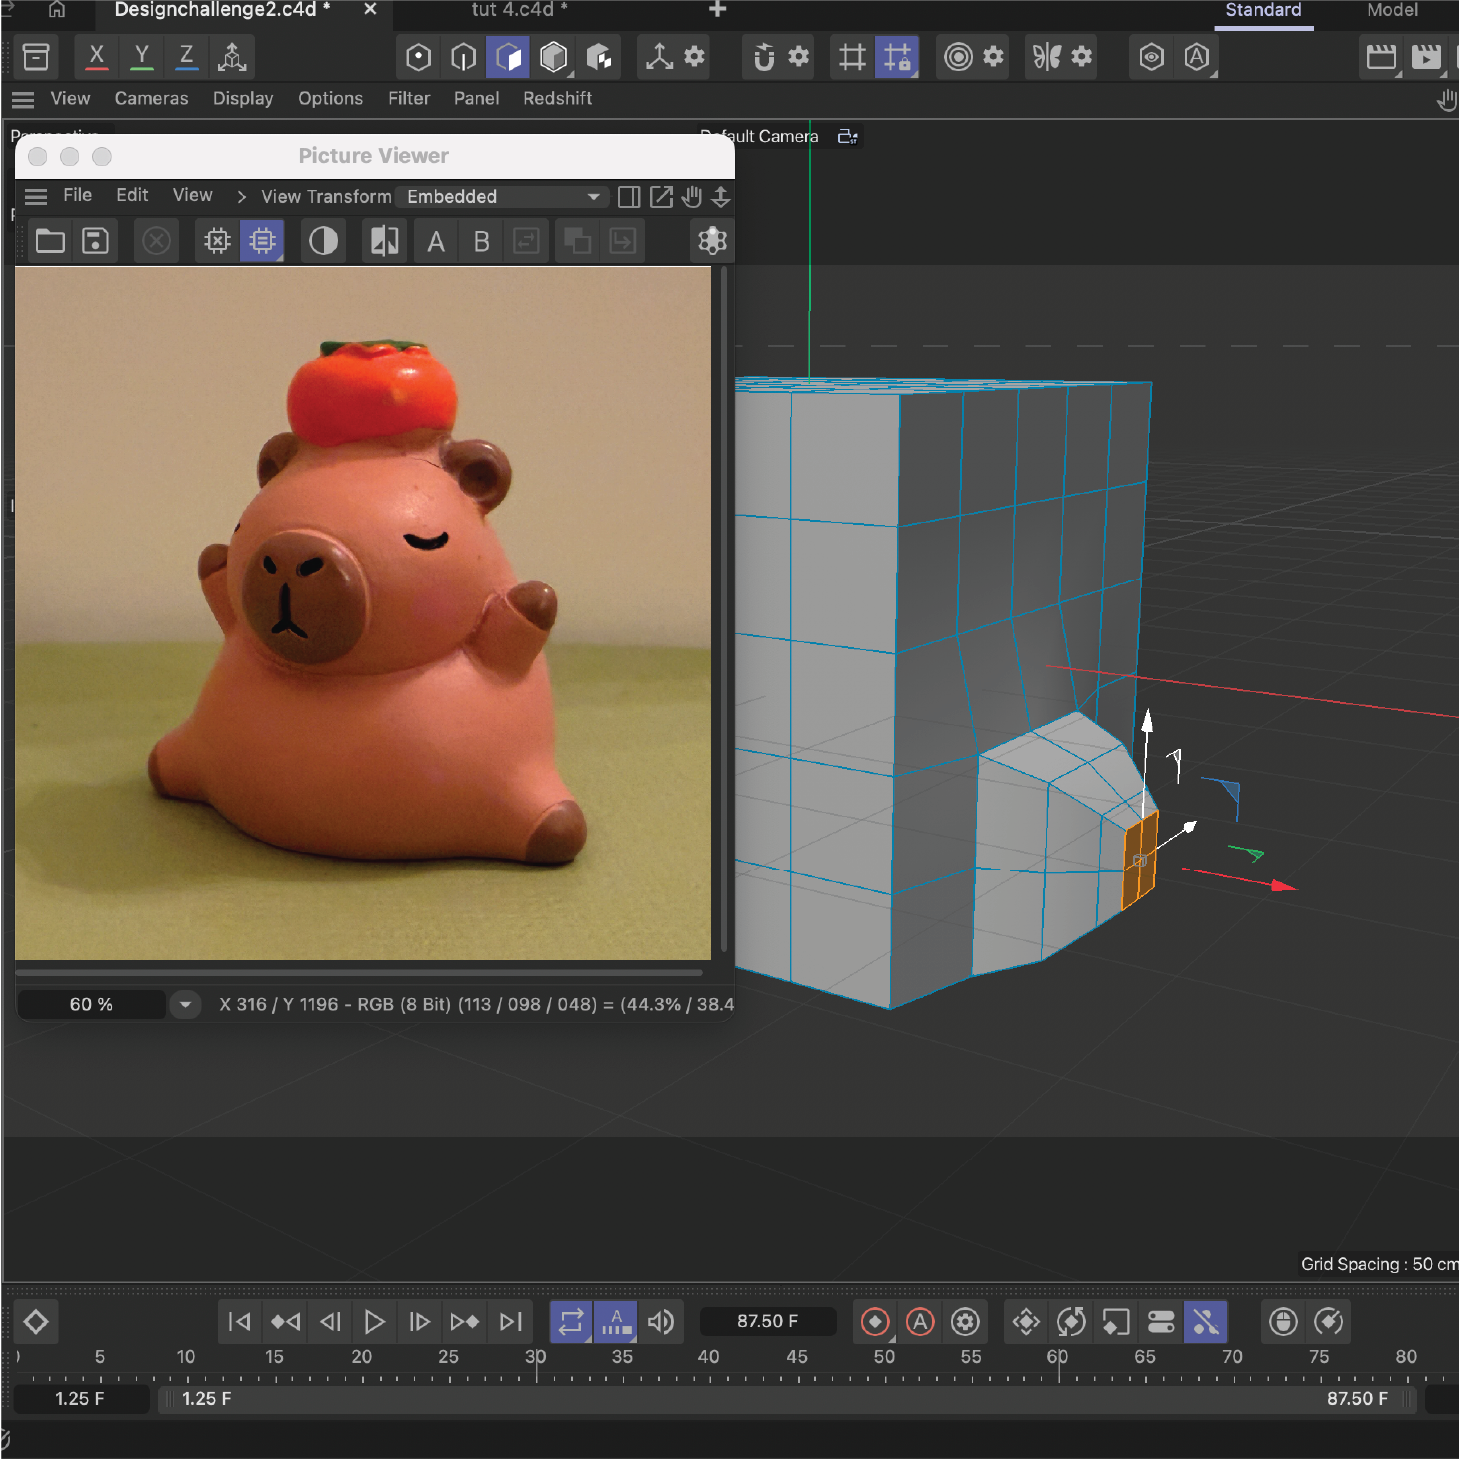
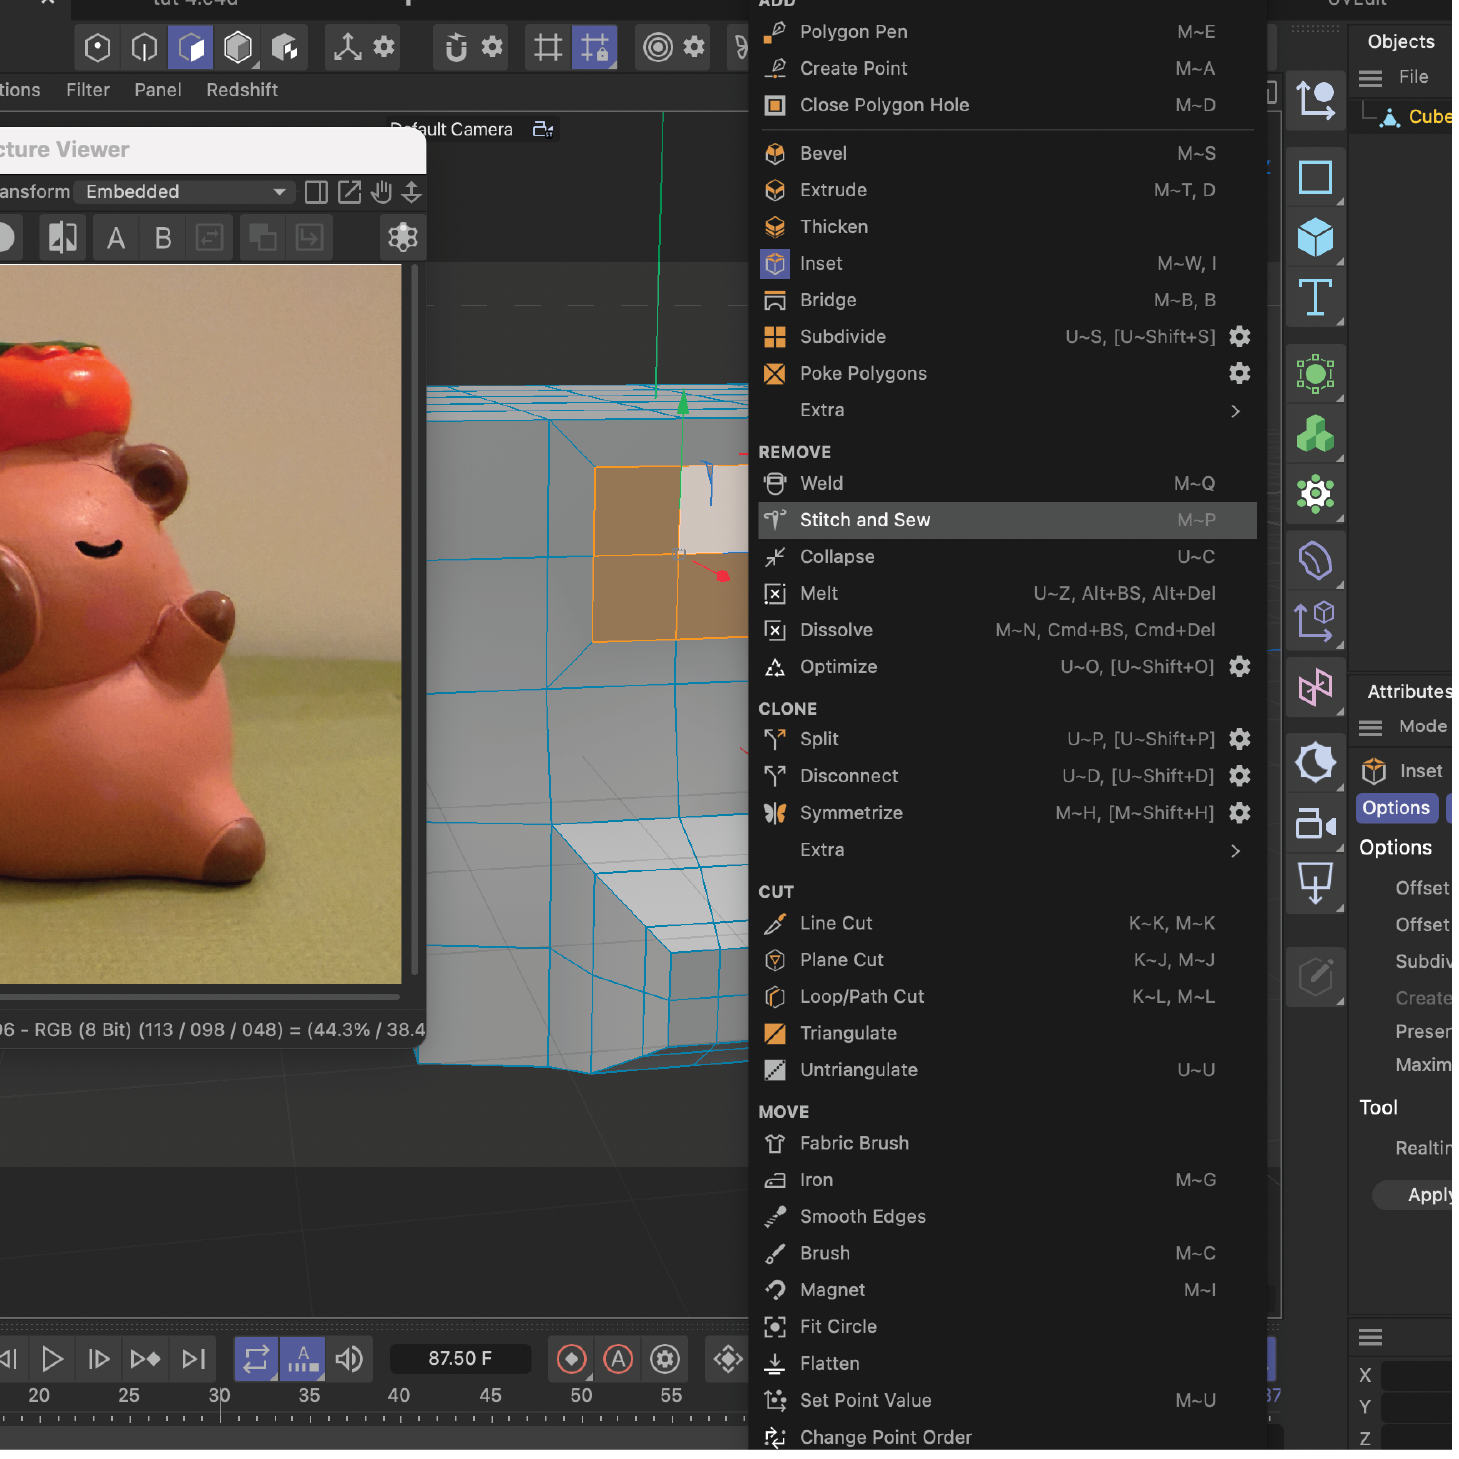
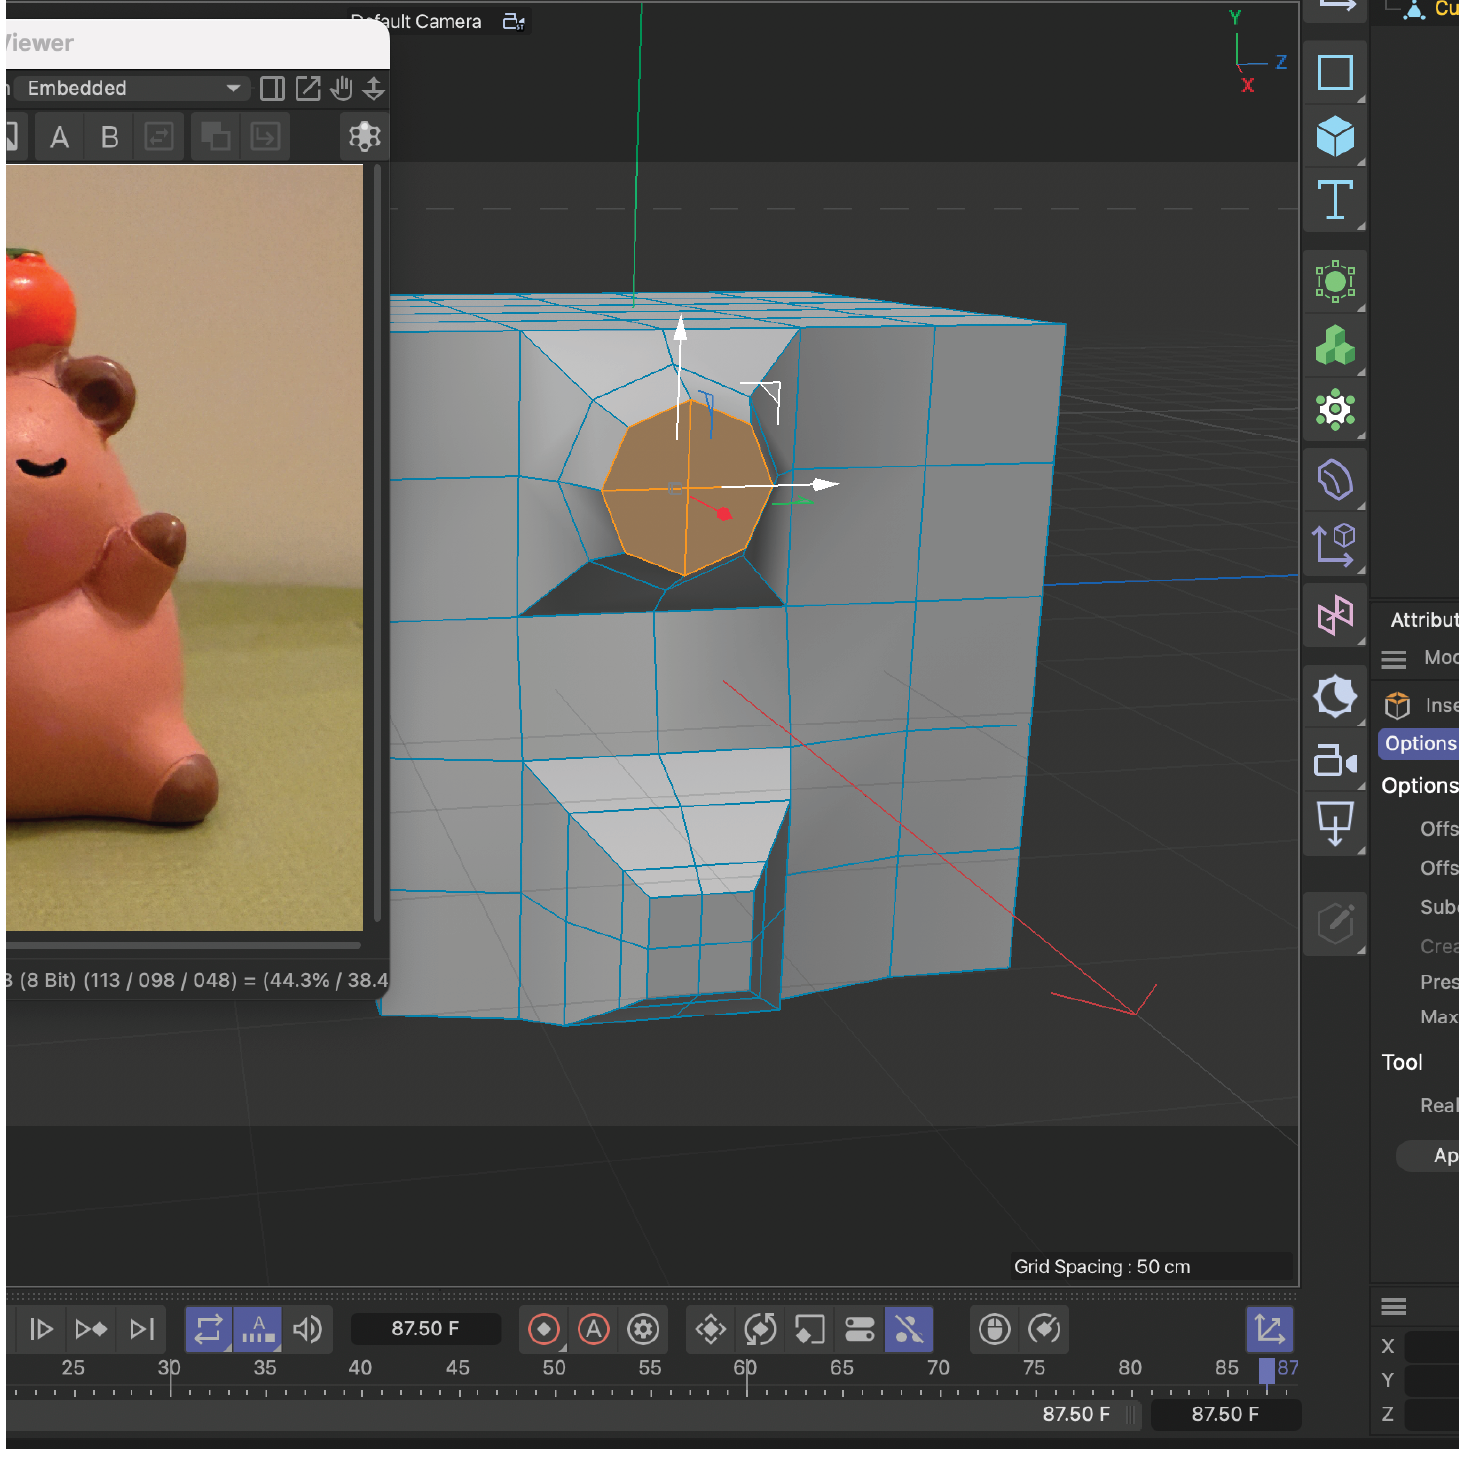
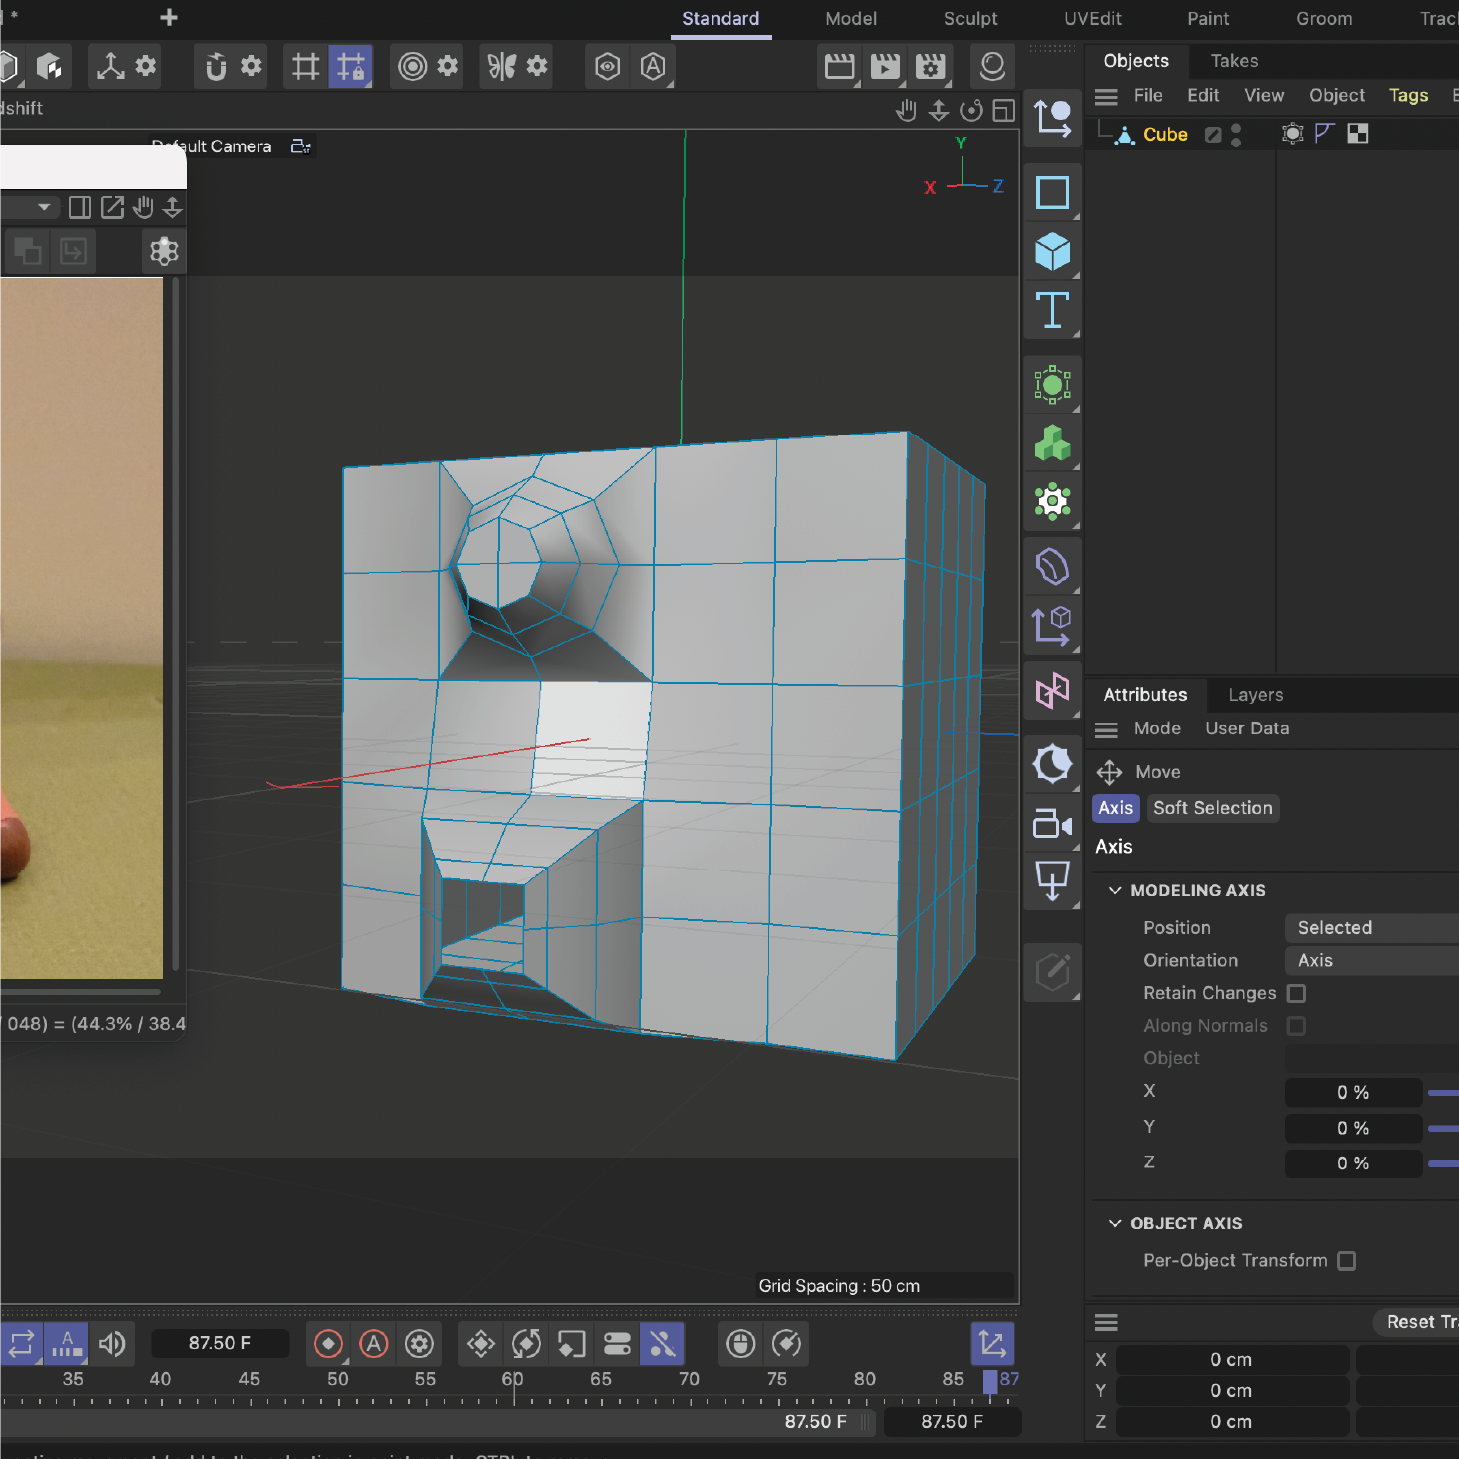
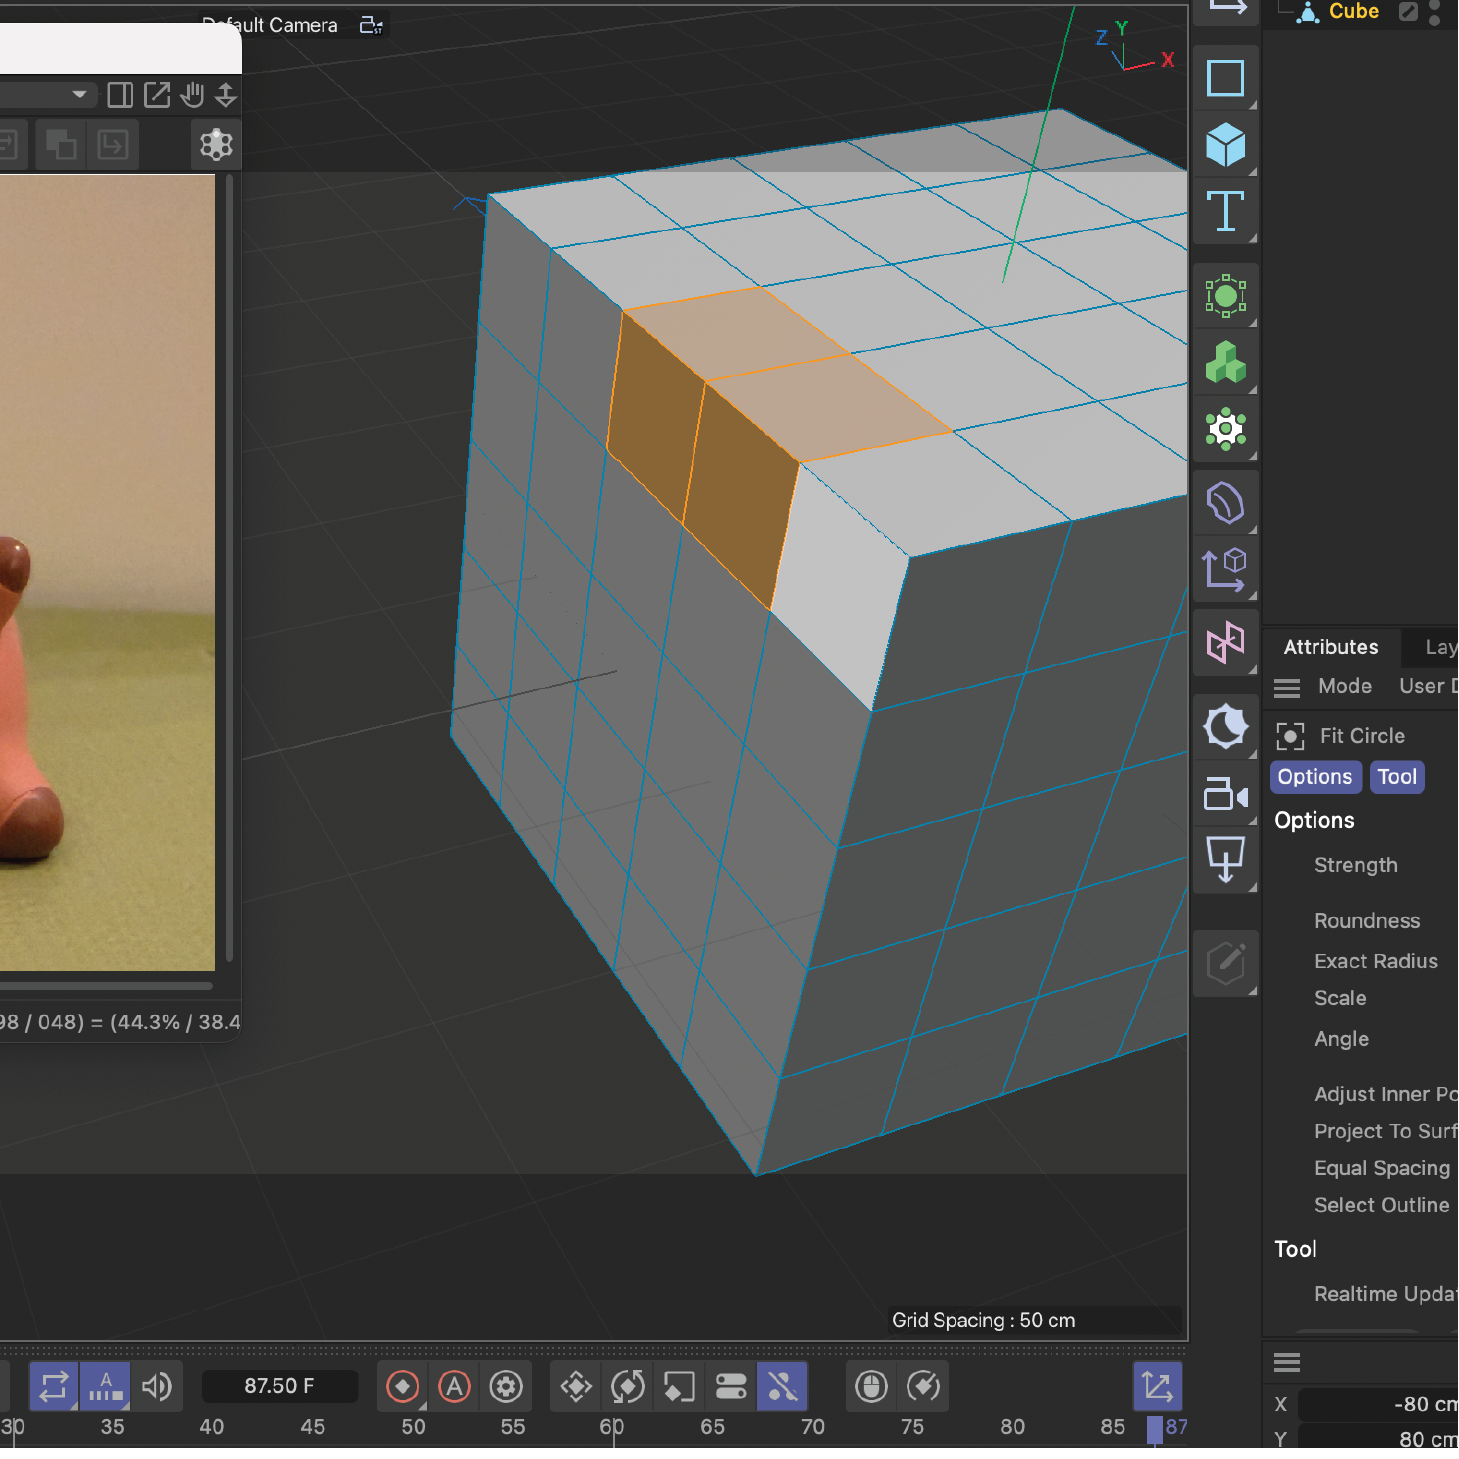
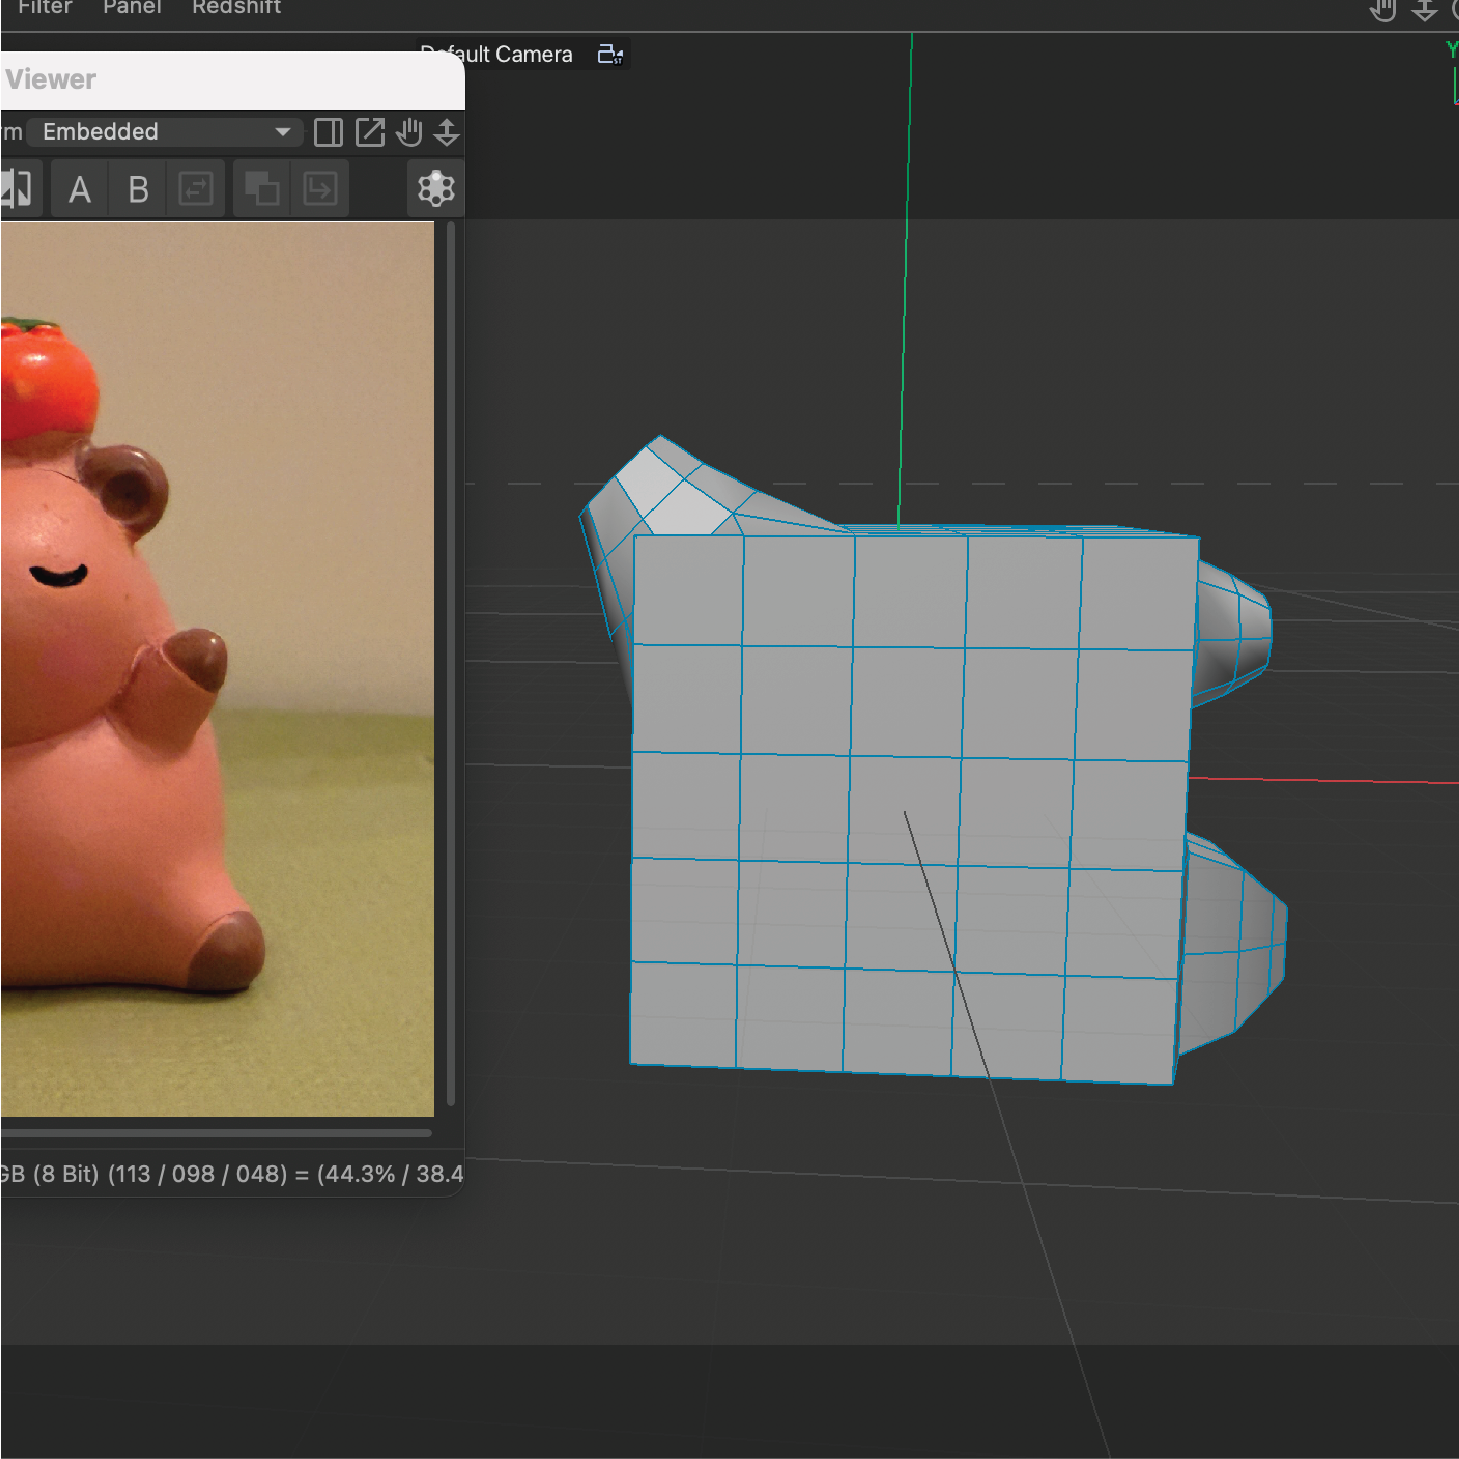
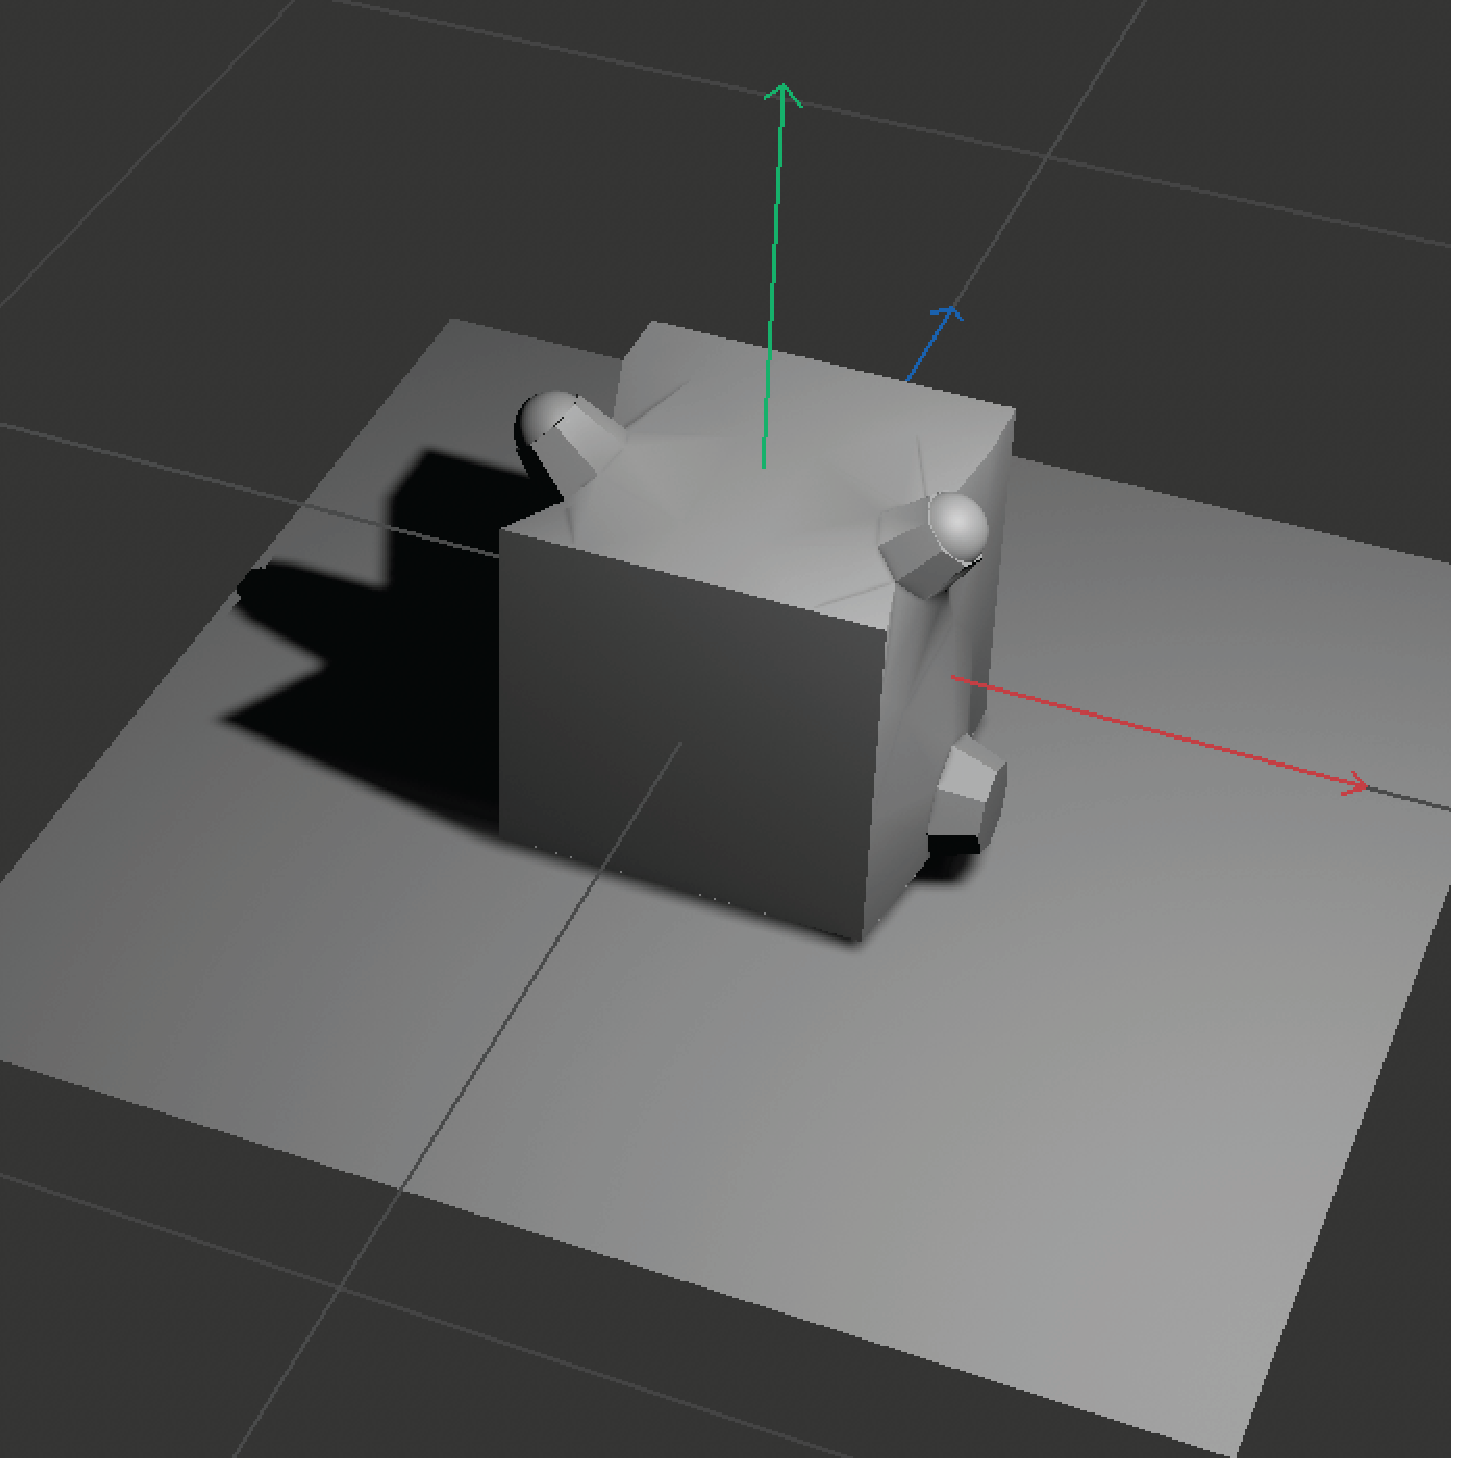
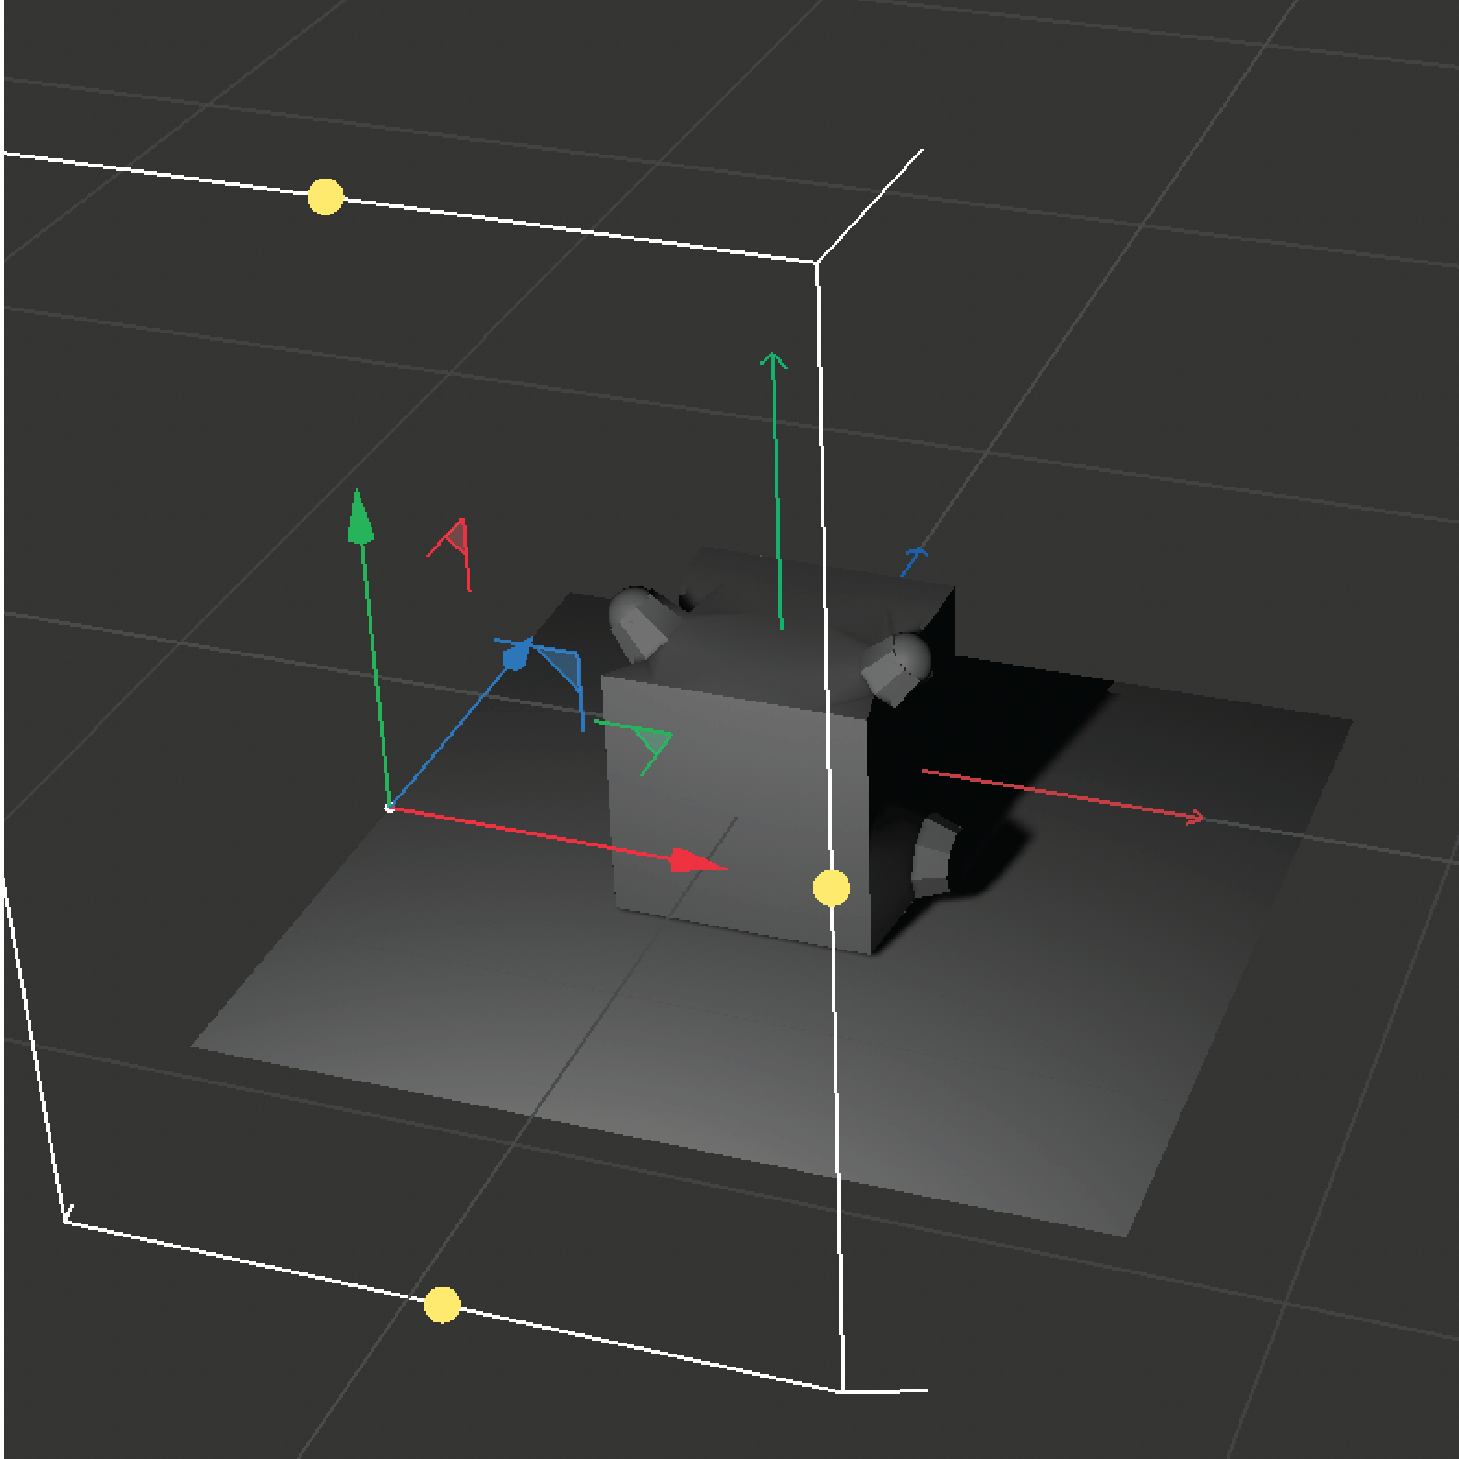
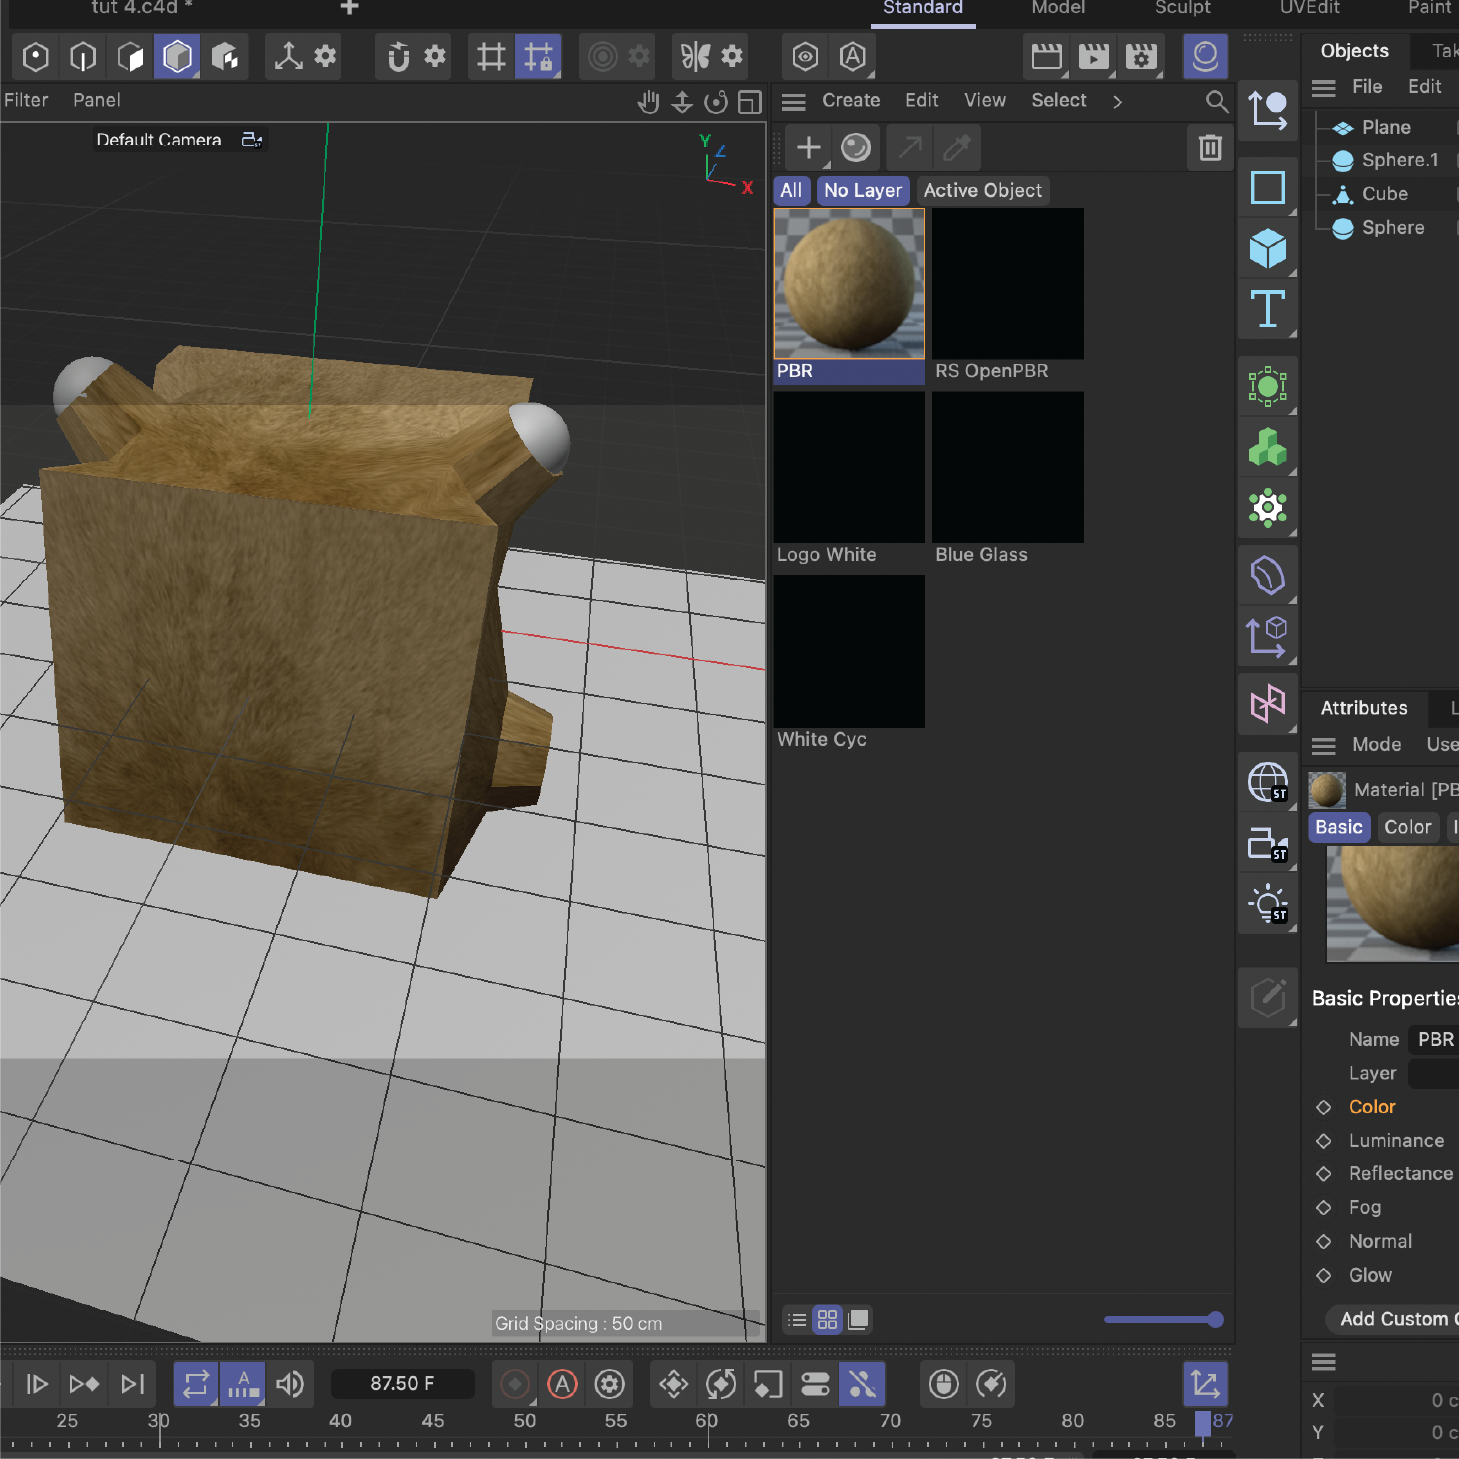
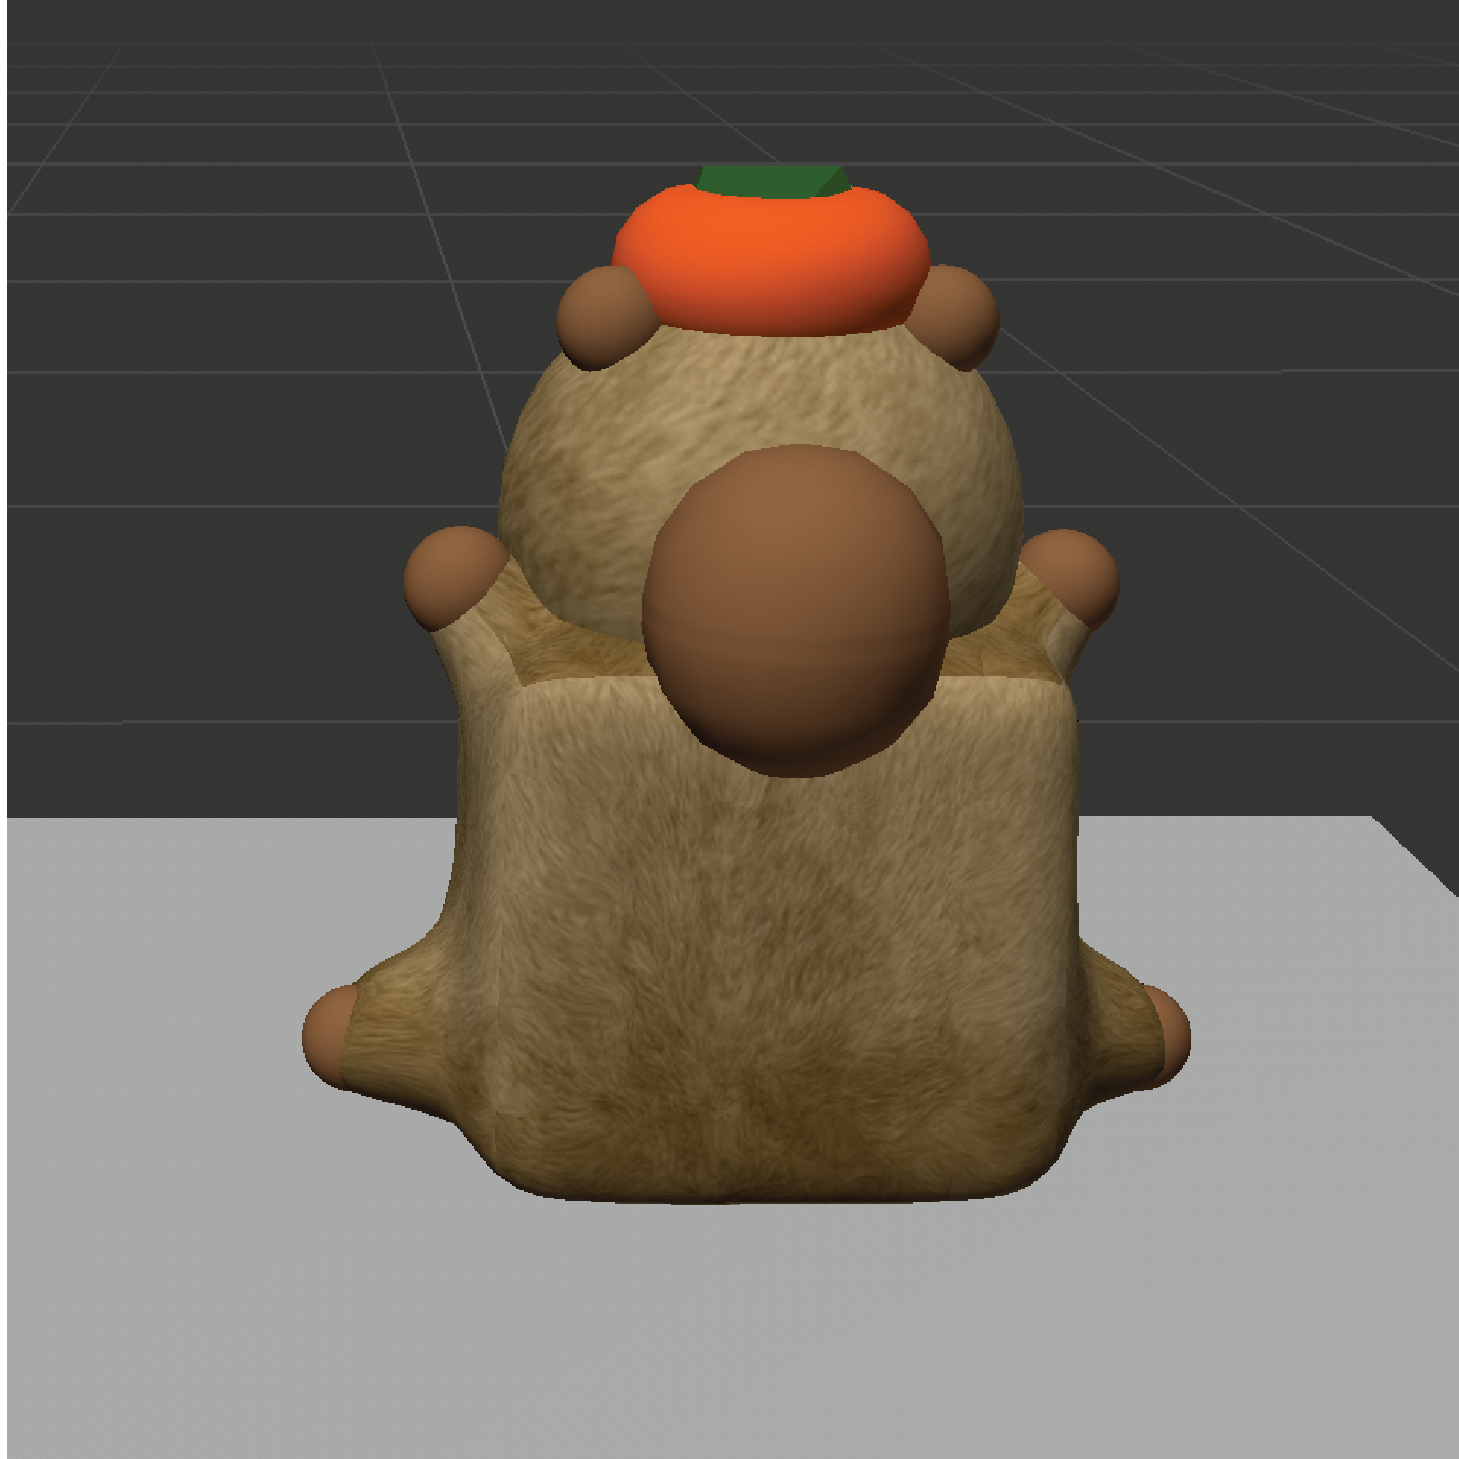
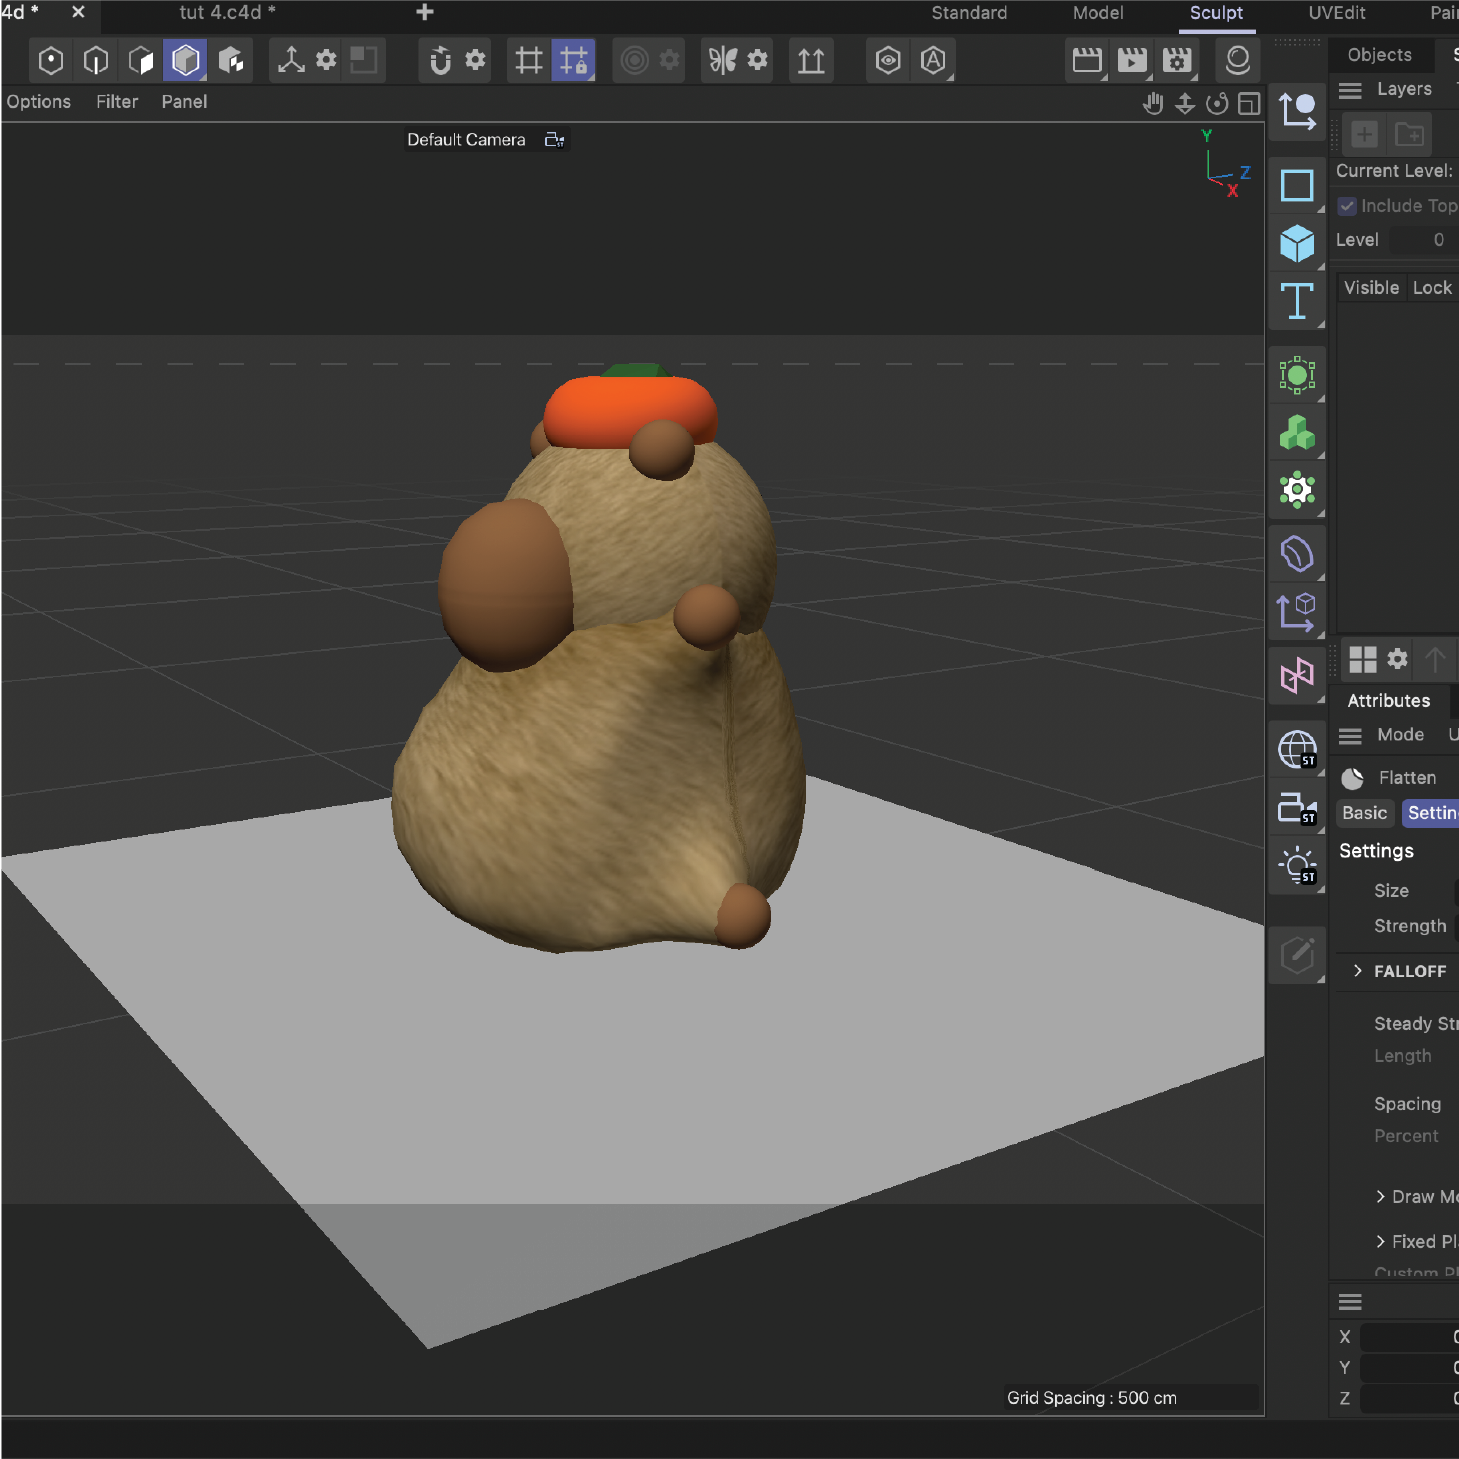
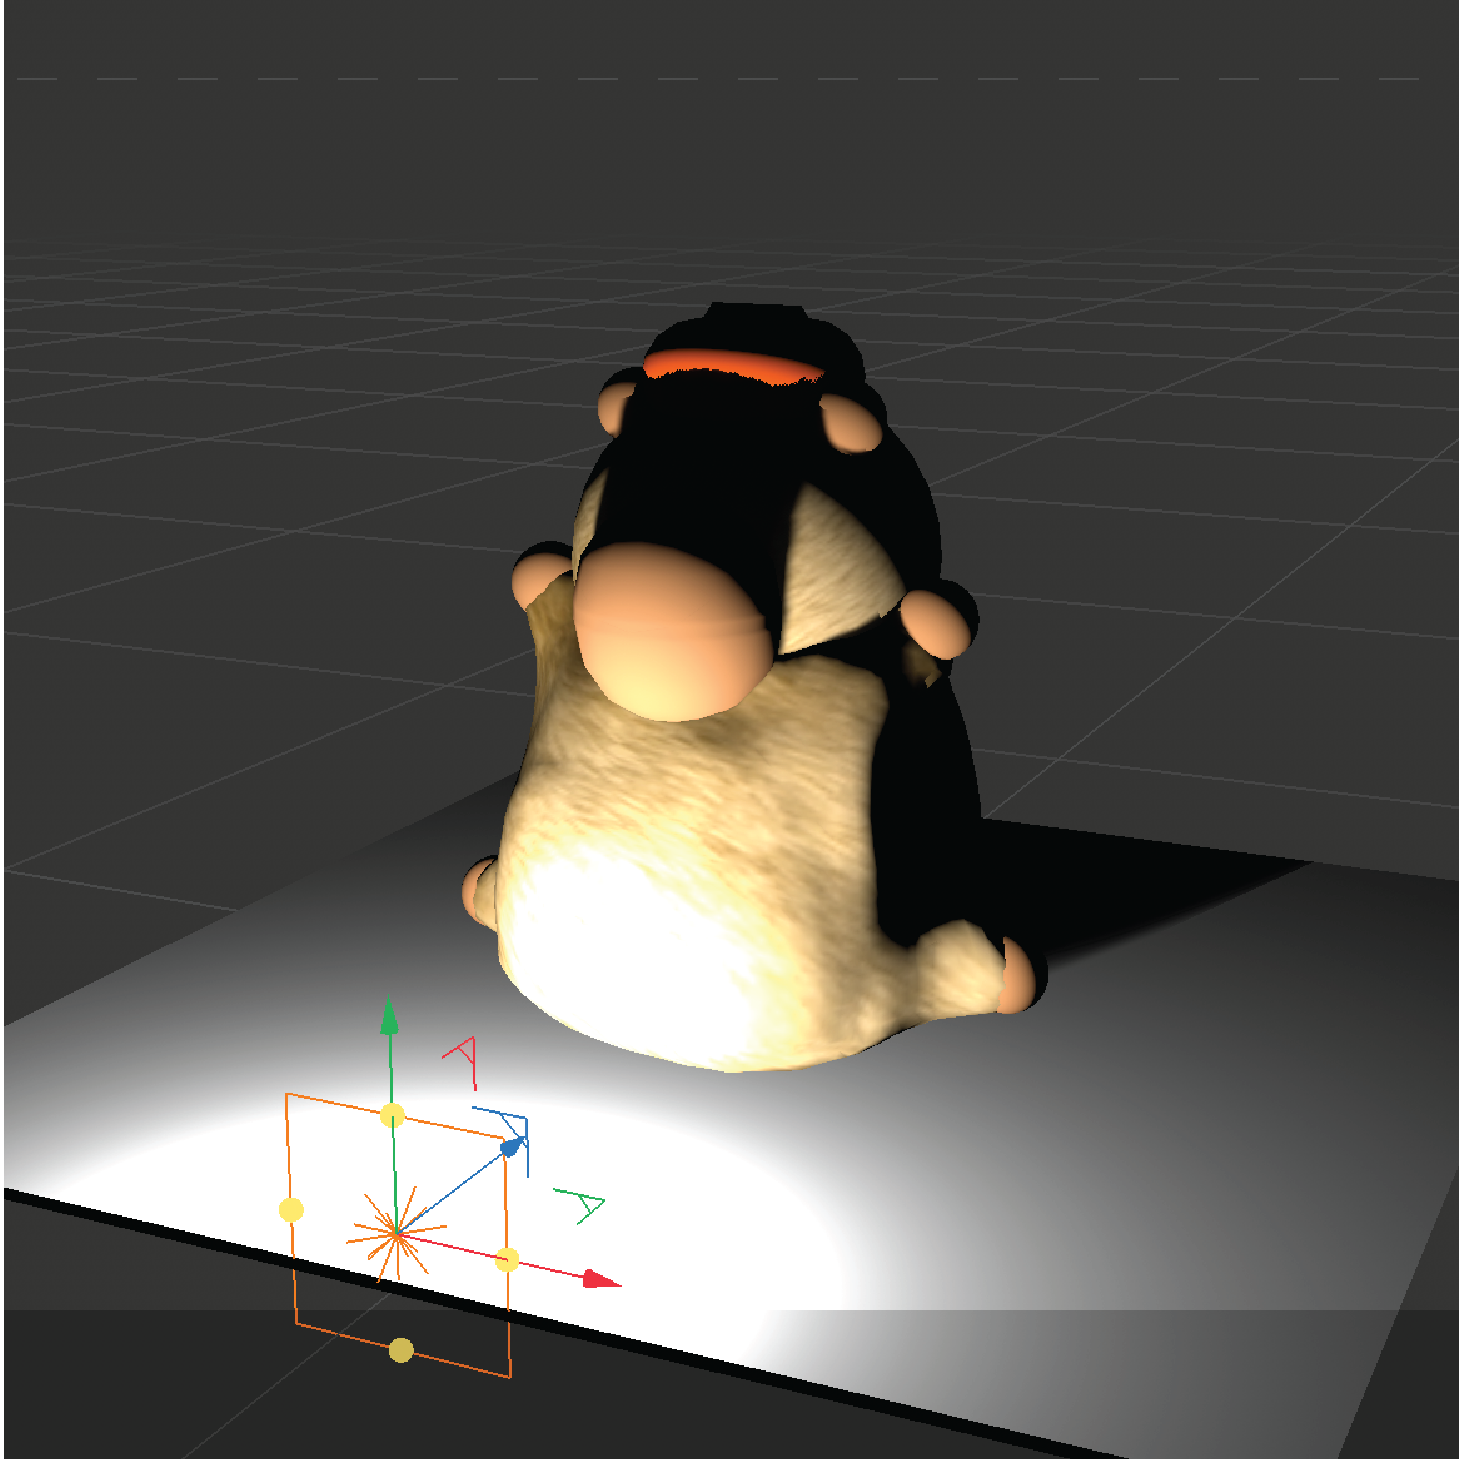
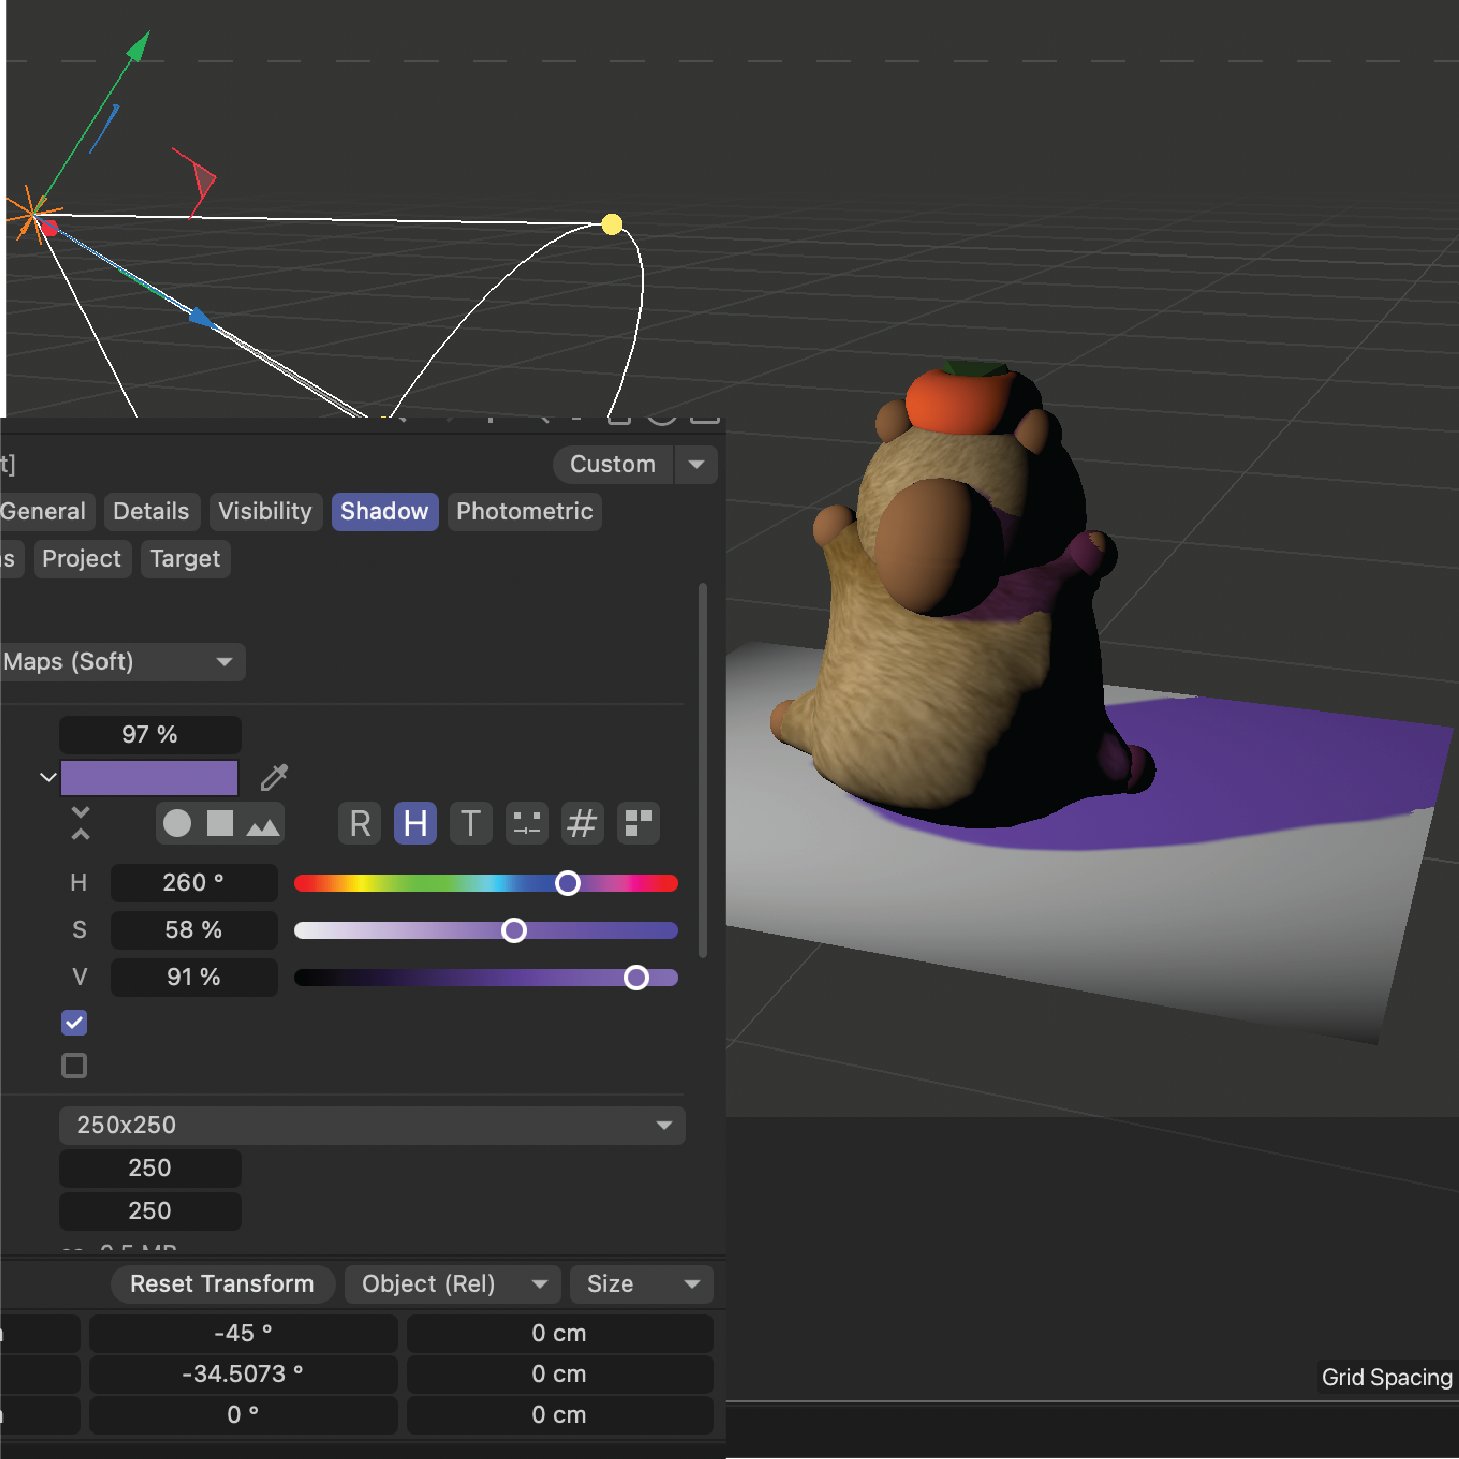
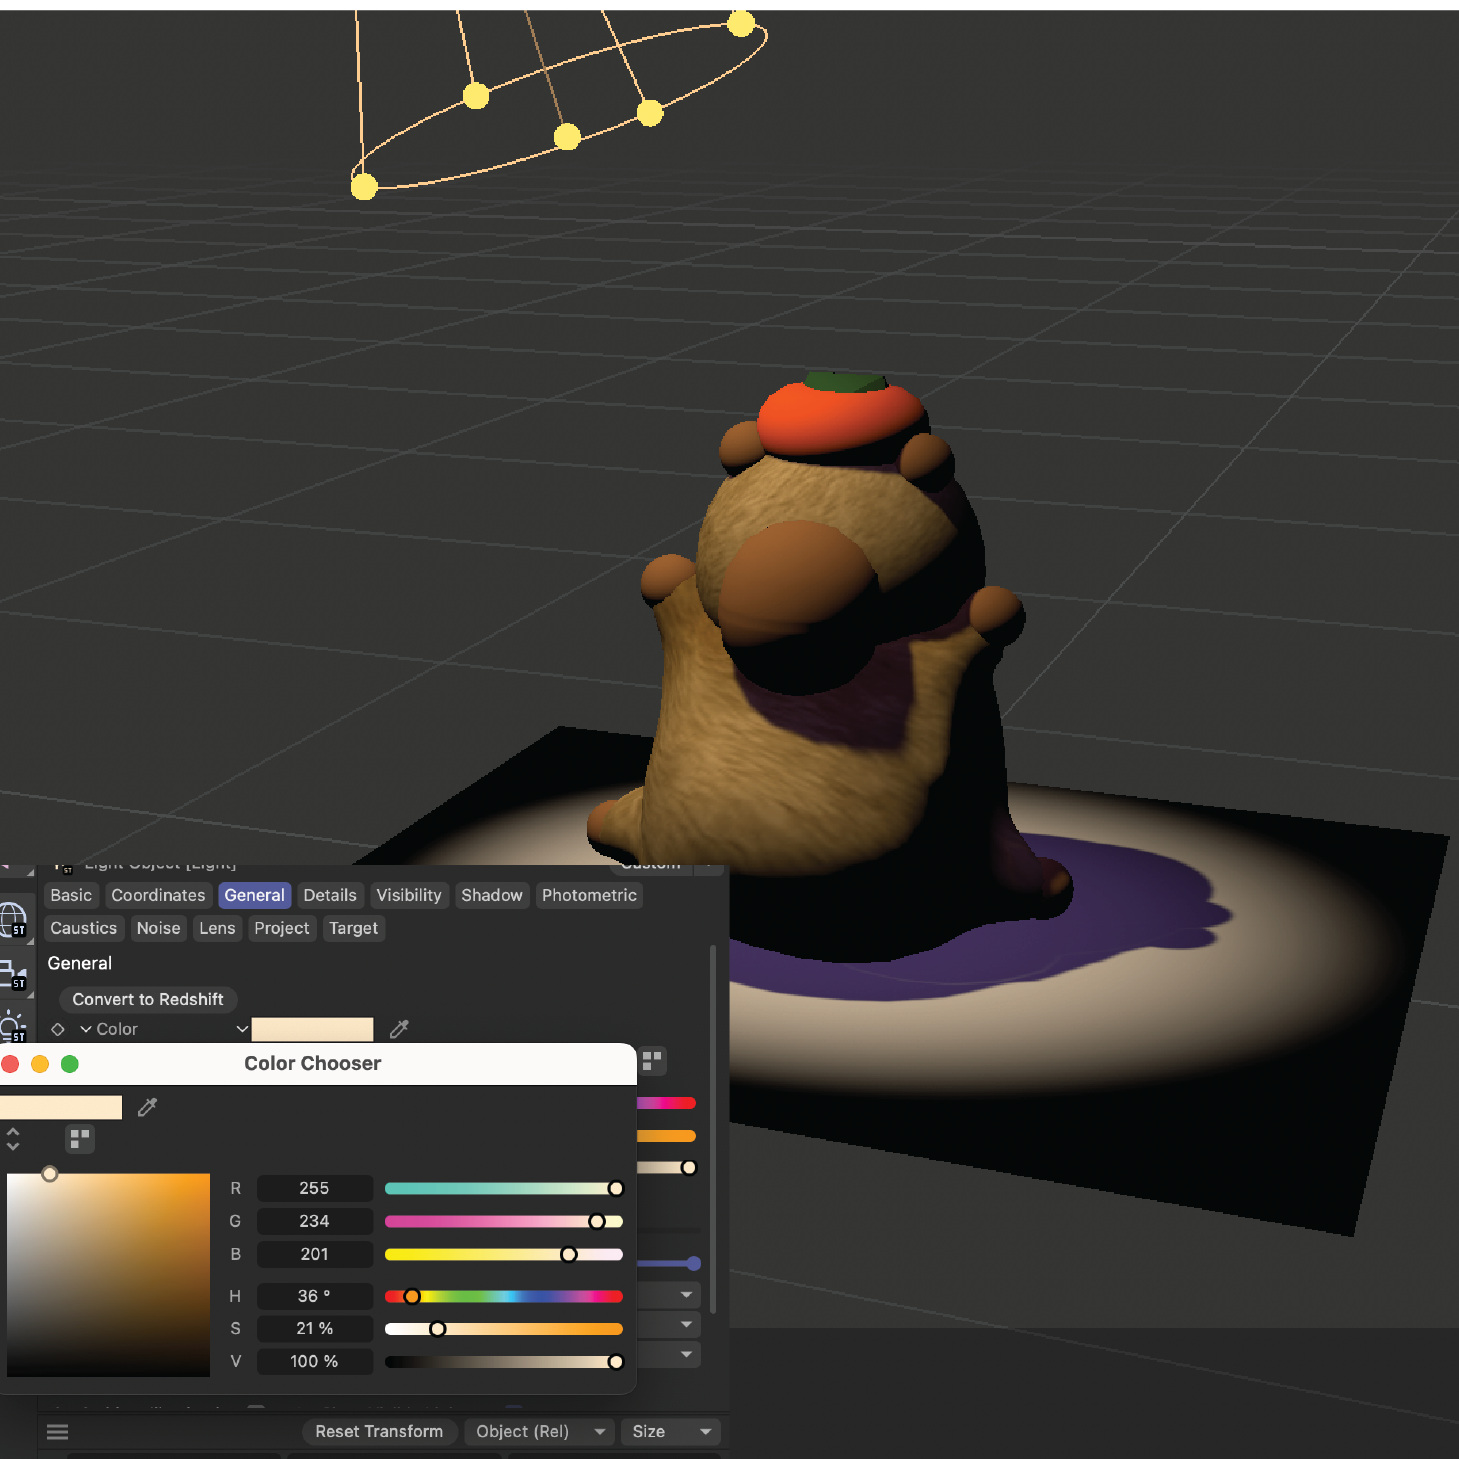
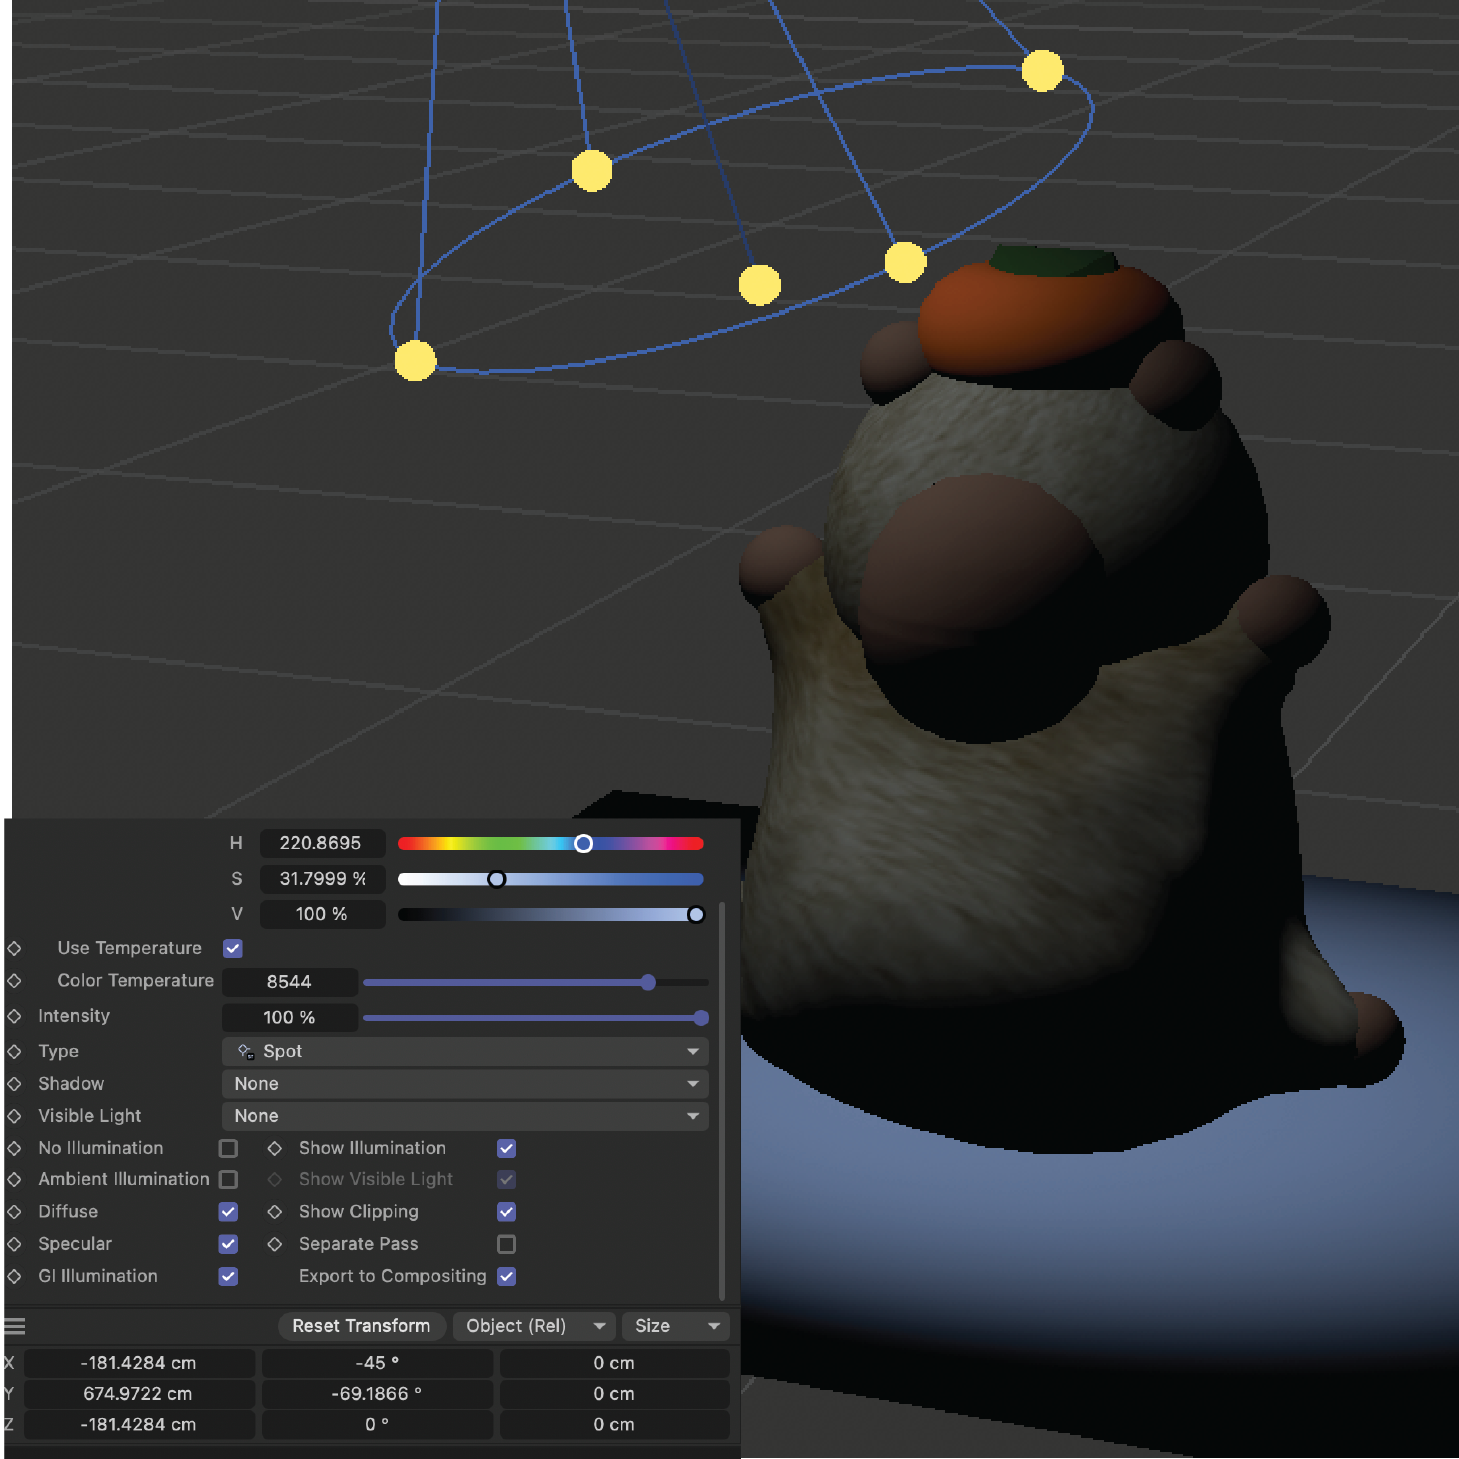
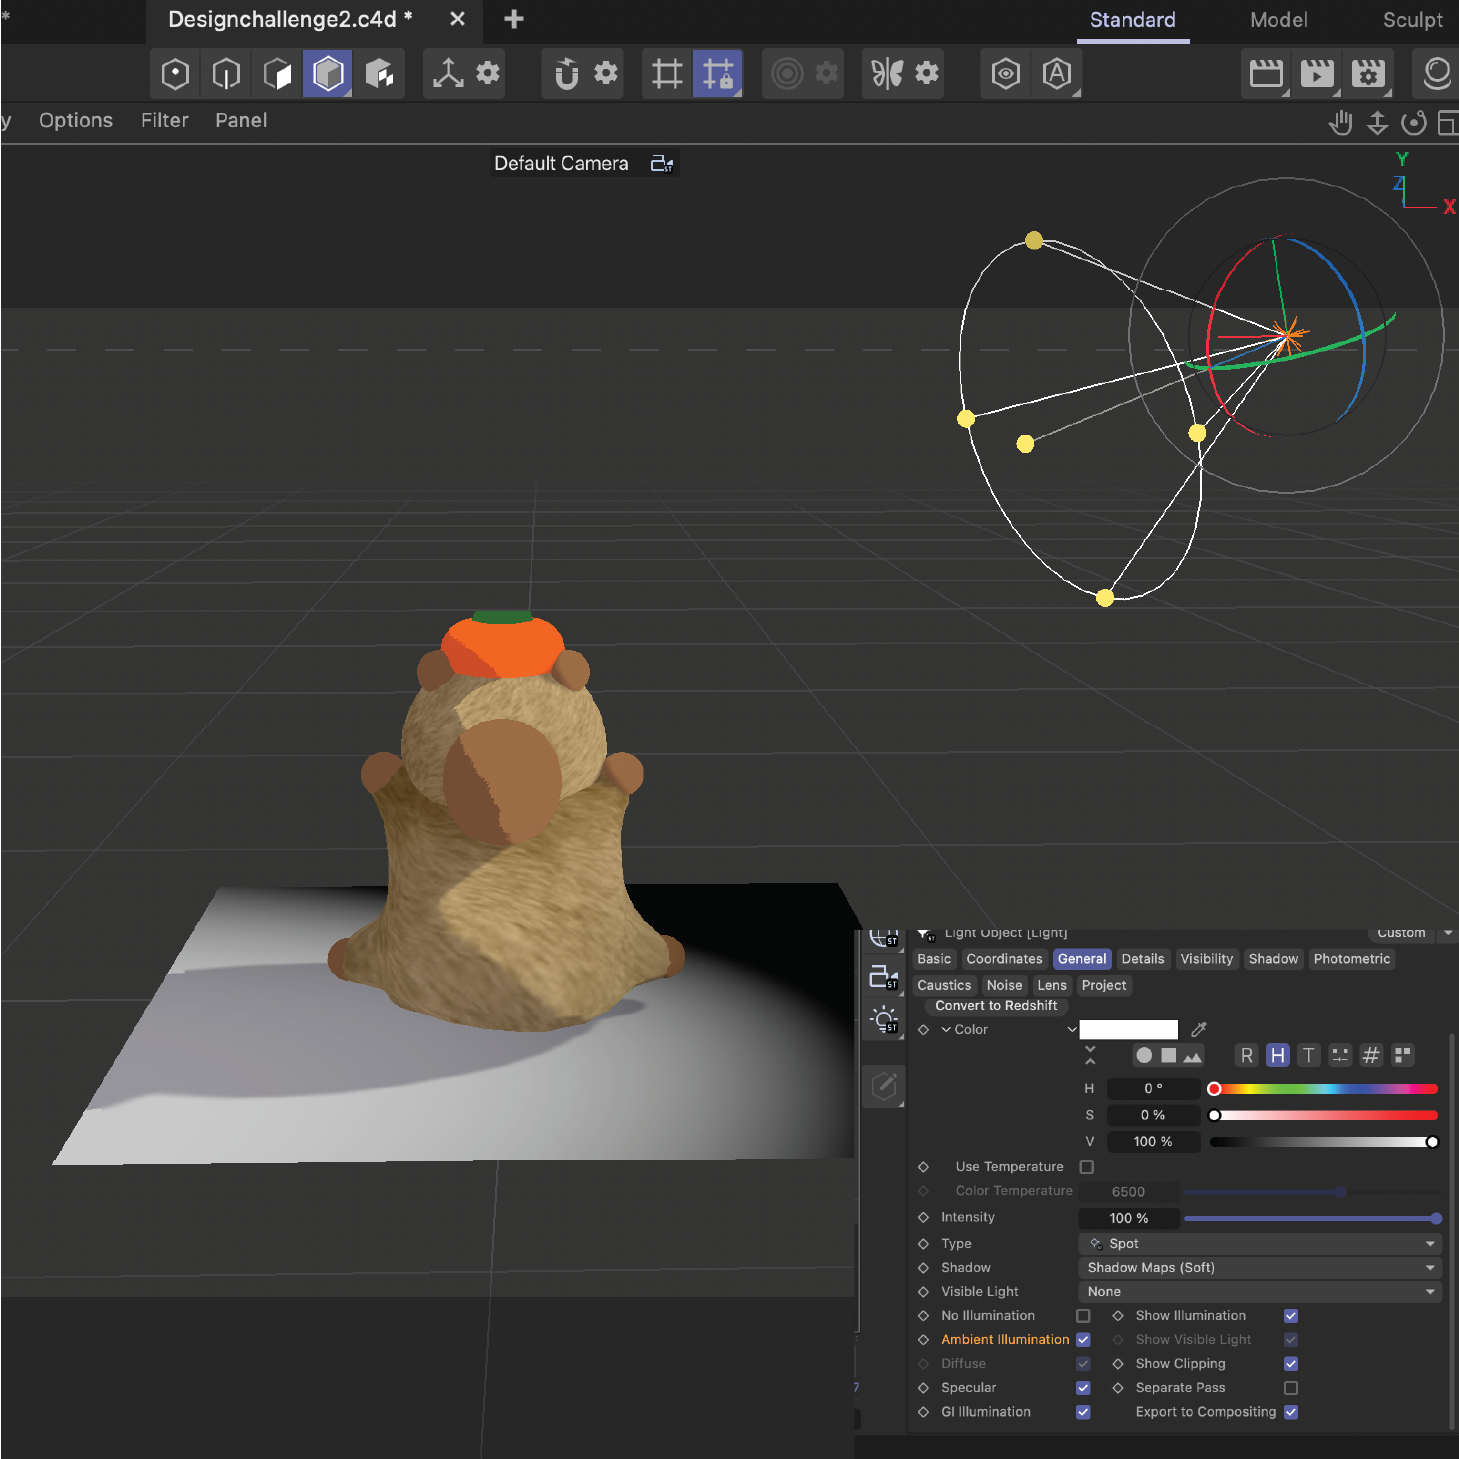
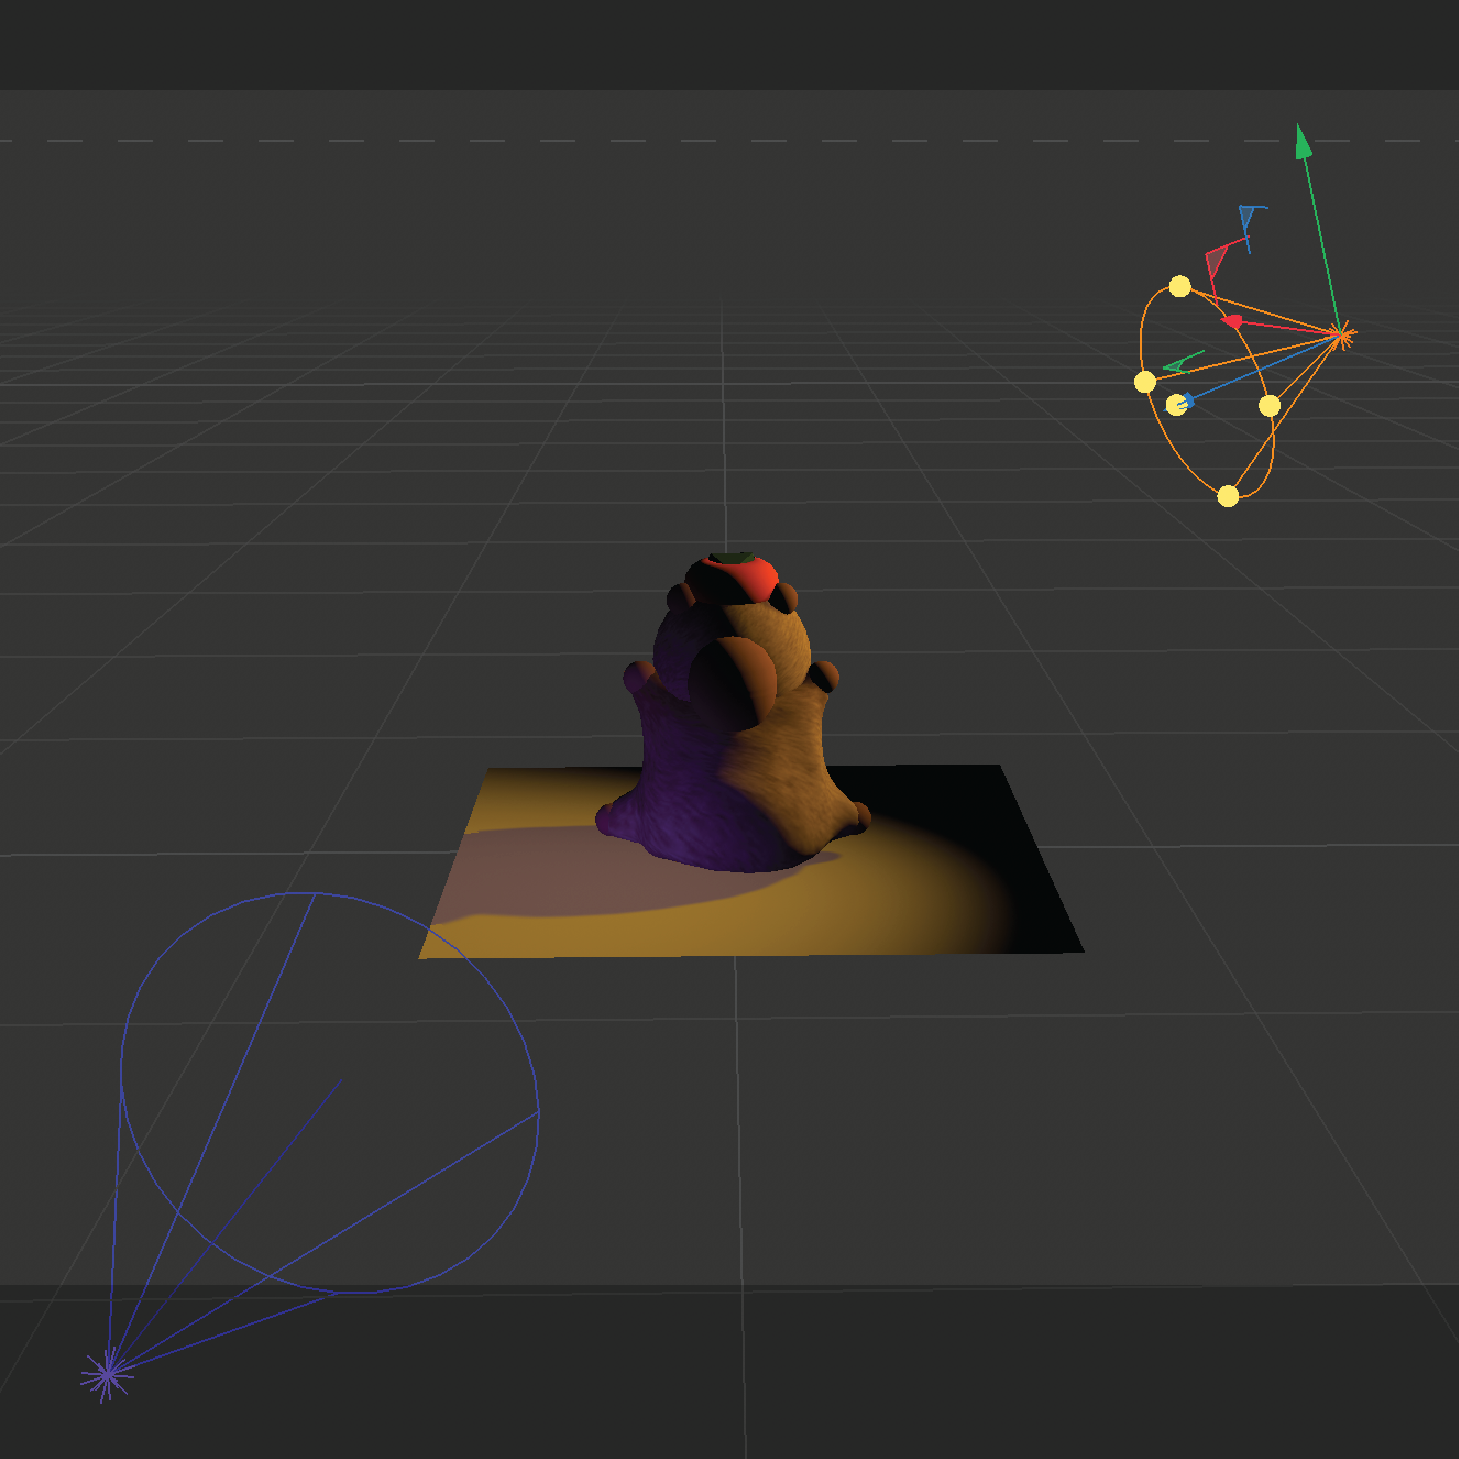
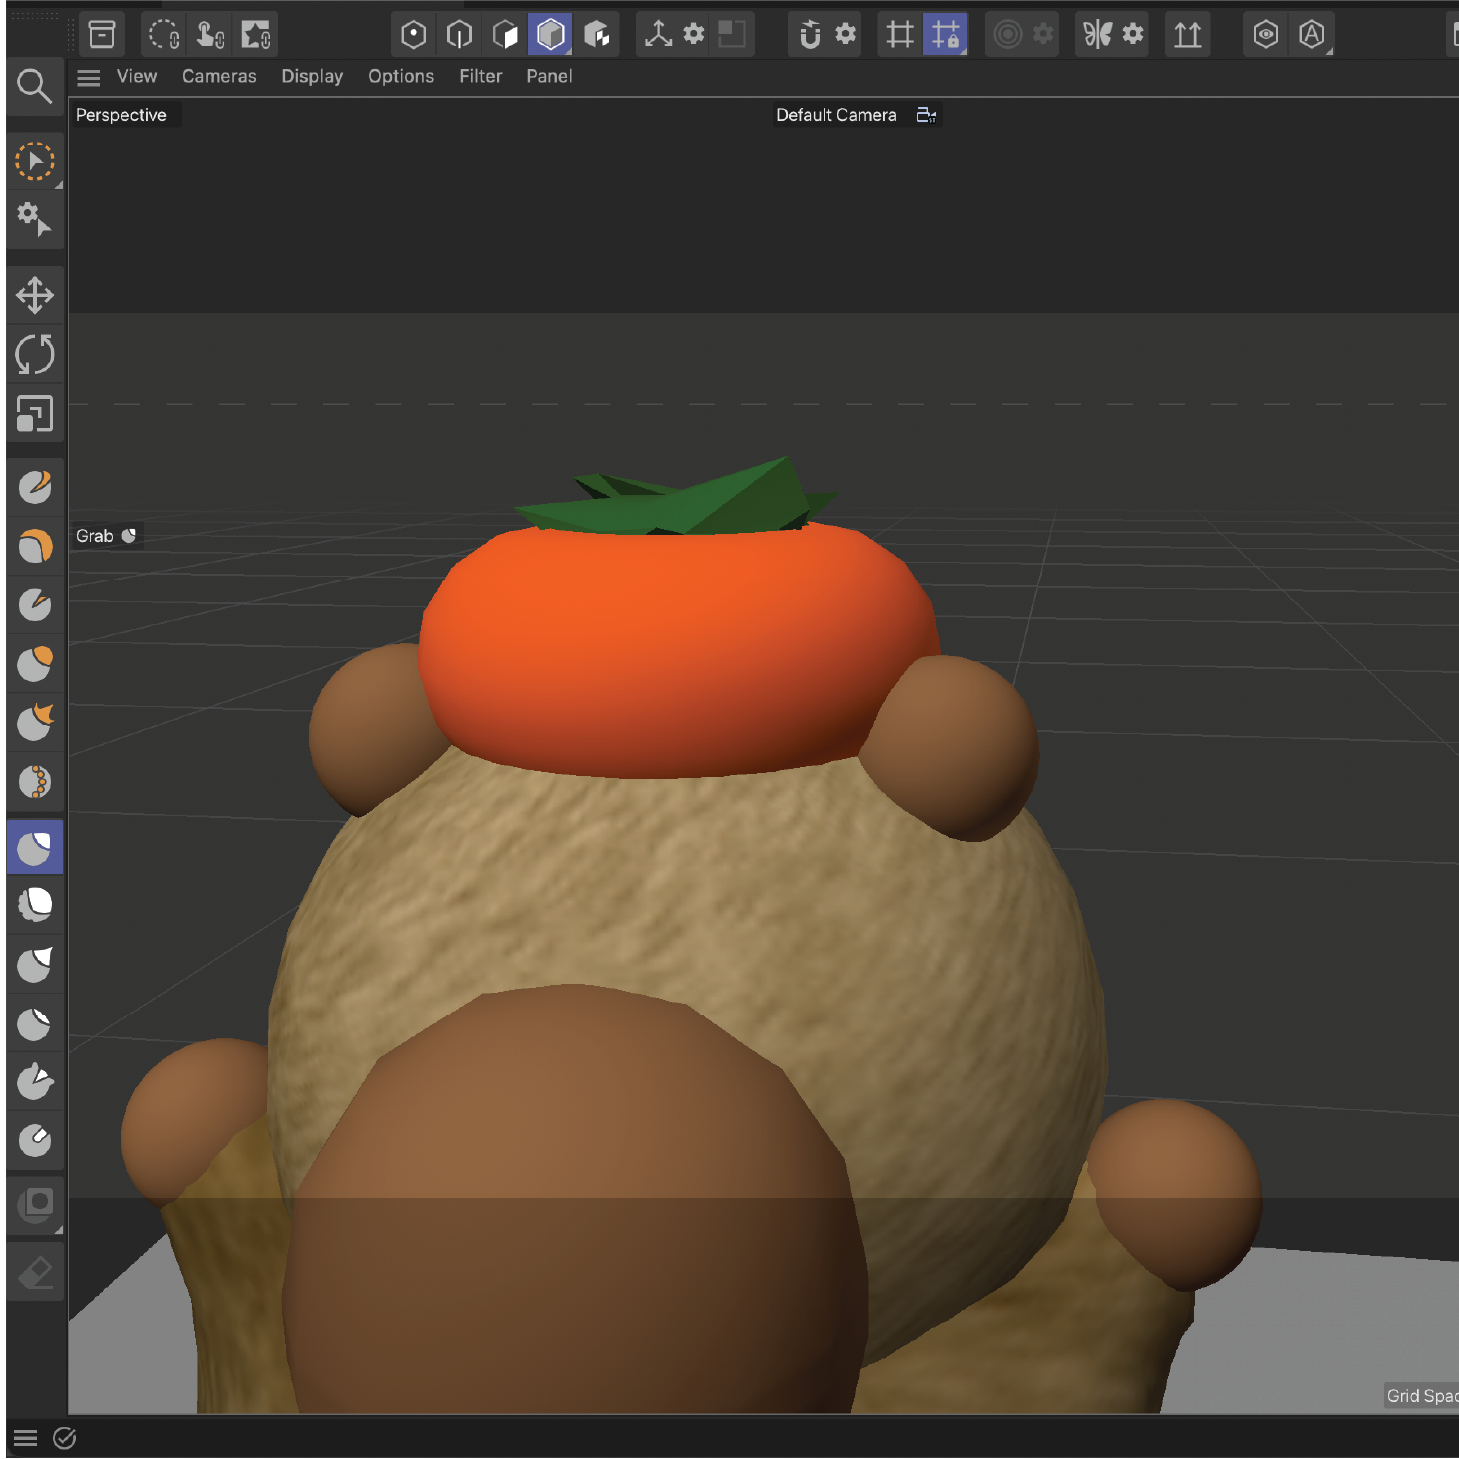
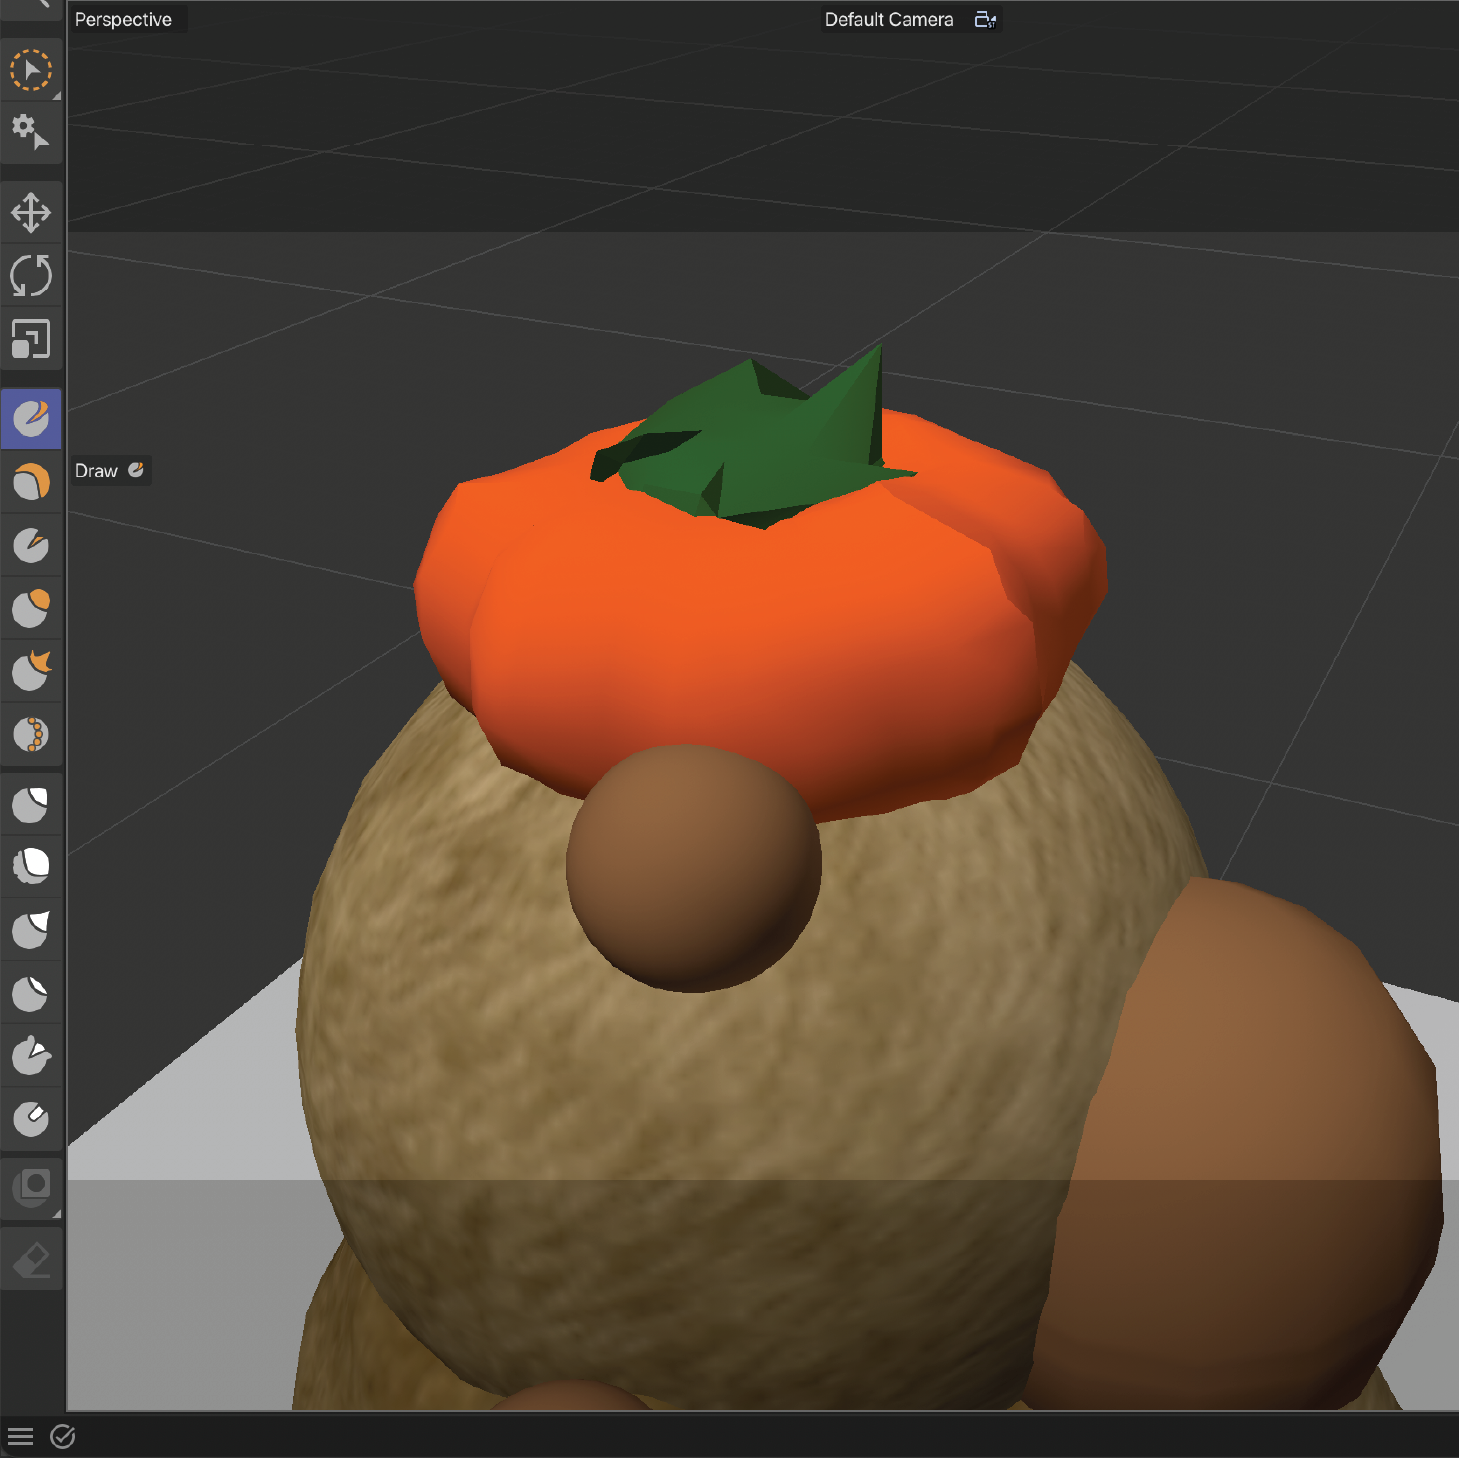
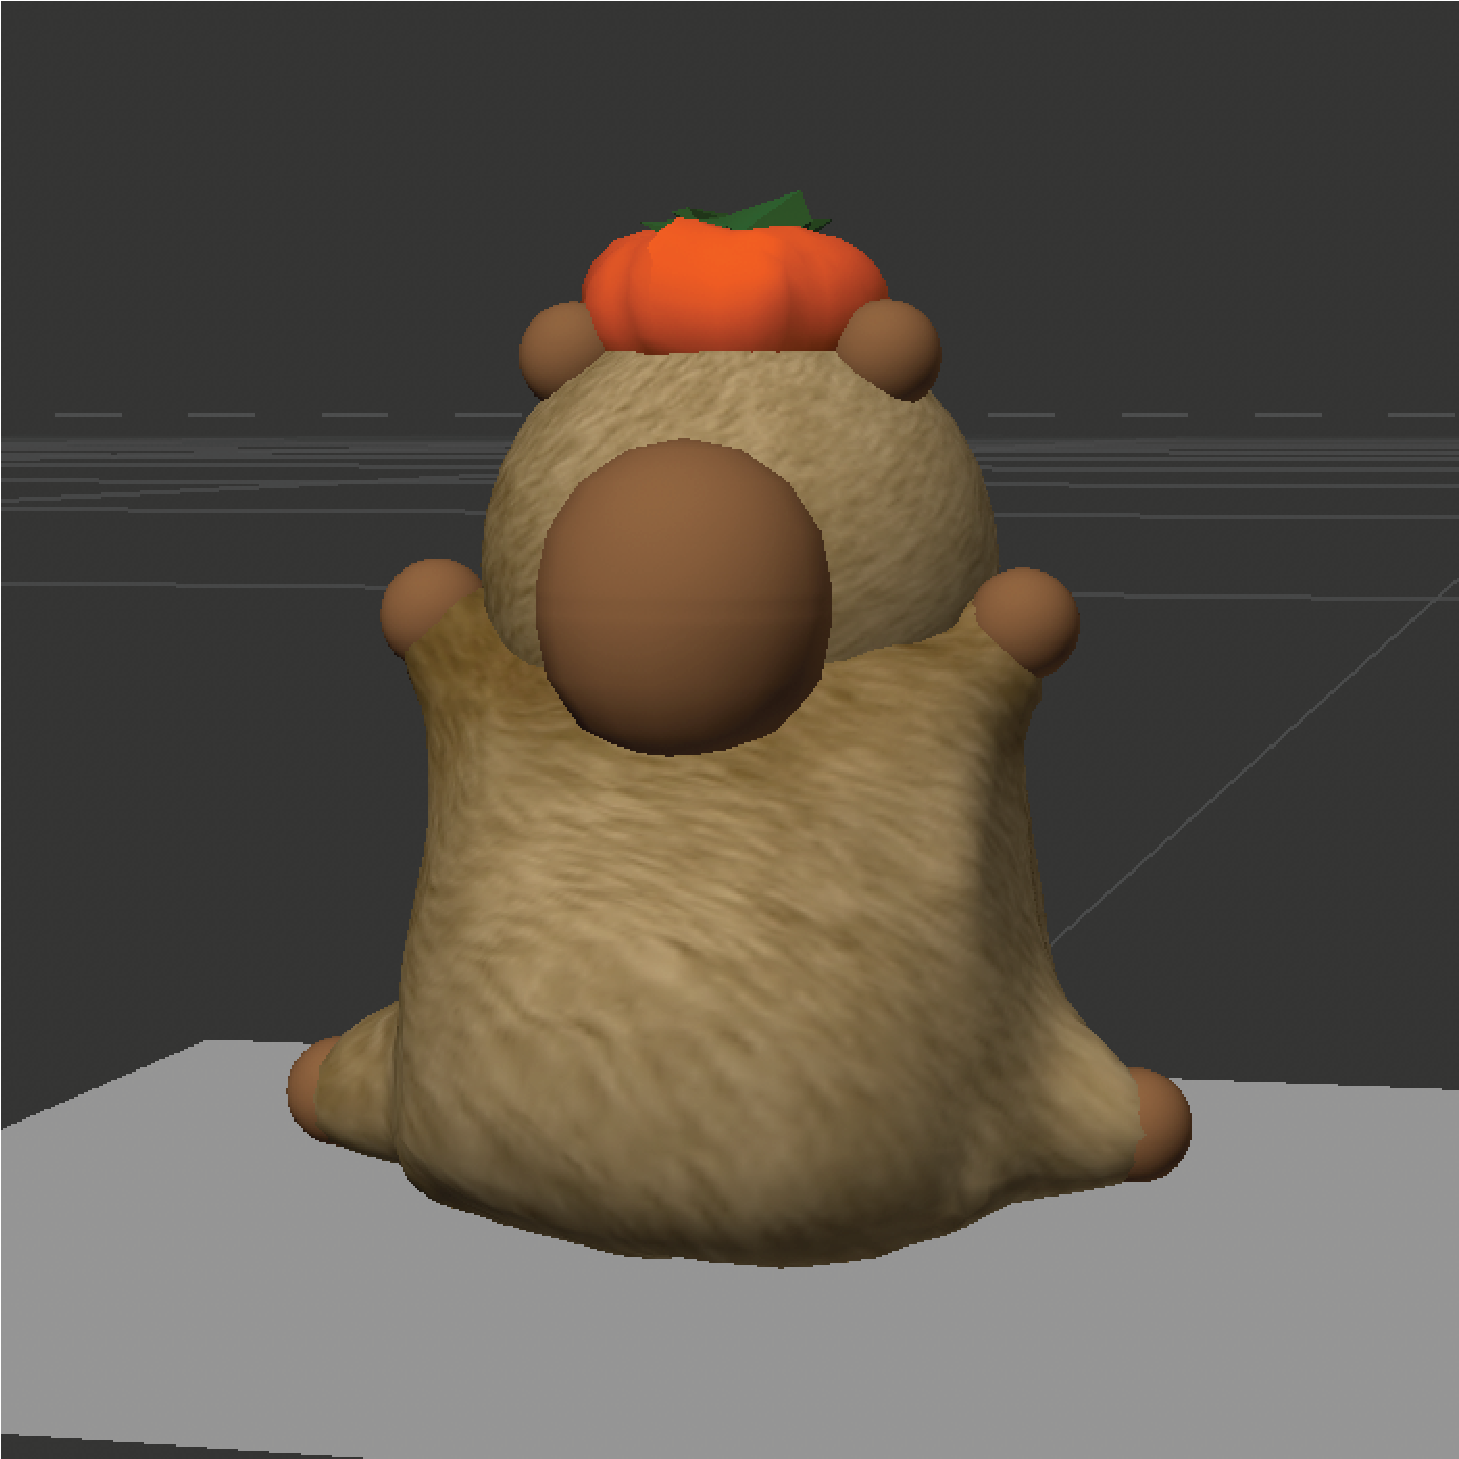
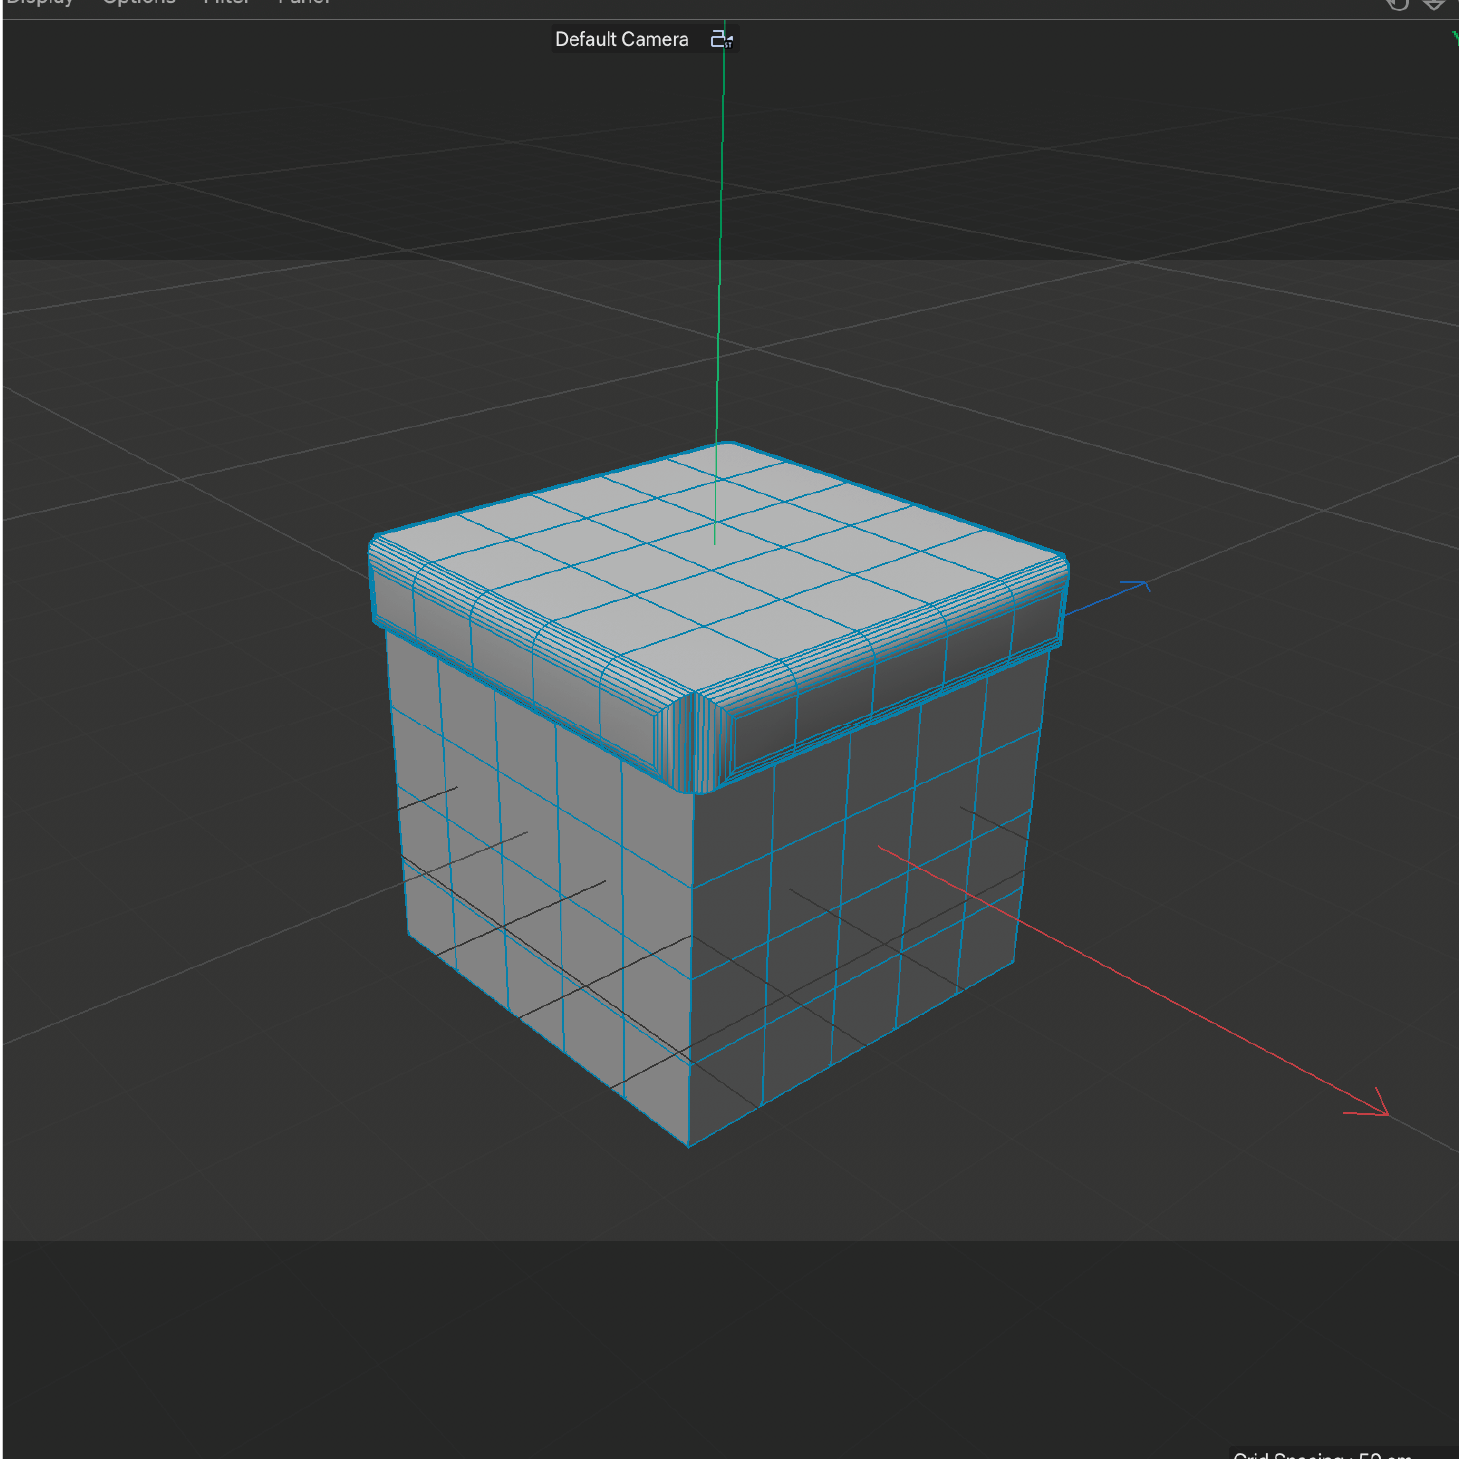
This is the object I decided to further my exploration with from Design challenge 1. I chose this image because it demonstrates the starting point of this design challenge for me. I had some doubts going into this first tool because I could not figure out how to make the shape cooperate with the tools once the shape became editable. After some experimenting and watching the tutorials given, I was able to get some more insight into how I would complete this task. Since this was my first time testing with the polygon settings, the tutorial ended up being a great help when I needed to add segments in order to use the tools in edit mode, demonstrated in these images with the blue grid lines around the shape. This image demonstrates another challenge I faced during this design challenge. My goal here was to add a bevel to the cube; it seemed easy since I have bevelled many objects in Blender; however, Cinema 4D was a learning curve for me. I could not figure out how to grab the edge and not a full plane of the cube. This created the effect shown in the image; however, looking at what it created, I think this “error” could be used for me in the future; it looks like a rim around the top of the box, which could be helpful if I ever wanted to create a crate or a storage container with a lid. This taught me that there is importance to every step in the learning process, and experimentation is very important. This image shows an interesting turn in my experimentation because it was something I was not expecting in the slightest. I was attempting to use the bevel tool again; however, I must have grabbed the wrong edge and created an interesting shape. I think it looks cool, and it gave me an idea on how versatile this software is and what effects I can create with the tools, even when it is a mistake. Proving how important exploration is because it always teaches me something new I can create for my current design or future projects.      This image was chosen because it demonstrates the outcome I strived to achieve from the start. I thought this was important to add because it shows the process and experimentation involved when learning a new tool. It is also interesting to see how many outcomes I was able to explore while trying to get this tool to be applied properly. This image shows my process of trying to make the leg of my chosen object. This tool is called inset, and it was quite a learning curve because it took me a while to realize I needed to hold down and drag my mouse in order to make the tool work. I still was not satisfied with the result, however, because I did not want to indent the soon-to-be stomach area of my object. This was fixed in the next image. This image shows the adjustment I made to get the effect that I wanted to start this tool with. I simply selected the square’s surface a few units over so that there would be no indent in the actual cube base of the object. This change allowed me to make a more acurate image of my chosen object and furthered my knowledge on how I have change little adujustments with the tools I am to create the effect I want. This image demonstrates my experimentation with the fit circle tool. In the tutorial, this tool was mentioned, and I thought it would be perfect to try on my experimentation with my object because the limbs are rounded and not rectangular. This tool allowed me to do the same effect as the previous inset tool, but the pull of the effect would be similar to a cylinder. This is explained further in the next image. This image is what the effect of the fit circle tool created on my object. I decided to have the two effects side by side to clearly demonstrate the difference in what they accomplish. It is helpful to know I can use both versions based on my needs and I appreaicate the tutorial helping me find new tools to incorrperate in my exploration. I think the newer effect looks a lot more like my object, so I am pleased with the fit circle tool. This next image actually set me back a bit in the design challenge because I accidentally deleted a few planes on the shape and they would not come back after pressing undo so I had to restart the shape up until ths point. I still appreciate this step because I think this will be useful in previous projects, maybe when I want to add a window to a scene or a hole somewhere, further proving how important mistakes are in the design process. This image was included because it shows how I am becoming more comforatble with the tools I have learned so far. I decided to change the angle of the arm to match the object better. I feel like this fits the object much better and will make the editing process simpler for me in the future. Further shown in the next image. This image shows the difference between when I first applied the tool and when I have more experience and confidence with applying it to my object. I think the second attempt is more dynamic and suits the object more than the other option. This is an important step because it shows that I am comfortable starting to start making design choices and not always being worried about how I will apply them to the object. This image shows my first time testing out light in Cinema 4D and testing how it can be applied to my object. The tutorial was helpful during this step, and my further exploration helped me understand the light system better. As the image shows, the light is quite intense, so at this point I wanted to experiment more to get the amount of light I wanted for my object. This image shows my further experimentation with light and the different light sources I can use. The previous light used was a simple light tool, whereas this one is an area light tool. I think by looking at this image the light applied created a dull effect and the light was difficult to move around and experiment with. At this point, I was frustrated and moved on to materials so I could come back to light with an open mind. This image demonstrates my experimentation with materials. I have had some previous experience with materials in another class; however, it was fun to continue my exploration. To complete this step, I watched the tutorial and went to photoshop and add a tint to an image of my chosen material in Adobe Stock, then downloaded it into Cinema 4D and applied it to the shapes I wanted to have the fur. I think this step could have been simpler; however, it was fun to do, and I am happy with the result. This image shows the process I made with adding materials to my object. I followed the same steps mentioned in the previous image and added the pumpkin hat using simple shapes. I then added a modifer called subdivison to smooth out the sharp edges of my design. The tutorial was of use during this step, and I am happy it was so easy to apply because I was worried it would be an extremely tedious process. This image shows my experimentation in the sculpt mode in Cinema 4D. It was a fun tool to use, and the tutorial helped guide me through the process. I was abole to add curves and indents to further appeal like my object. This part was tedious, but overall I am happy with the tool, and it helped bring my object to life. This photo shows me beginning to continue and experiment with lighting on my object. I figured out how to add intenity to the light source and it created this very frightning effect that I think could be used in a horror movie. Even though this was not the effect I wanted, I was starting to feel more comfortable with light, and I was beginning to understand it more. This image demonstrates my experimentation with shadows. I found a section in the light tools to adjust the colour of the shadow, and I decided to test it and apply colour theory to the shadow of the object. This tool was very exciting for me because I immediately started to think of all the things I could use this for in the future, and it made me realize how much I can do within this software. I appreciate all the tools I can use, and it gave me a greater appreciation for the software because of how much thought the designers put into it. This image shows my experimentation with the lights colour as well. This light choice looks more like a street light and adds a story to my object right away. I think my experiments with light up until this point have been very beneficial to my process and experimentation because up until now I did not even know I could use light to this extent. I feel like the light tool has the ability to make any object feel more alive, and everyone using this software should experiment with it. This image shows how far my curiosity has gone with light and the tools I can use within the effect. This shows me experimenting with the overall temperature of the light, and as this image shows, I made the light feel cooler with a bluish tint. I think this is a great tool to apply when creating a scene, and it adds a different feel to the object, which is worth exploring further in future projects. This image shows the effect applied when I clicked on Ambient Illumination; It created a cartoonish effect that lowered in denisty on all the shading applied before and made the object appear flatter in a 3D space. I am happy to have come across this tool because I think it looks very appealing and can be helpful for future designs. I like the added shading the tool applied as well; it created a whole new feel to the object that I think a specific animation project could benefit from. This image shows what occurs when I added a second light source into the scene. My object has automatically been given more depth and colour, creating a different feel than before when only one light source was applied. I think adding two light sources is very clever because there are many instances where light may be hitting an object from multiple angles, so it is important to experiment with how they can be applied to my object in this exploration phase. I chose this image because it demonstrates my further exploration with the sculpt mode in Cinema 4D. This time, instead of the push tool, I used the grab tool to add character to the leaves on the pumpkin hat my object is wearing. I think this tool was easy enough to use; however, it was difficult to understand since the points were not snapping to the tool to be grabbed in the way I wanted. Overall, I think this was a quick fix to make the hat more likeliness the real object without copying it completely. This image is also documenting my exploration with the sculpt mode. I wanted to add more depth to the hat, and I think that by using the push tool in sculpting mode, I was able to achieve the ridges a pumpkin would naturally have. I think this is a great image to display because it shows how comfortable I have gotten with all the tools I have experimented with so far and how I have been able to apply them to my object. I chose this image because it shows the result of all my experimentation and the tools I have learned and developed in just one week. I am pleased with my process and how my object looks at this point, and I am excited to move forward with tutorials to gain more skills.

Material Workshop 1

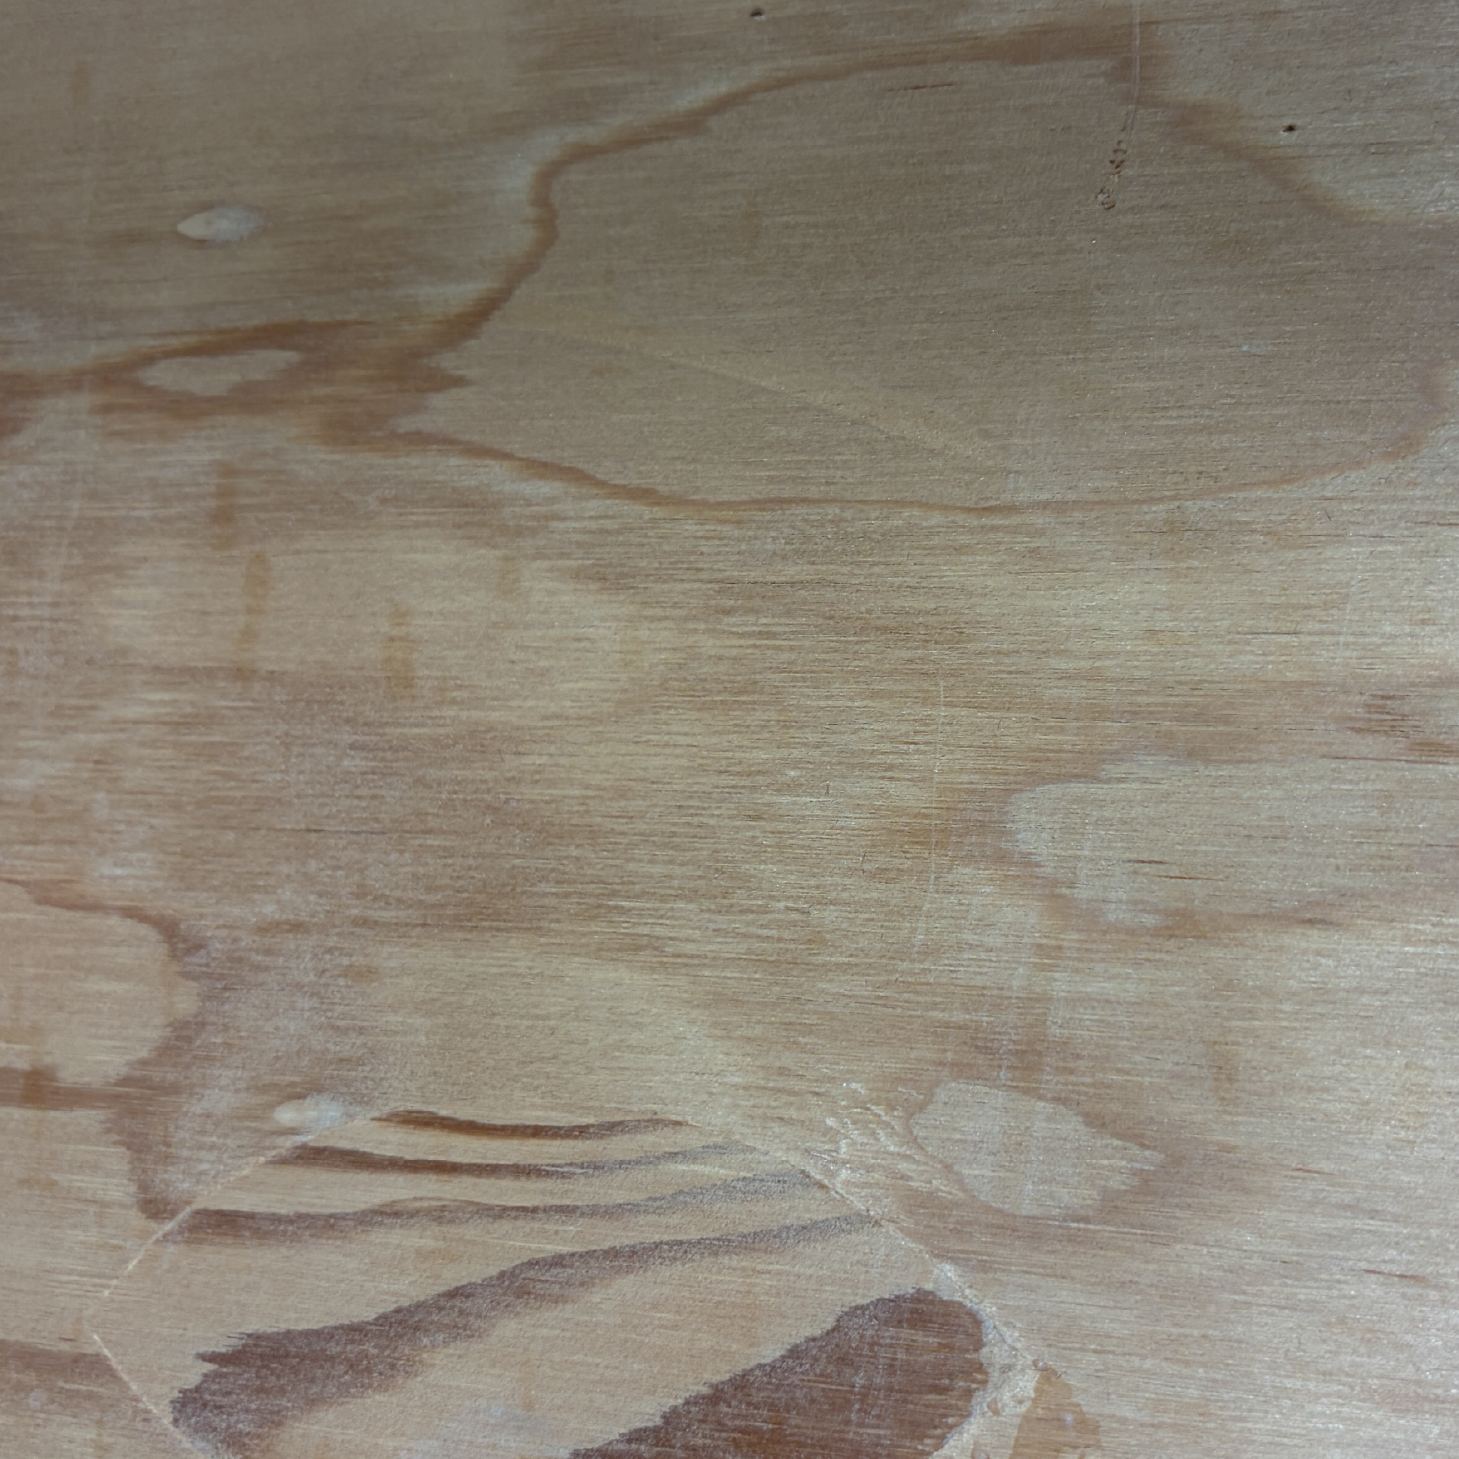
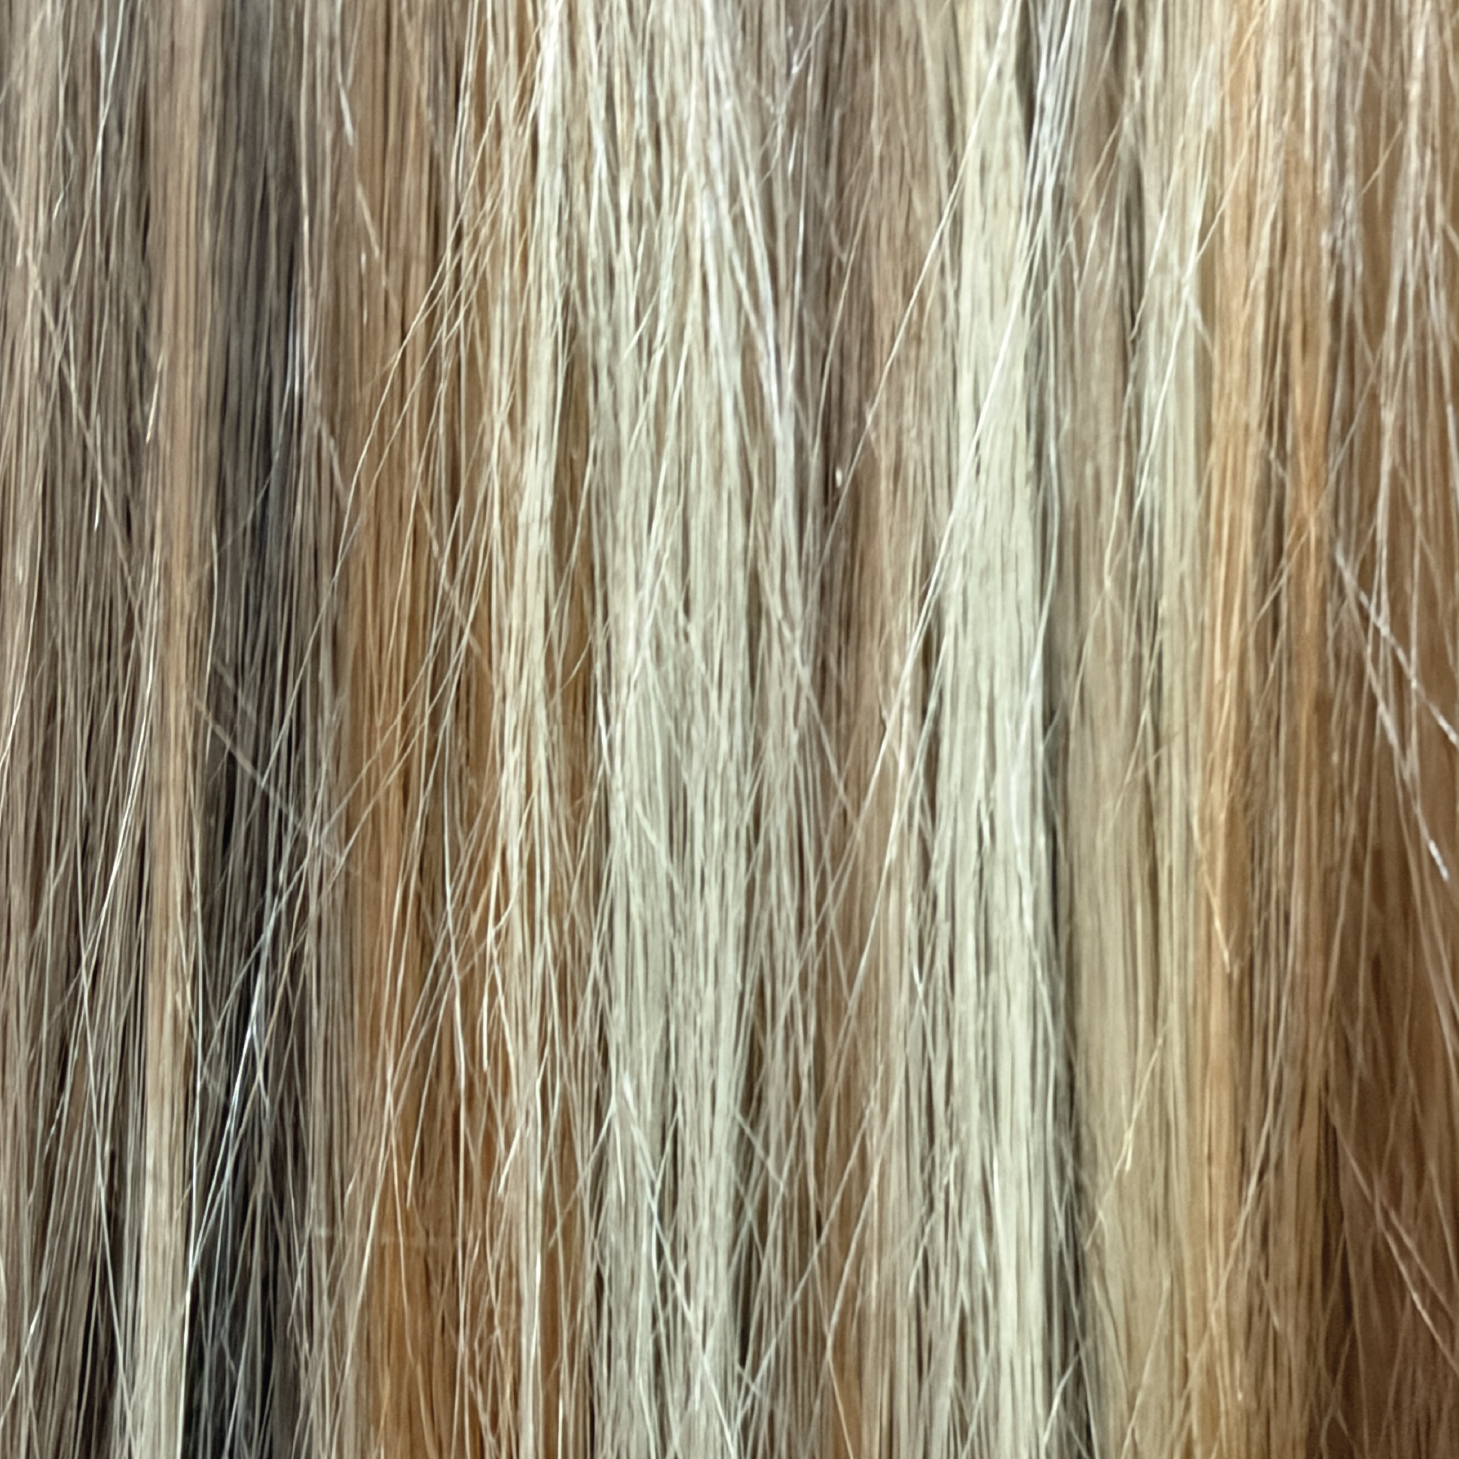
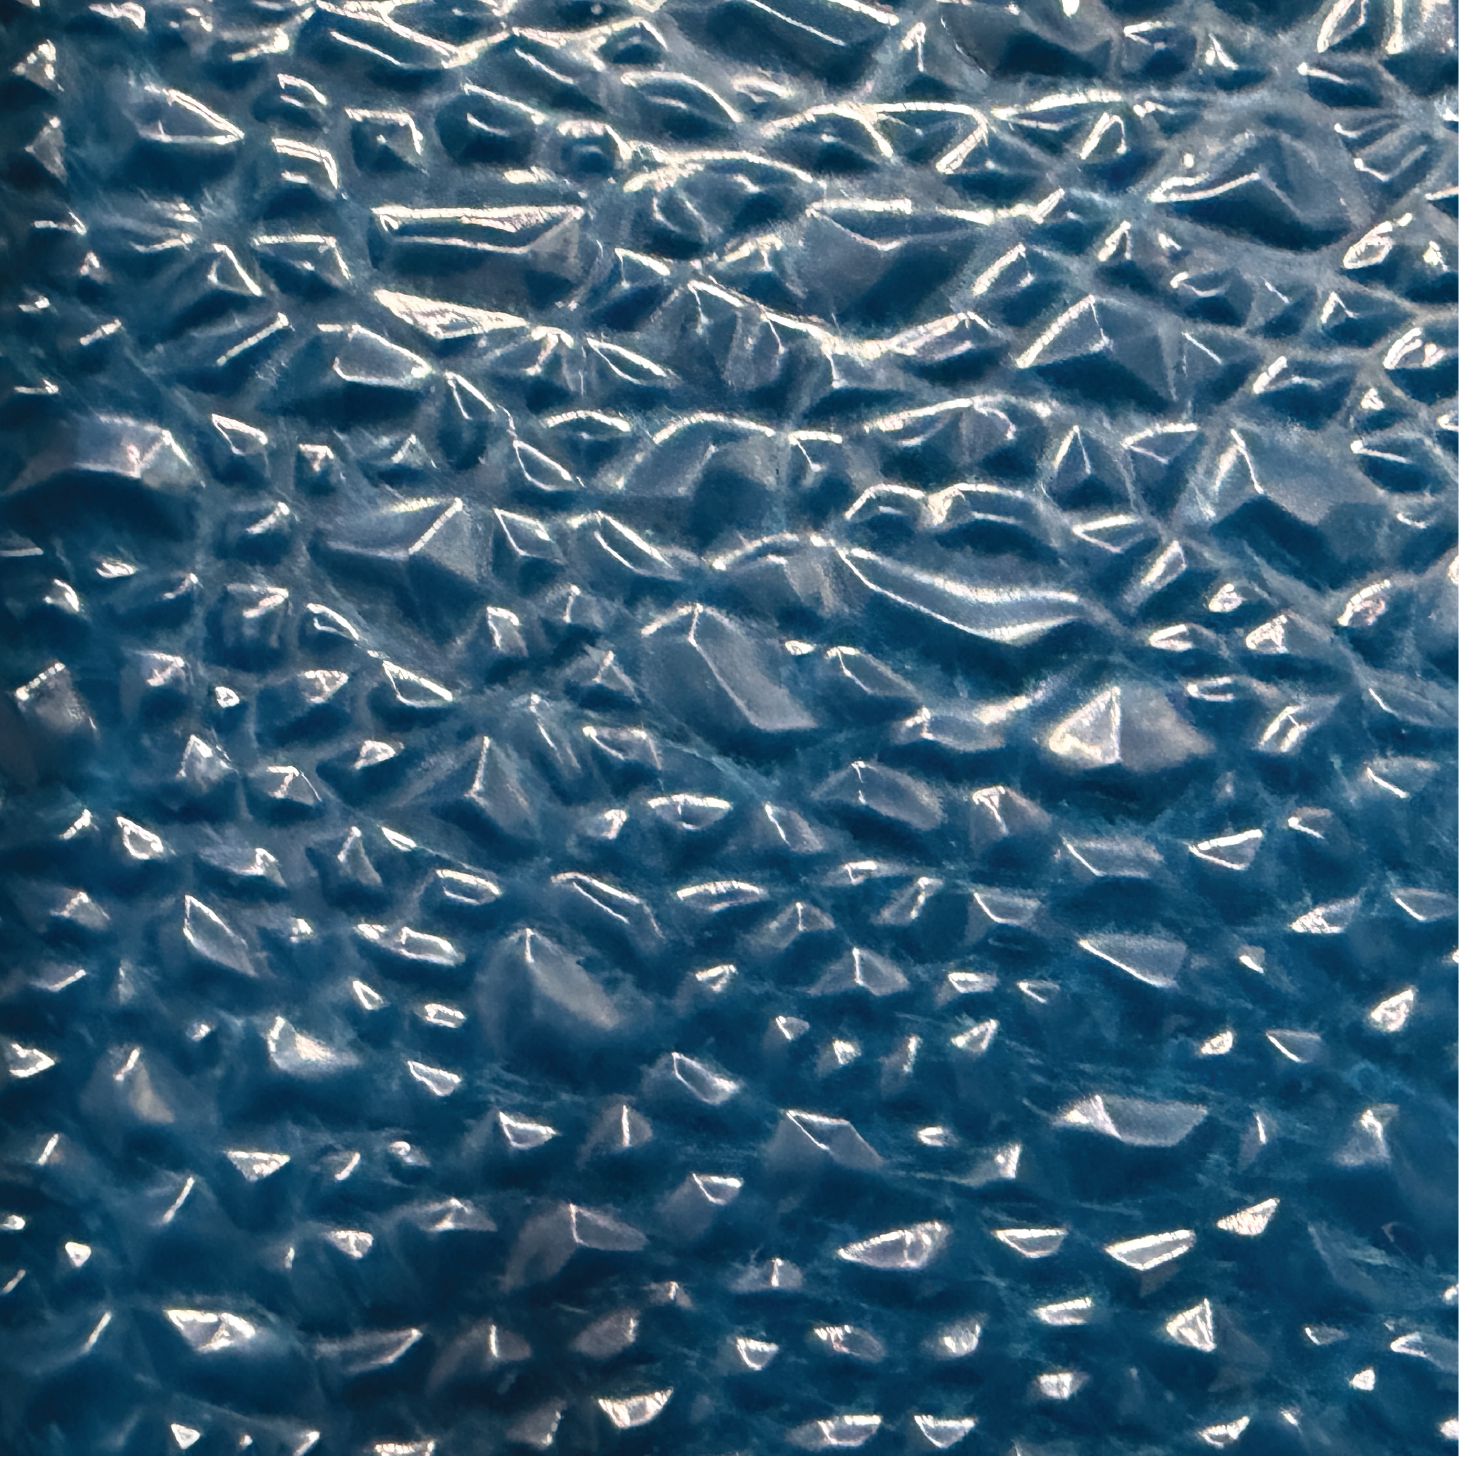
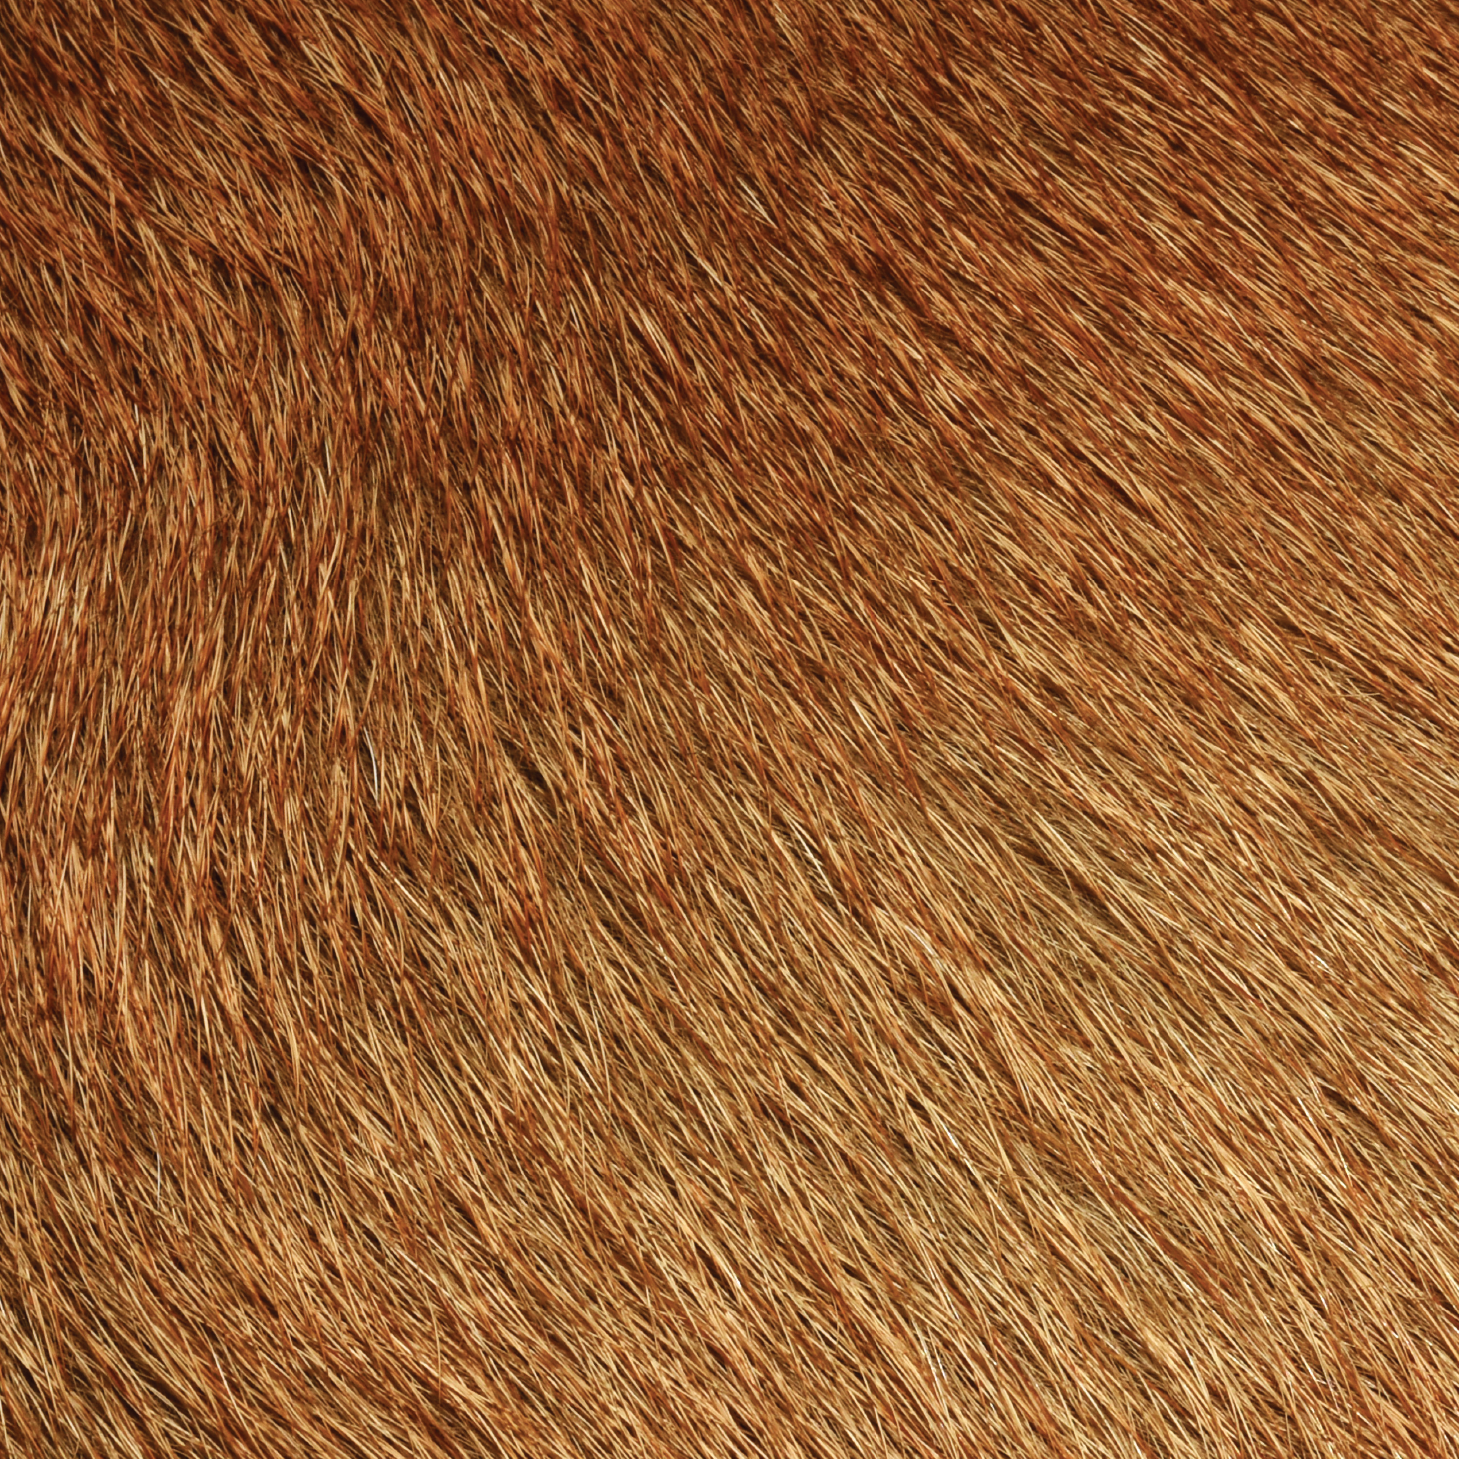
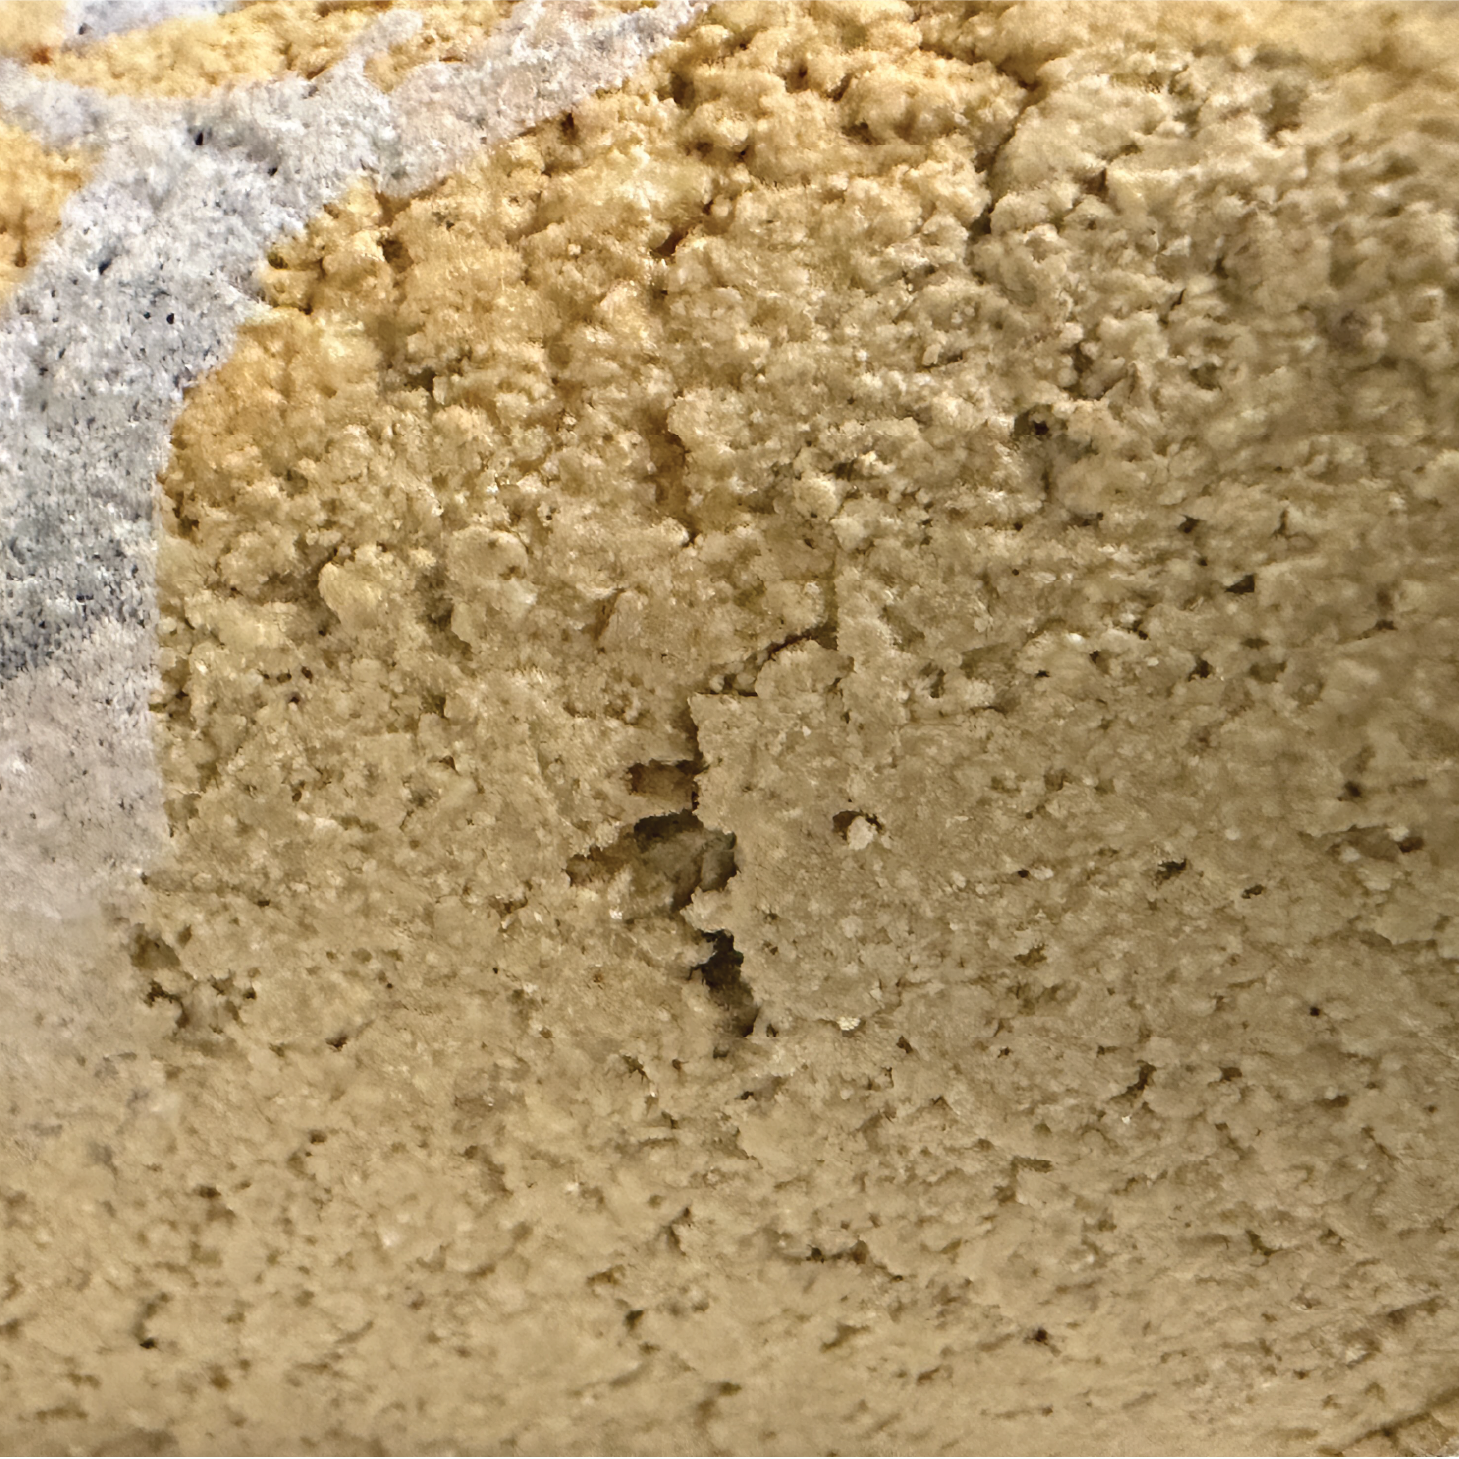
This material was found around campus, and I thought that it was worth noting because I thought it could be used to create a scene in the future that included walls I could add a wood material to. I also thought it was a good basic material to have in my toolbox. This material was found around campus, and I thought that it was worth noting because it is a good texture to have for fur or a rug. I thought that it would also be a good texture to experiment with and overlay on top of other objects. This material was found around campus, and I thought that it was worth noting because I immediately thought of scales for a dragon or lizard, and it was a very unique texture to find lying around, so I think it will be useful for future projects.

Material Workshop 2

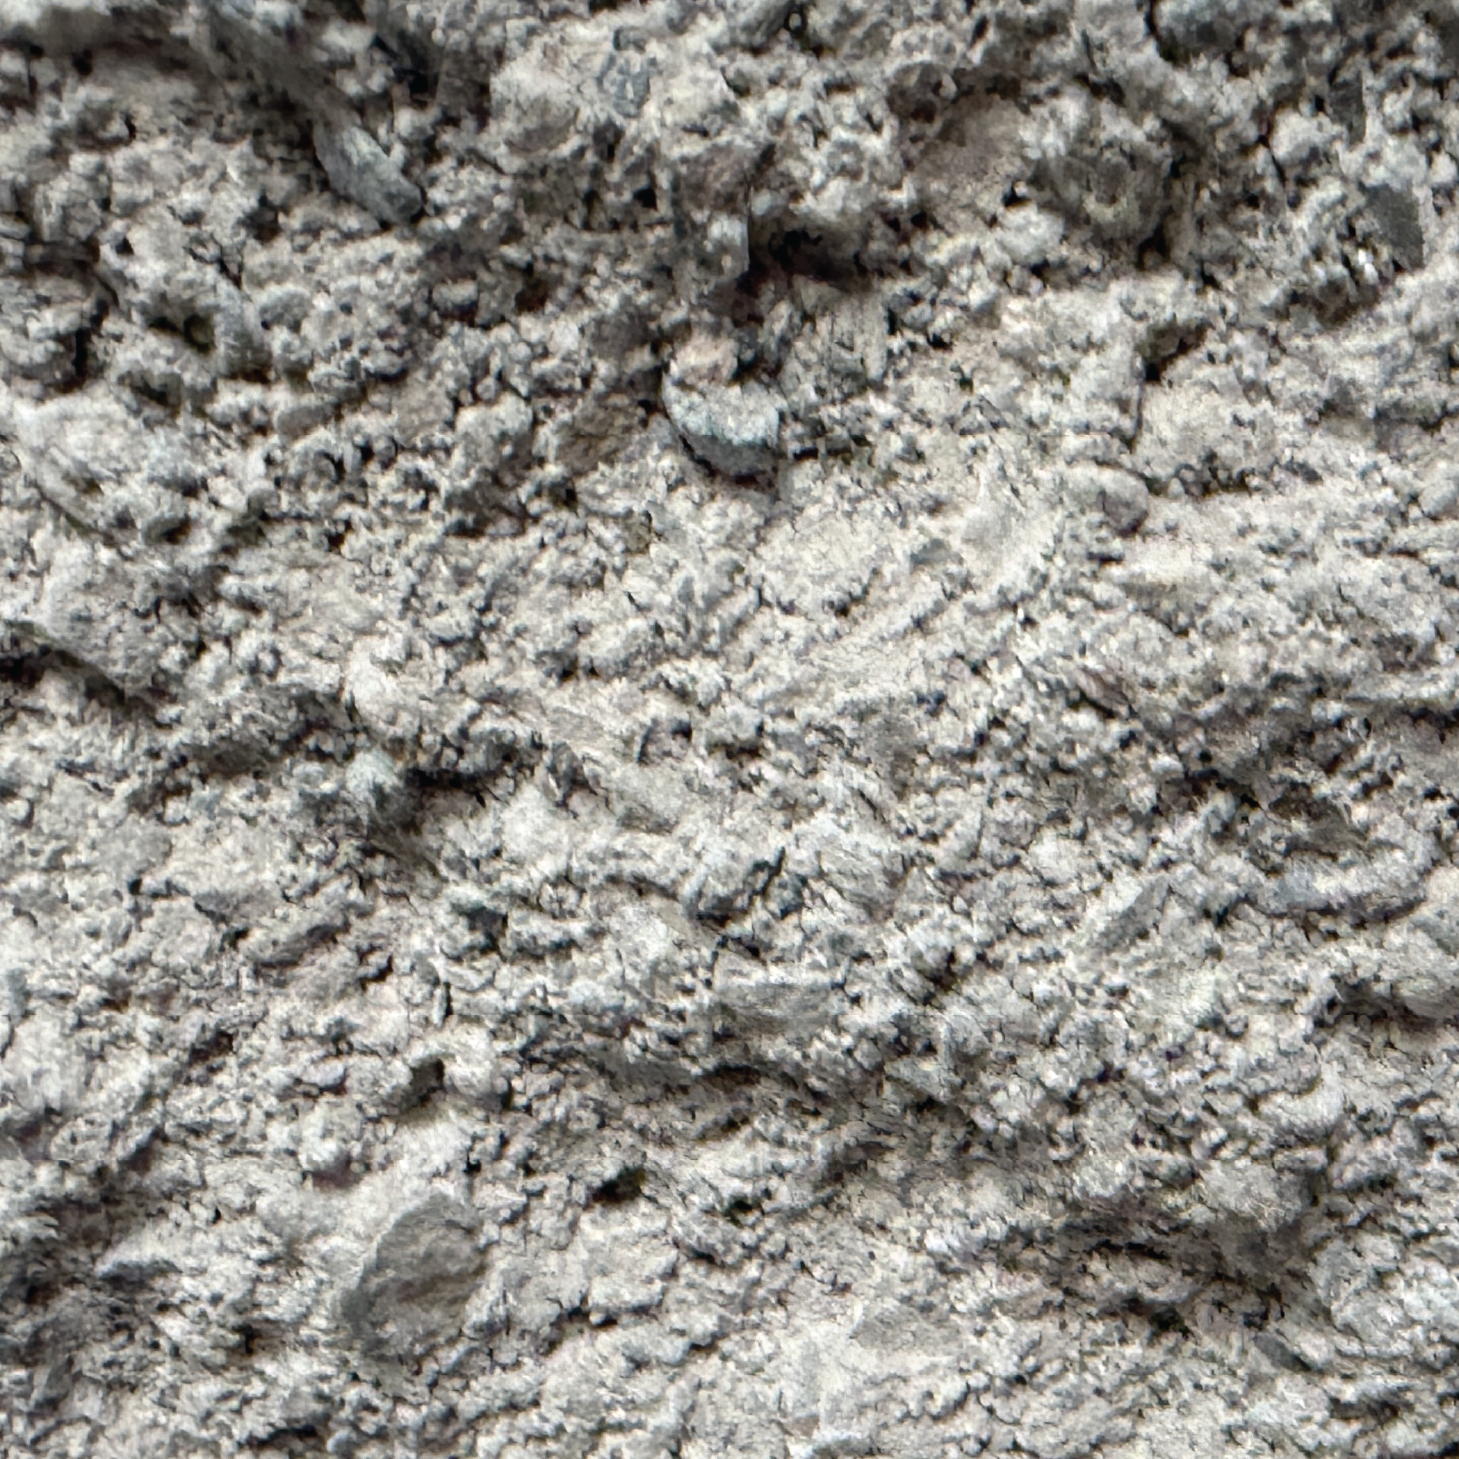
This material was found online, and I thought that it was worth noting because I thought of the objects I chose for object one and the fur one of my objects had, and I wanted to be able to add it to my object to make it look more realistic. This material was found around campus, and I thought that it was worth noting because I thought it looked like a sponge or some sort of honeycomb. This would be useful for the objects I have been thinking about for my final scene. This material was found around campus, and I thought that it was worth noting because I was able to connect it to rocks and the outdoors, which I thought would be perfect to have in my files to add to objects wanting some extra texture. I also think that it is a very beginner-friendly material to work with because many software programs already have it as an object to explore.

Project 1


Project 1 Models

For some background information, I have always been an outdoorsy person, and I love the beautiful colours I see when I go on hikes. I go on many hikes with my family, mostly with my dad, and I always have the best time; we make so many fun memories, and I leave feeling fulfilled. This is why I decided to model objects that represent nature in some way!

Published 3D Model 1
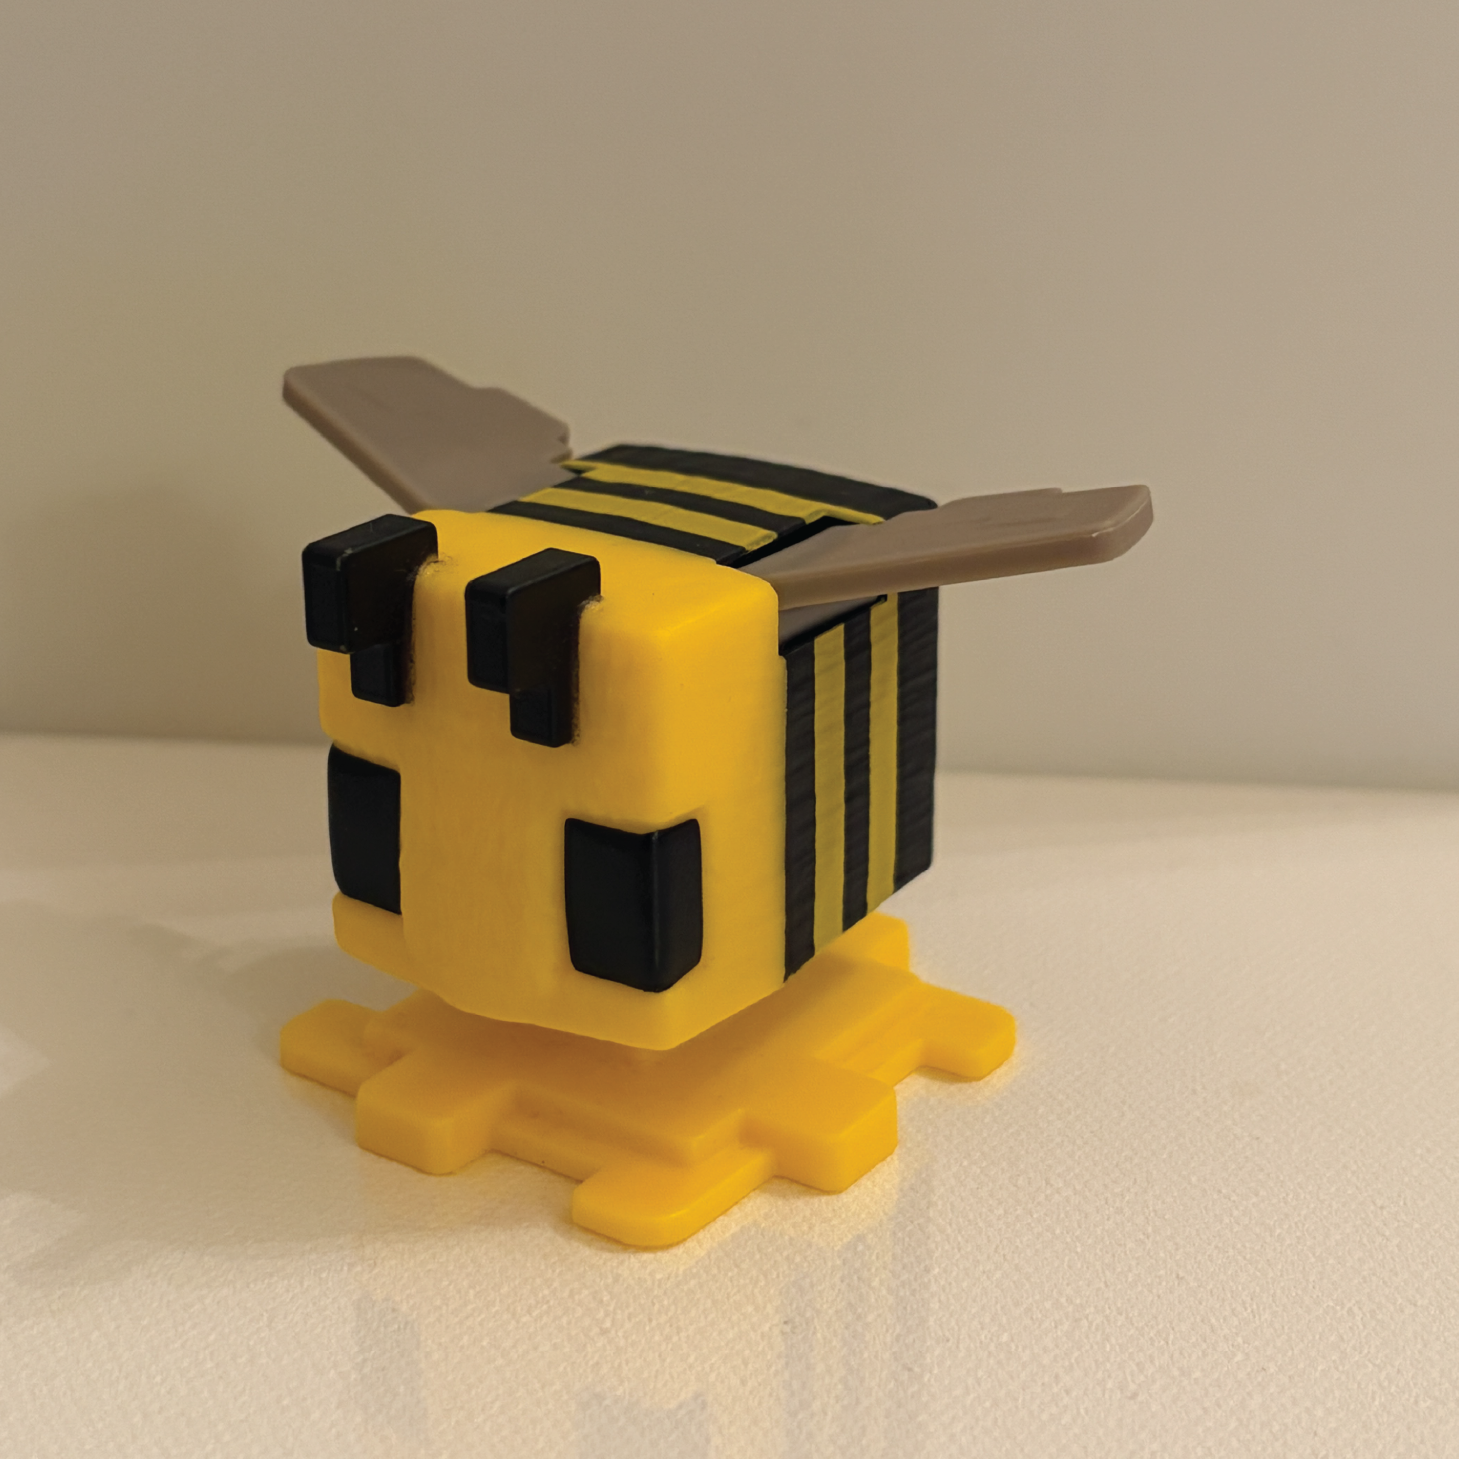
The first object I chose was a bumble bee! I think bees are such an important thing to recognize in nature elements since they help pollinate so many things to keep our ecosystem blooming. Bees are simple creatures, and I love how they all work together to keep their hive active and alive; it reminds me of the connections I share with my friends and family. The reason I chose this particular object, a bee, is that it also relates to Minecraft, which is something that is meaningful to me as well! I used to play Minecraft all the time with my sisters, and when they added the bees to the game, we all thought it was such a cute addition!

Published 3D Model 2
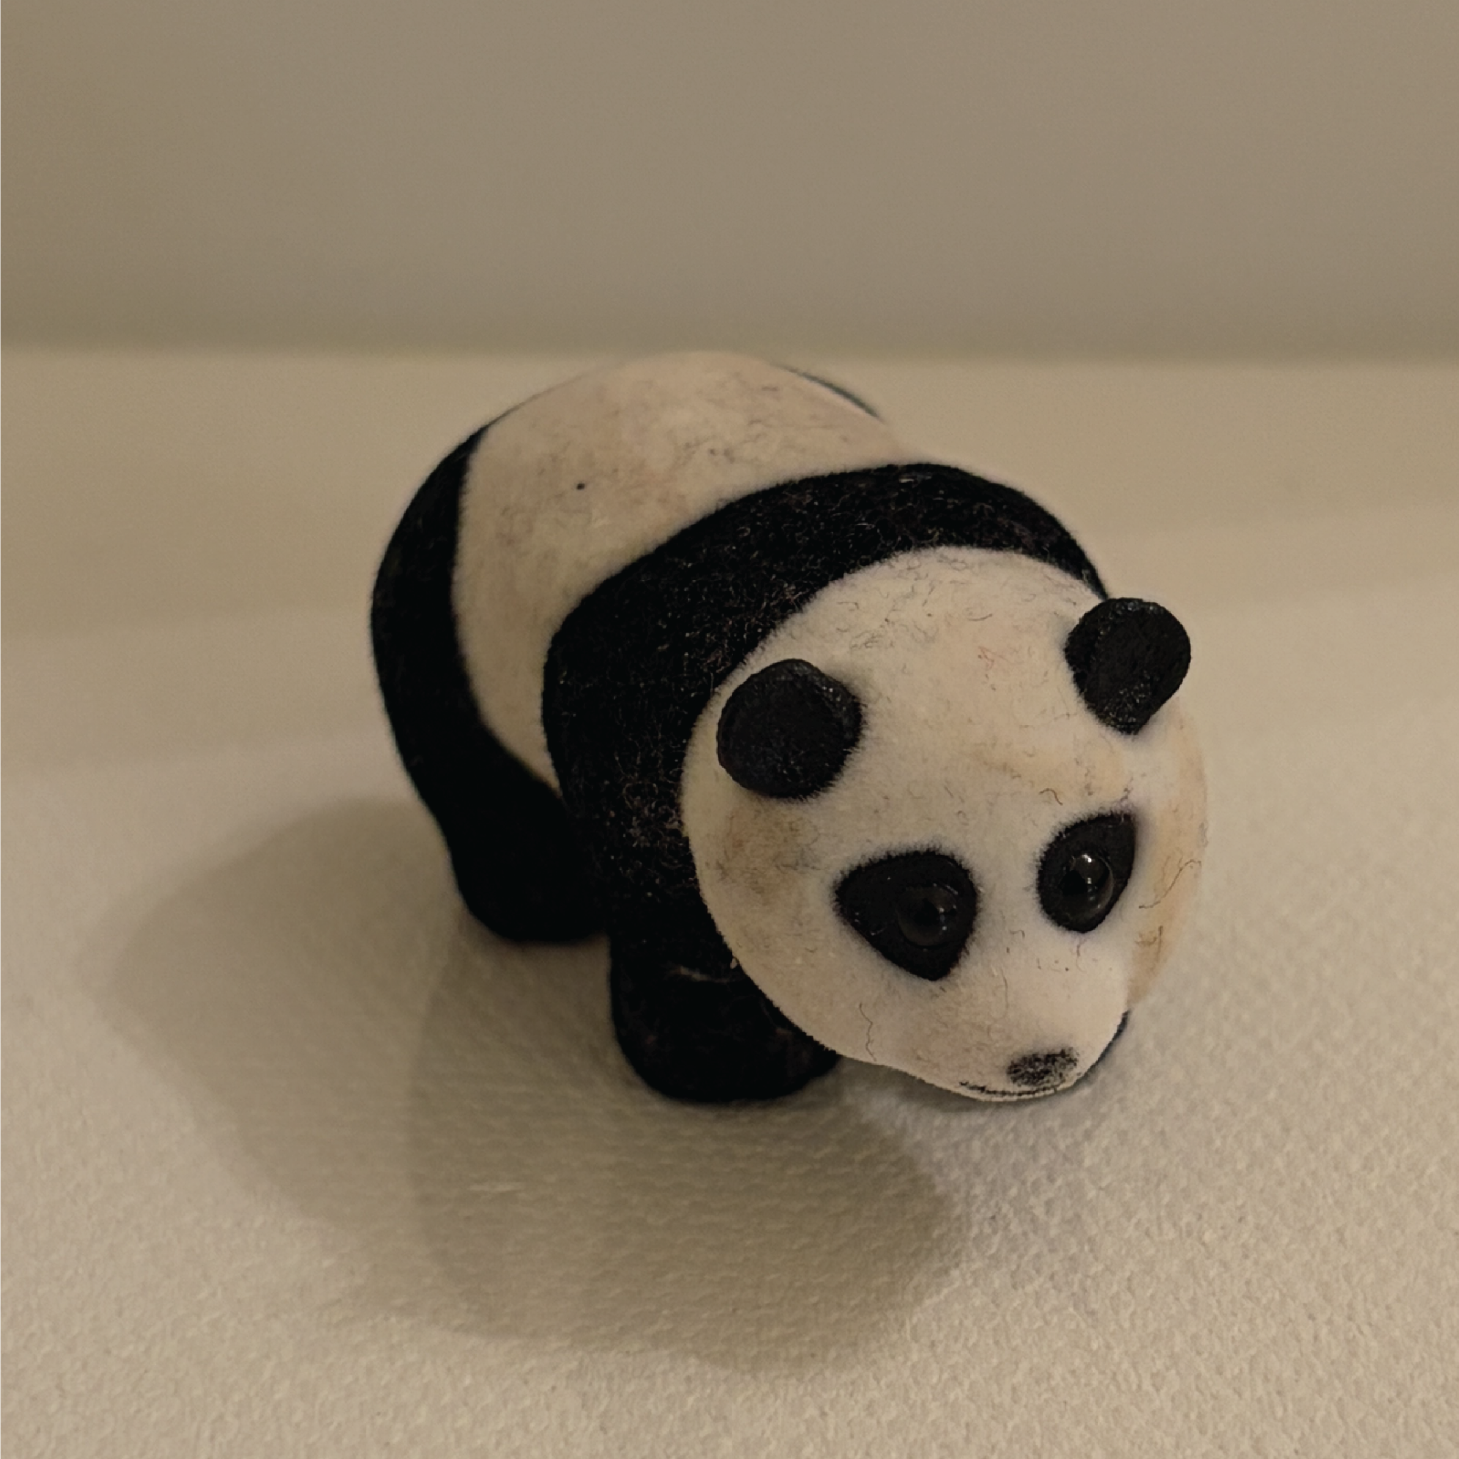
The second object I chose was a panda bear! I mainly chose this object because once I had the bee as my first chosen object, I thought of honey, and honey made me think of Winnie the Pooh, and I just so happened to have a stuffed Winnie the Pooh bear from when I was very young. This made me feel nostalgic about the object because I was able to display my creativity and recreate the bear that I grew up with. 

Published 3D Model 3
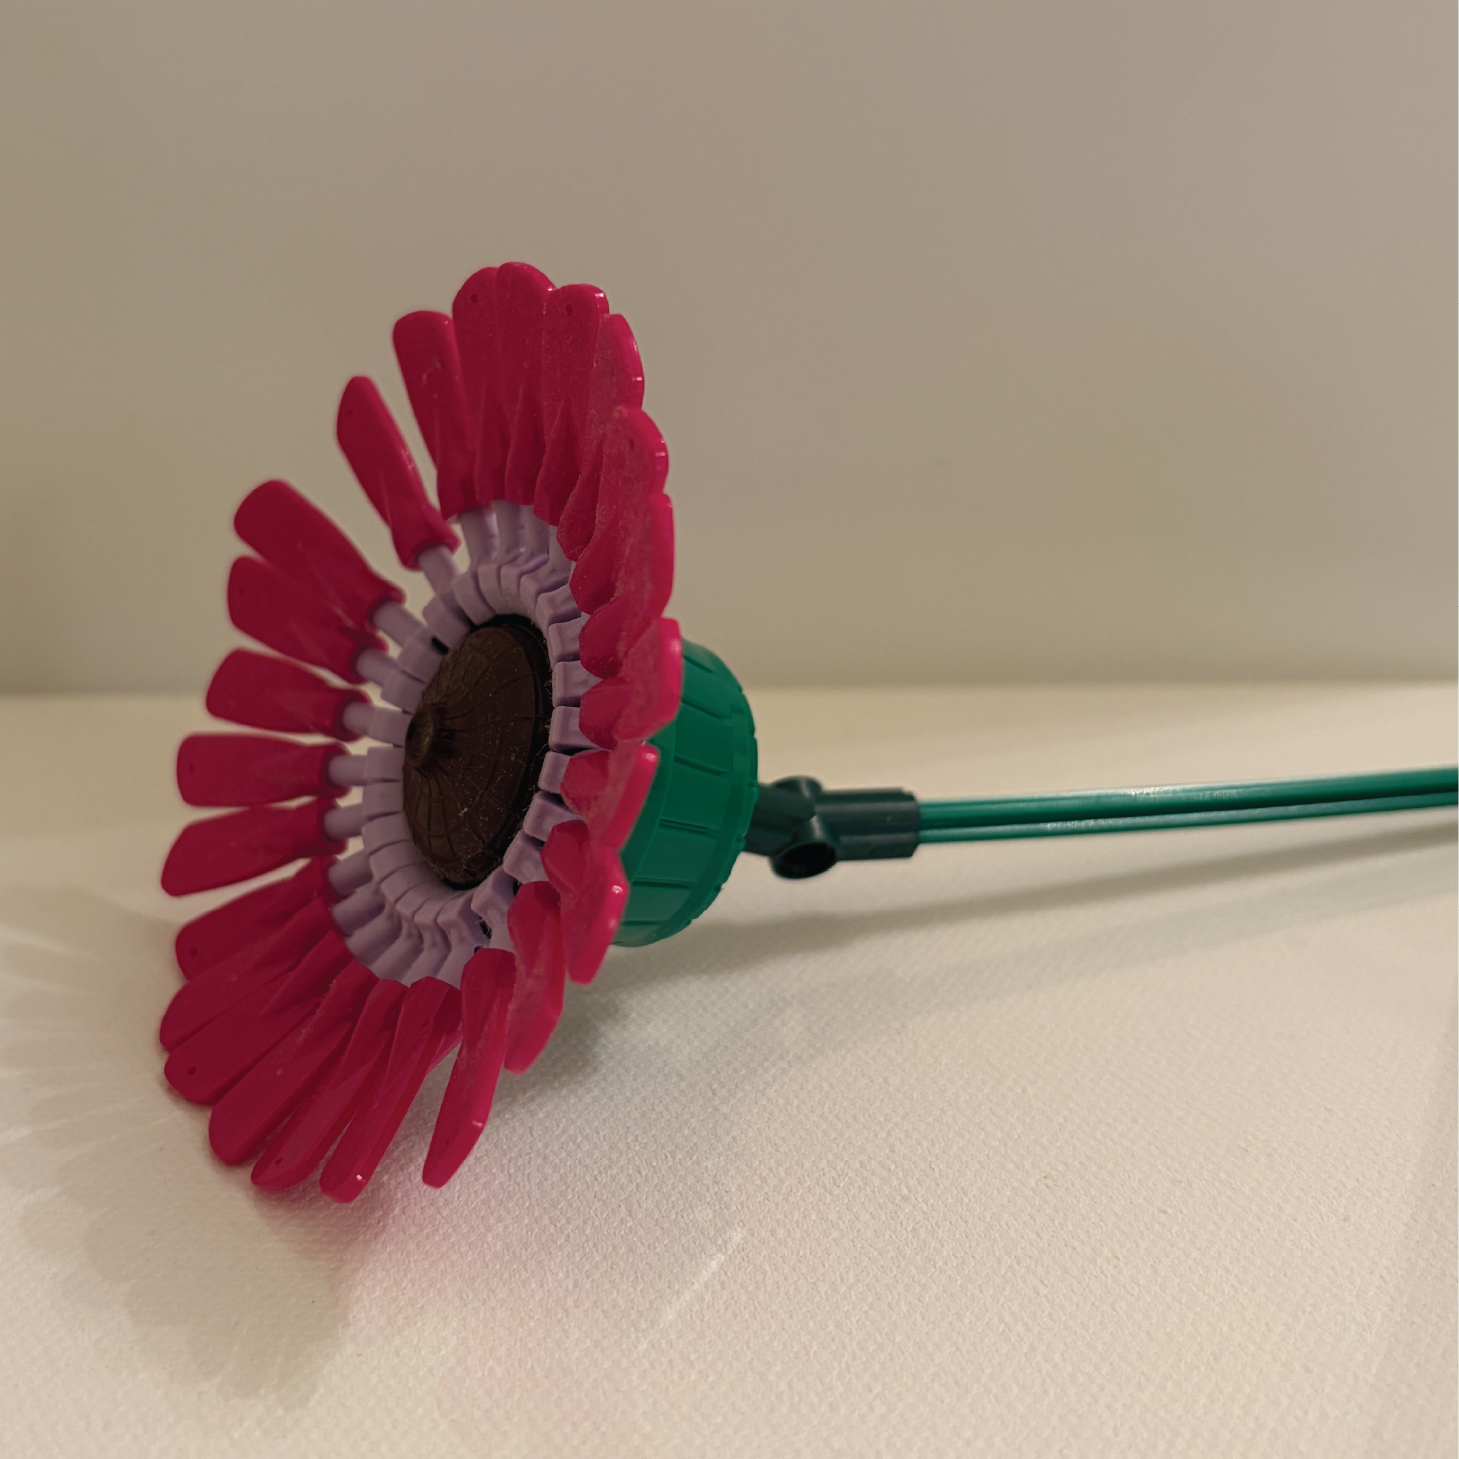
The third object I chose was one of my LEGO flowers. I chose this object because it ties into my theme of nature and has other sentimental value to me, as it was a gift from my parents. I have always loved building LEGO, and I have so many bouquets of LEGO flowers in my room, so I thought it would benefit me to experiment with how to create one in Cinema 4D.

Published 3D Final Scene
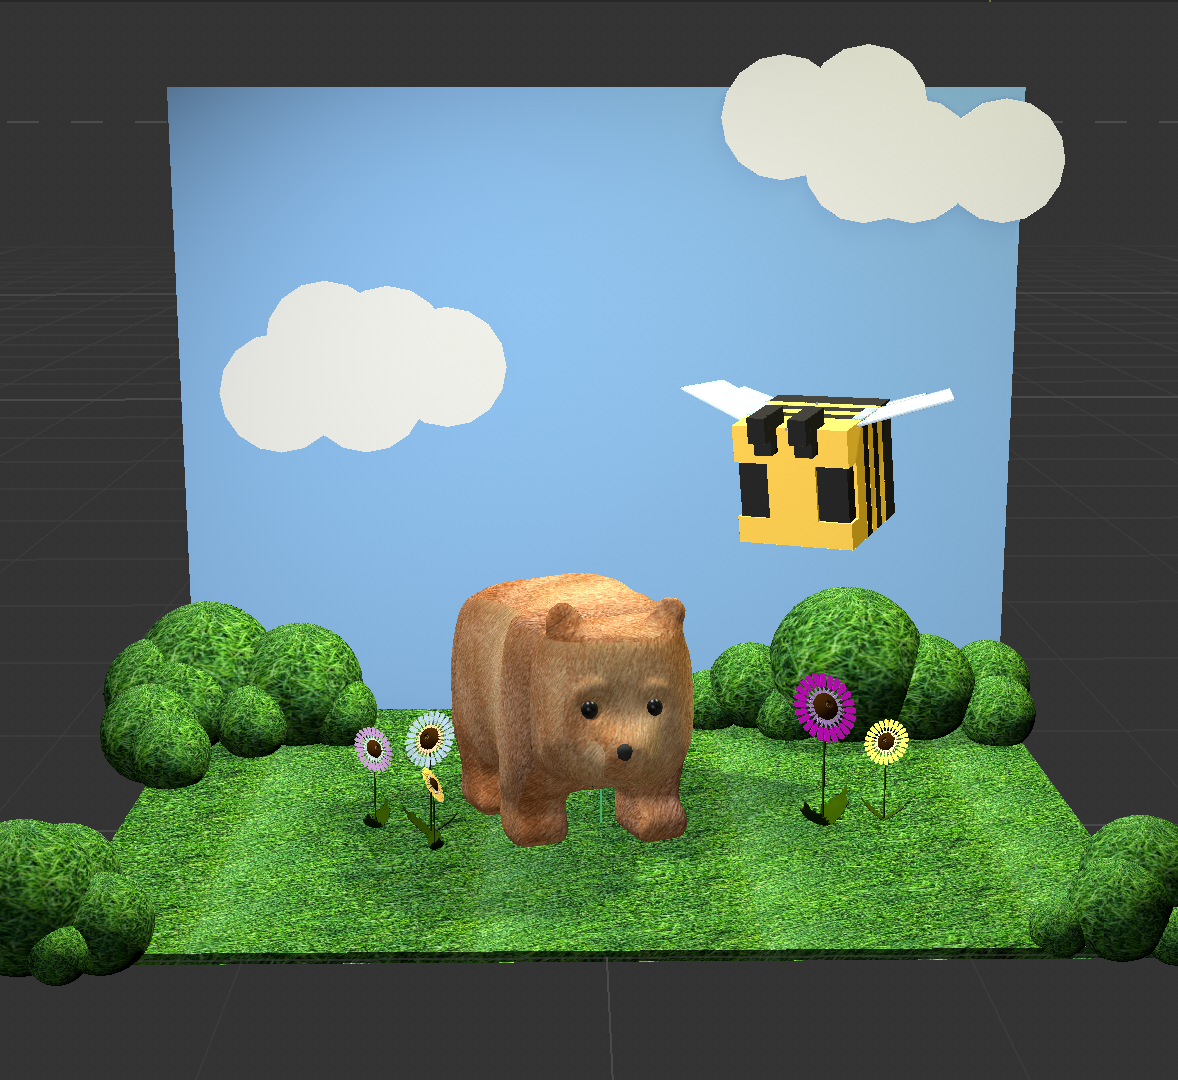
This is an image of how I decided to put all of my final objects together in one environment. I think this turned out very well, and I am happy with how much I have improved my skills in this software. I think this scene with my objects helps bring the vision I had from the start, when I was first selecting my objects, to life, and it is nice to see the harmony and unification they all have after being placed beside one another.

There is also an model below that shows what my final scene looks like in a 2D matte material form without the added textures!

put a description here or you will lose grades <div class='container'><iframe class='responsive-iframe' src='https://hudak.phoenix.sheridanc.on.ca/P1Stuff/Index.html'></iframe></div>

Process 25 images:
These images show my process from watching tutorial guides and the exploration I did during this project. It also discribes and the struggles and lessons I encountered during the process and how I managed to deal with them leading up to the final result.
put a description here or you will lose grades <a href='https://www.youtube.com/embed/tgbNymZ7vqY' target='_blank'><p>Project Video Link</p></a>

Final objects chosen

×

Powered by w3.css